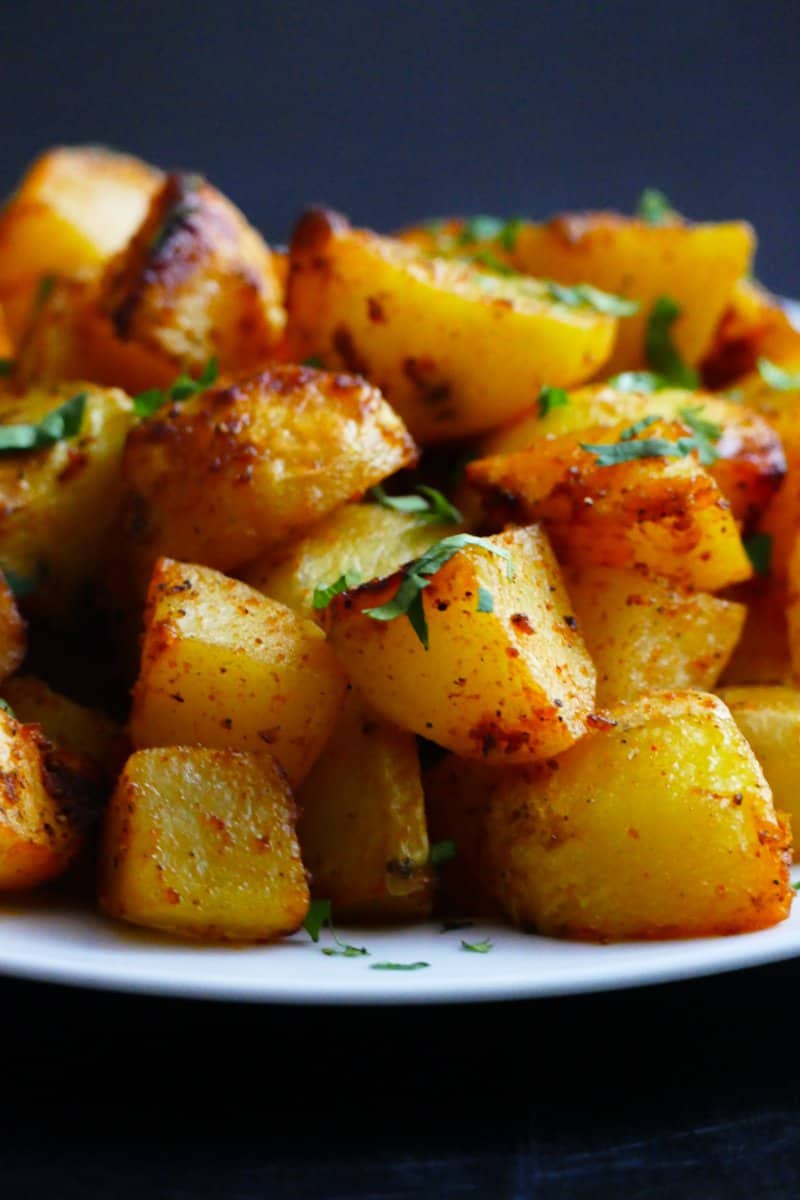
These Instant Pot air fryer roasted potatoes go with just about anything! Air fried potatoes are a great side dish for dinner, or you can serve them as breakfast potatoes! If you don’t have an Instant Pot air fryer or air fryer lid, you can use a traditional air fryer or bake them in the oven.
This post contains affiliate links. As an Amazon Associate, I earn from qualifying purchases. Please read the disclosure.
Roasted potatoes are one of my favorite side dishes and I love that I can eat them at breakfast or dinner! Roasting vegetables in the oven is pretty easy to do, but roasting them in the air fryer is even easier.
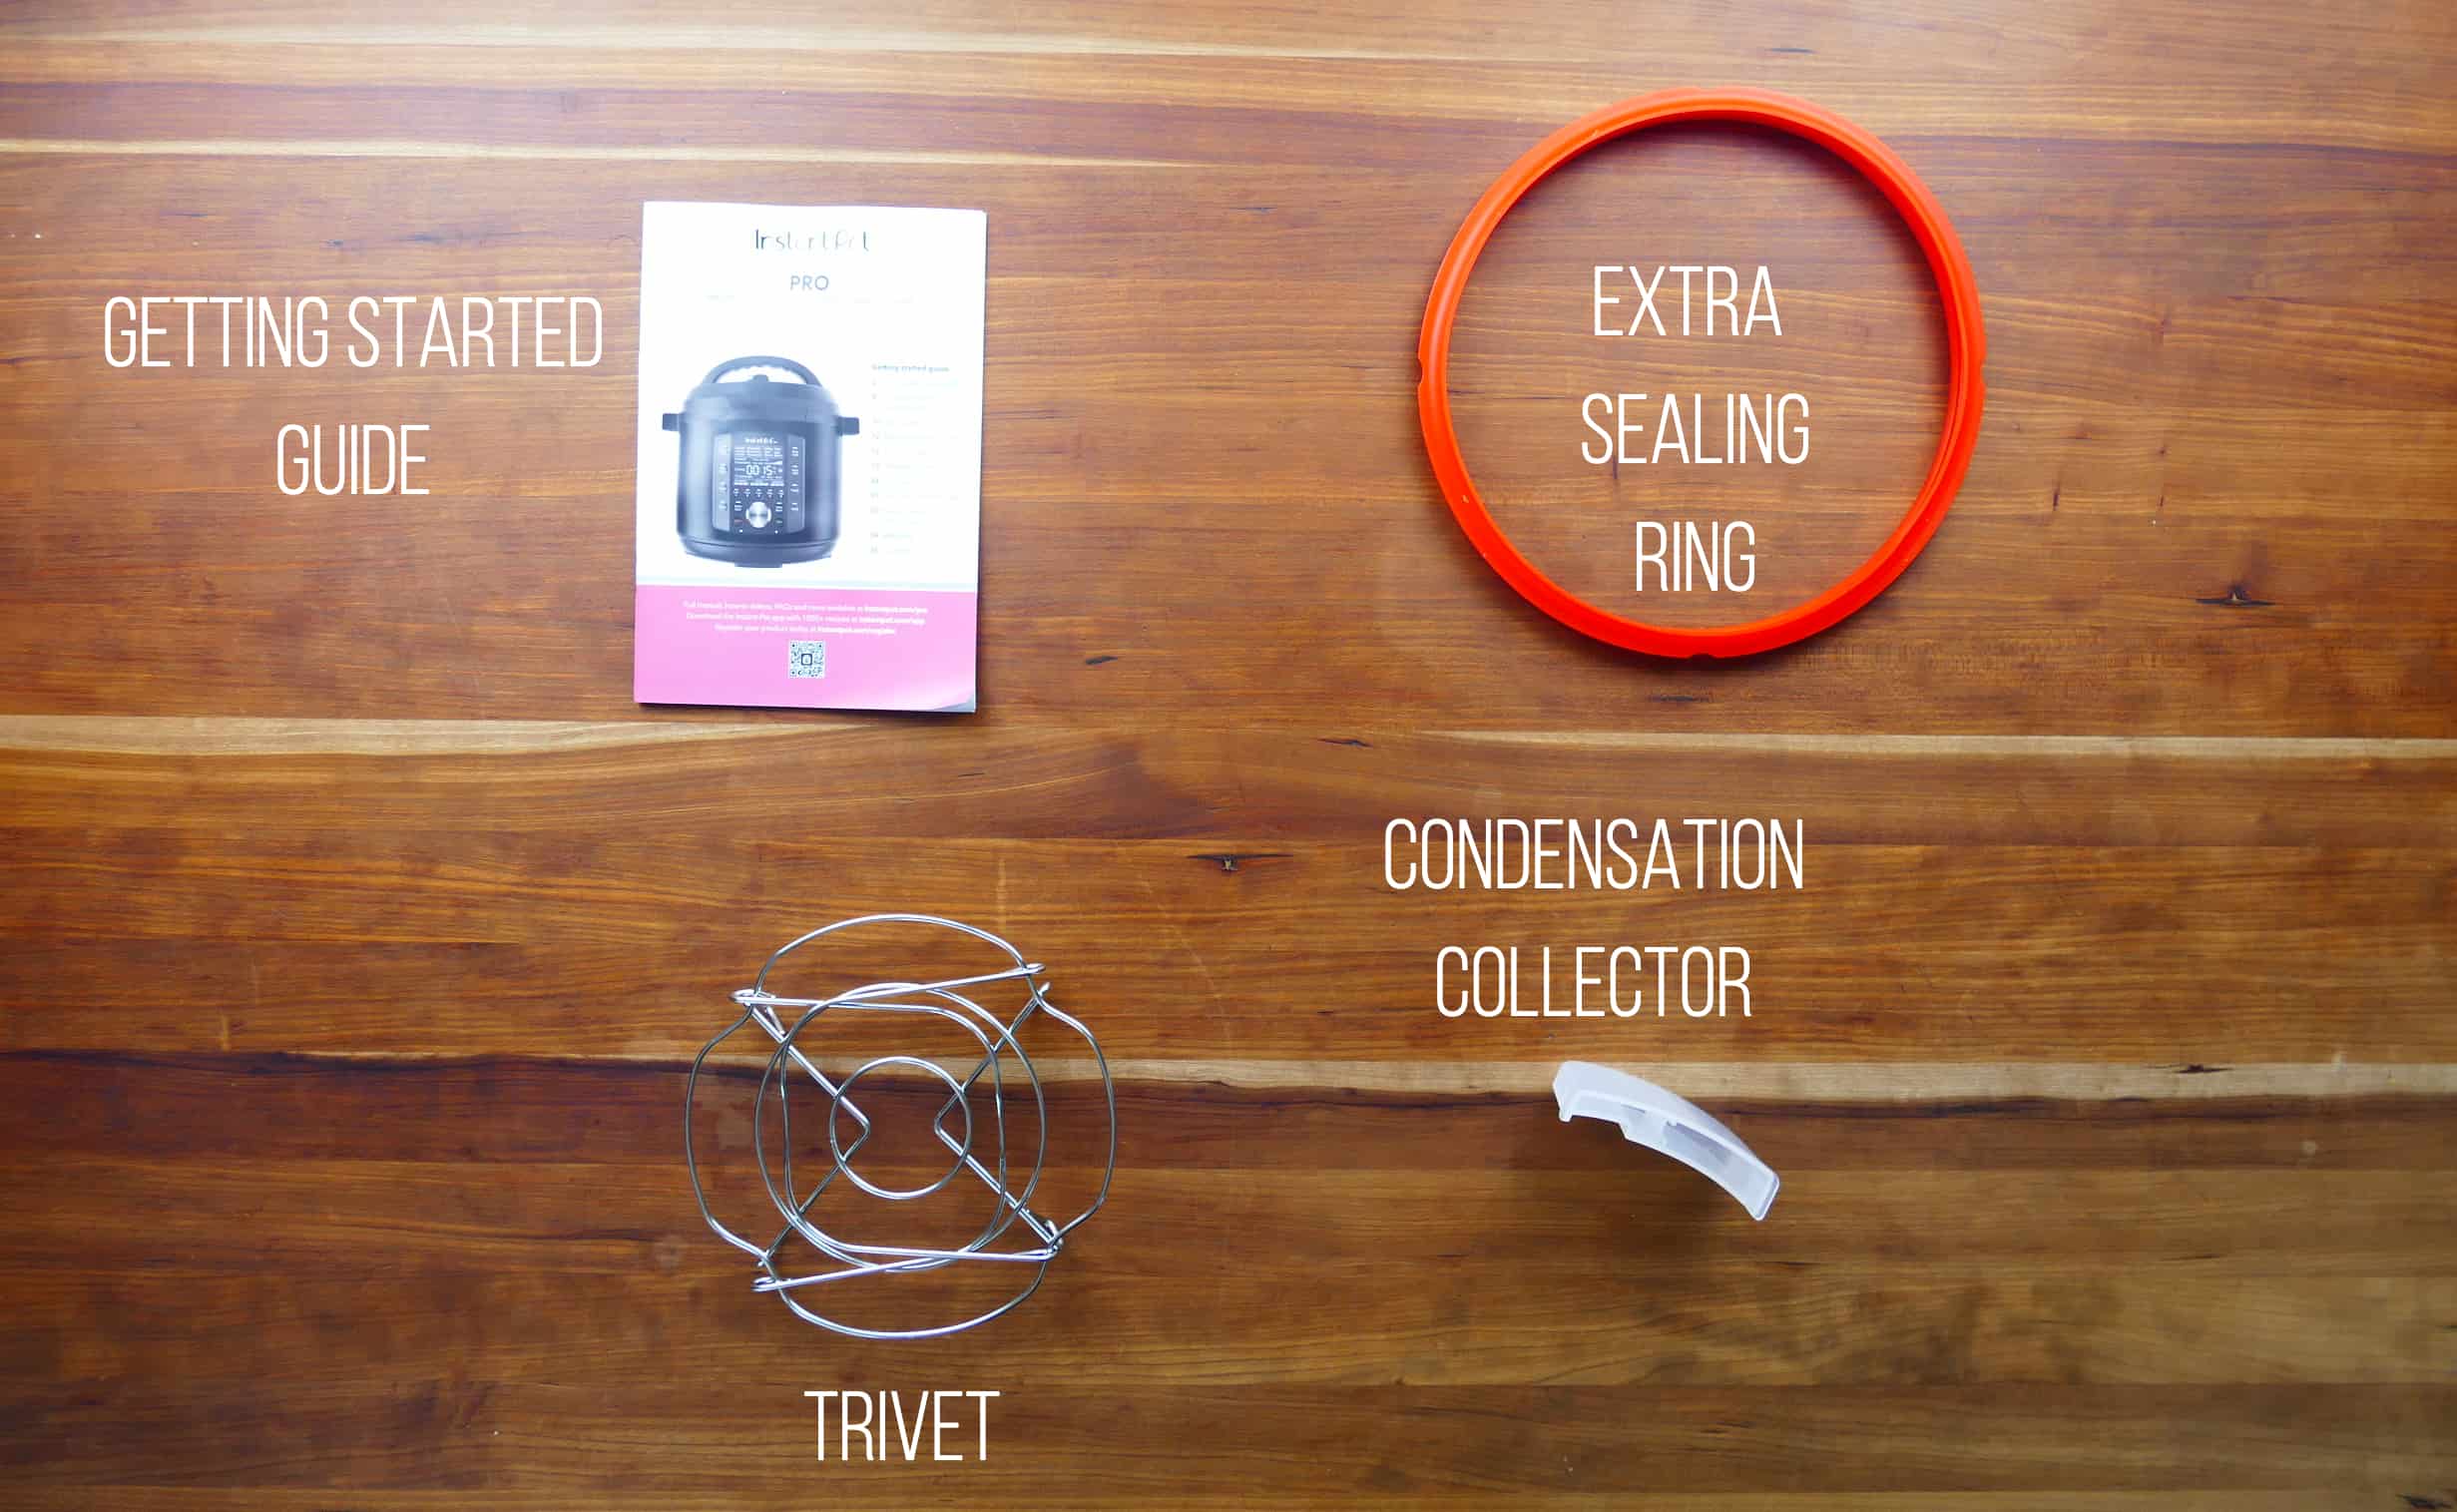
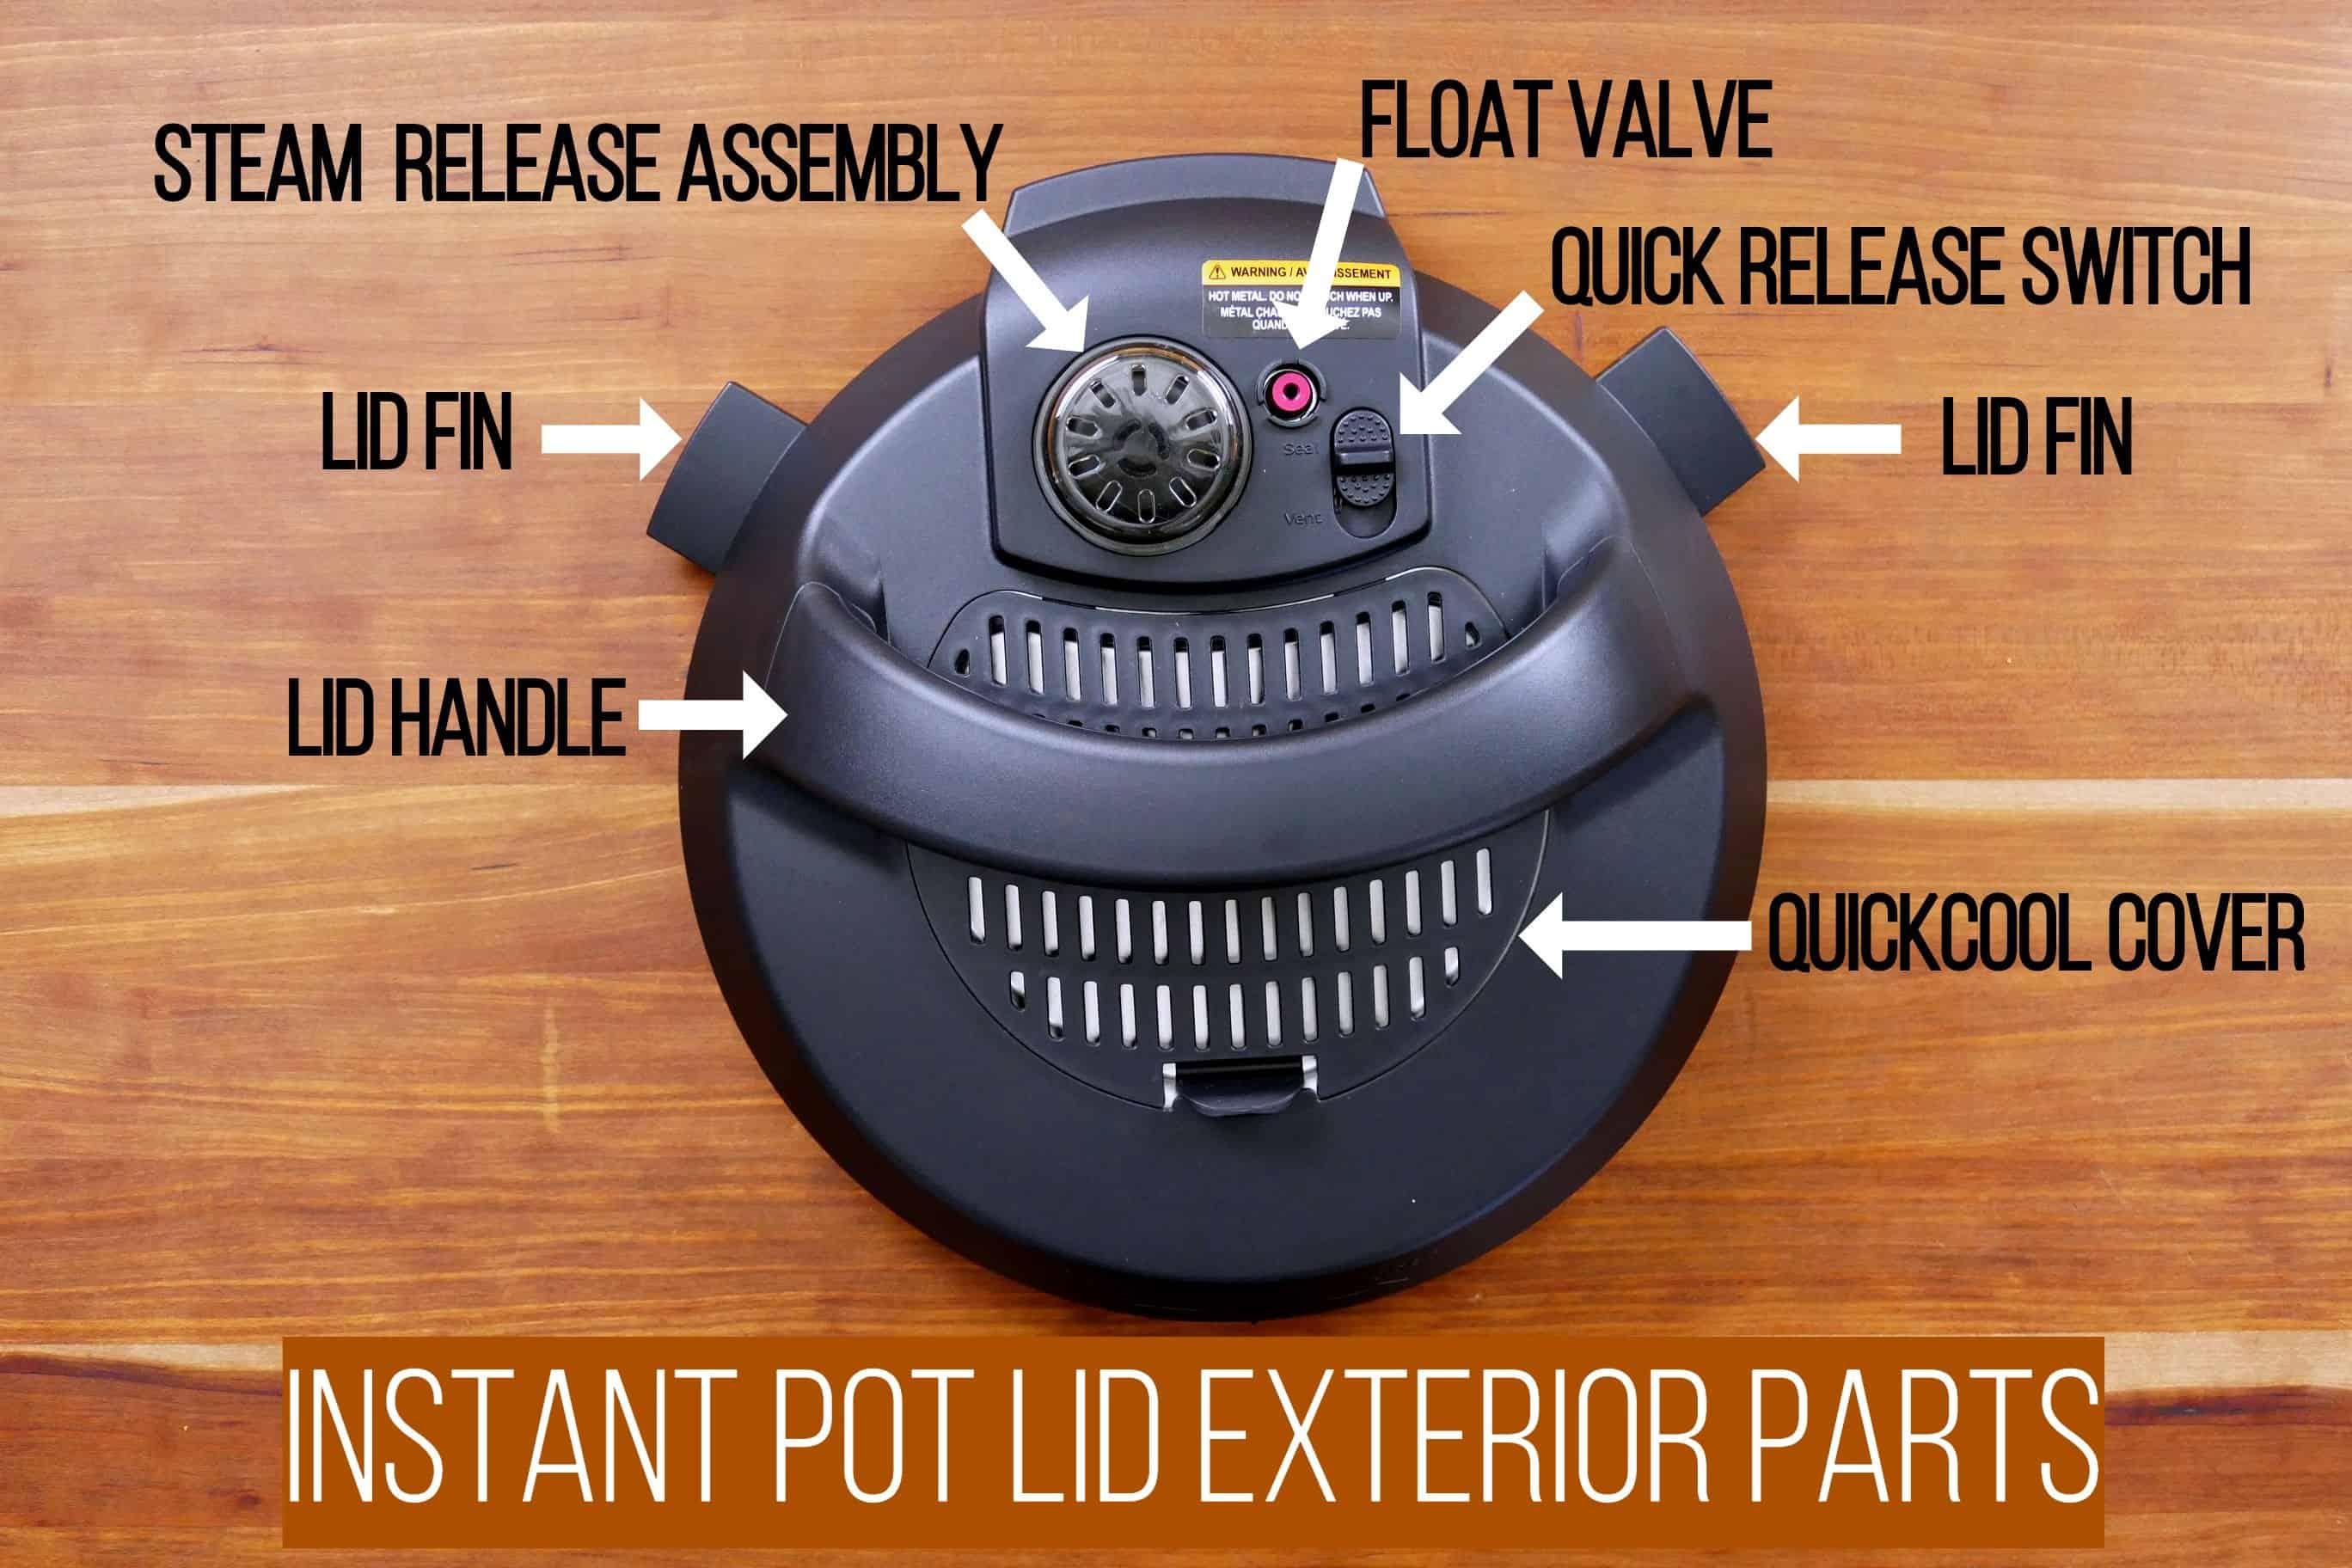
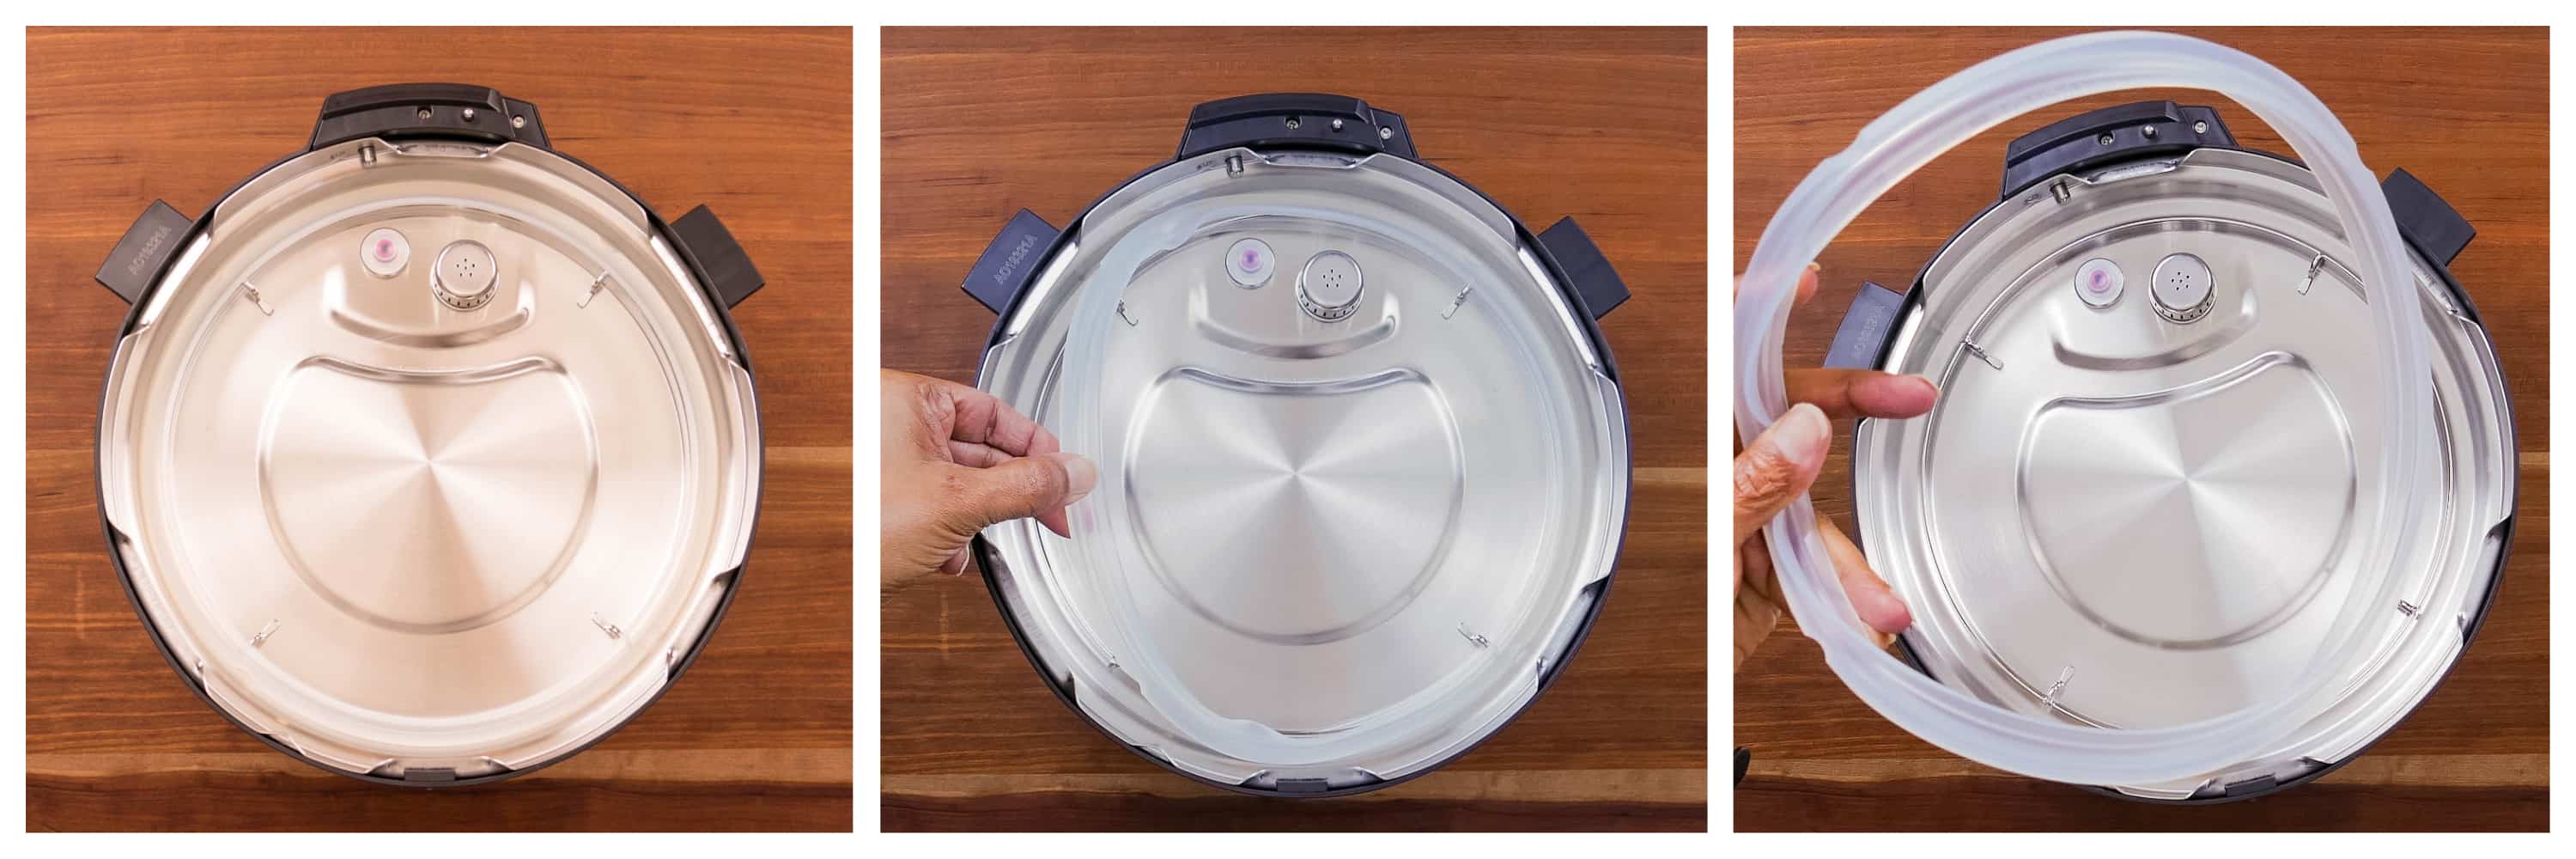
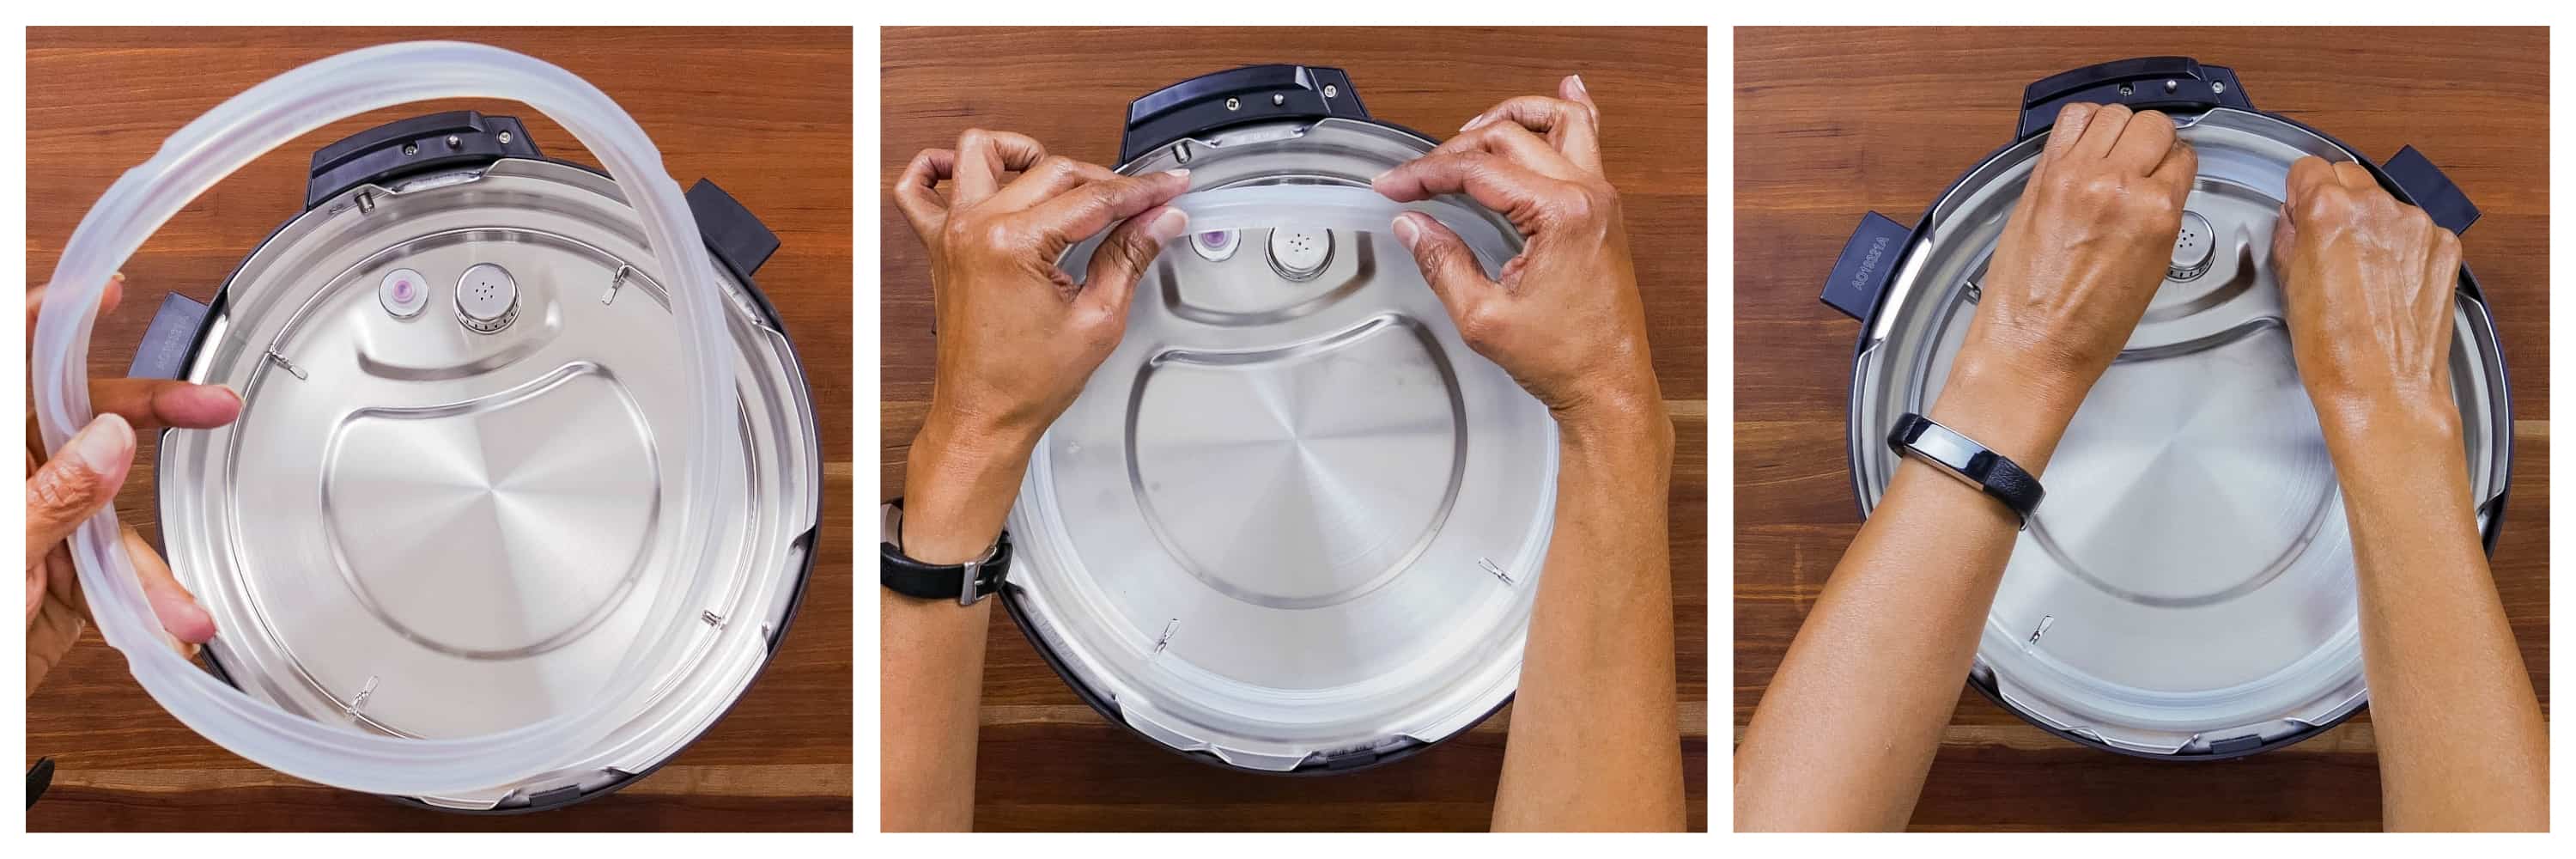
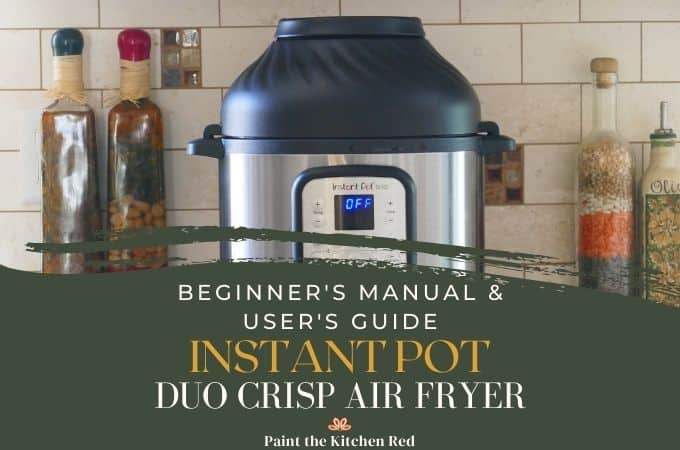
I find that the potatoes come out crispier and they cook even faster in the air fryer. I use an Instant Pot air fryer, the Duo Crisp. Check out my manual on how to use the Instant Pot Duo Crisp – it’s easy to understand and gives you all the information you need.
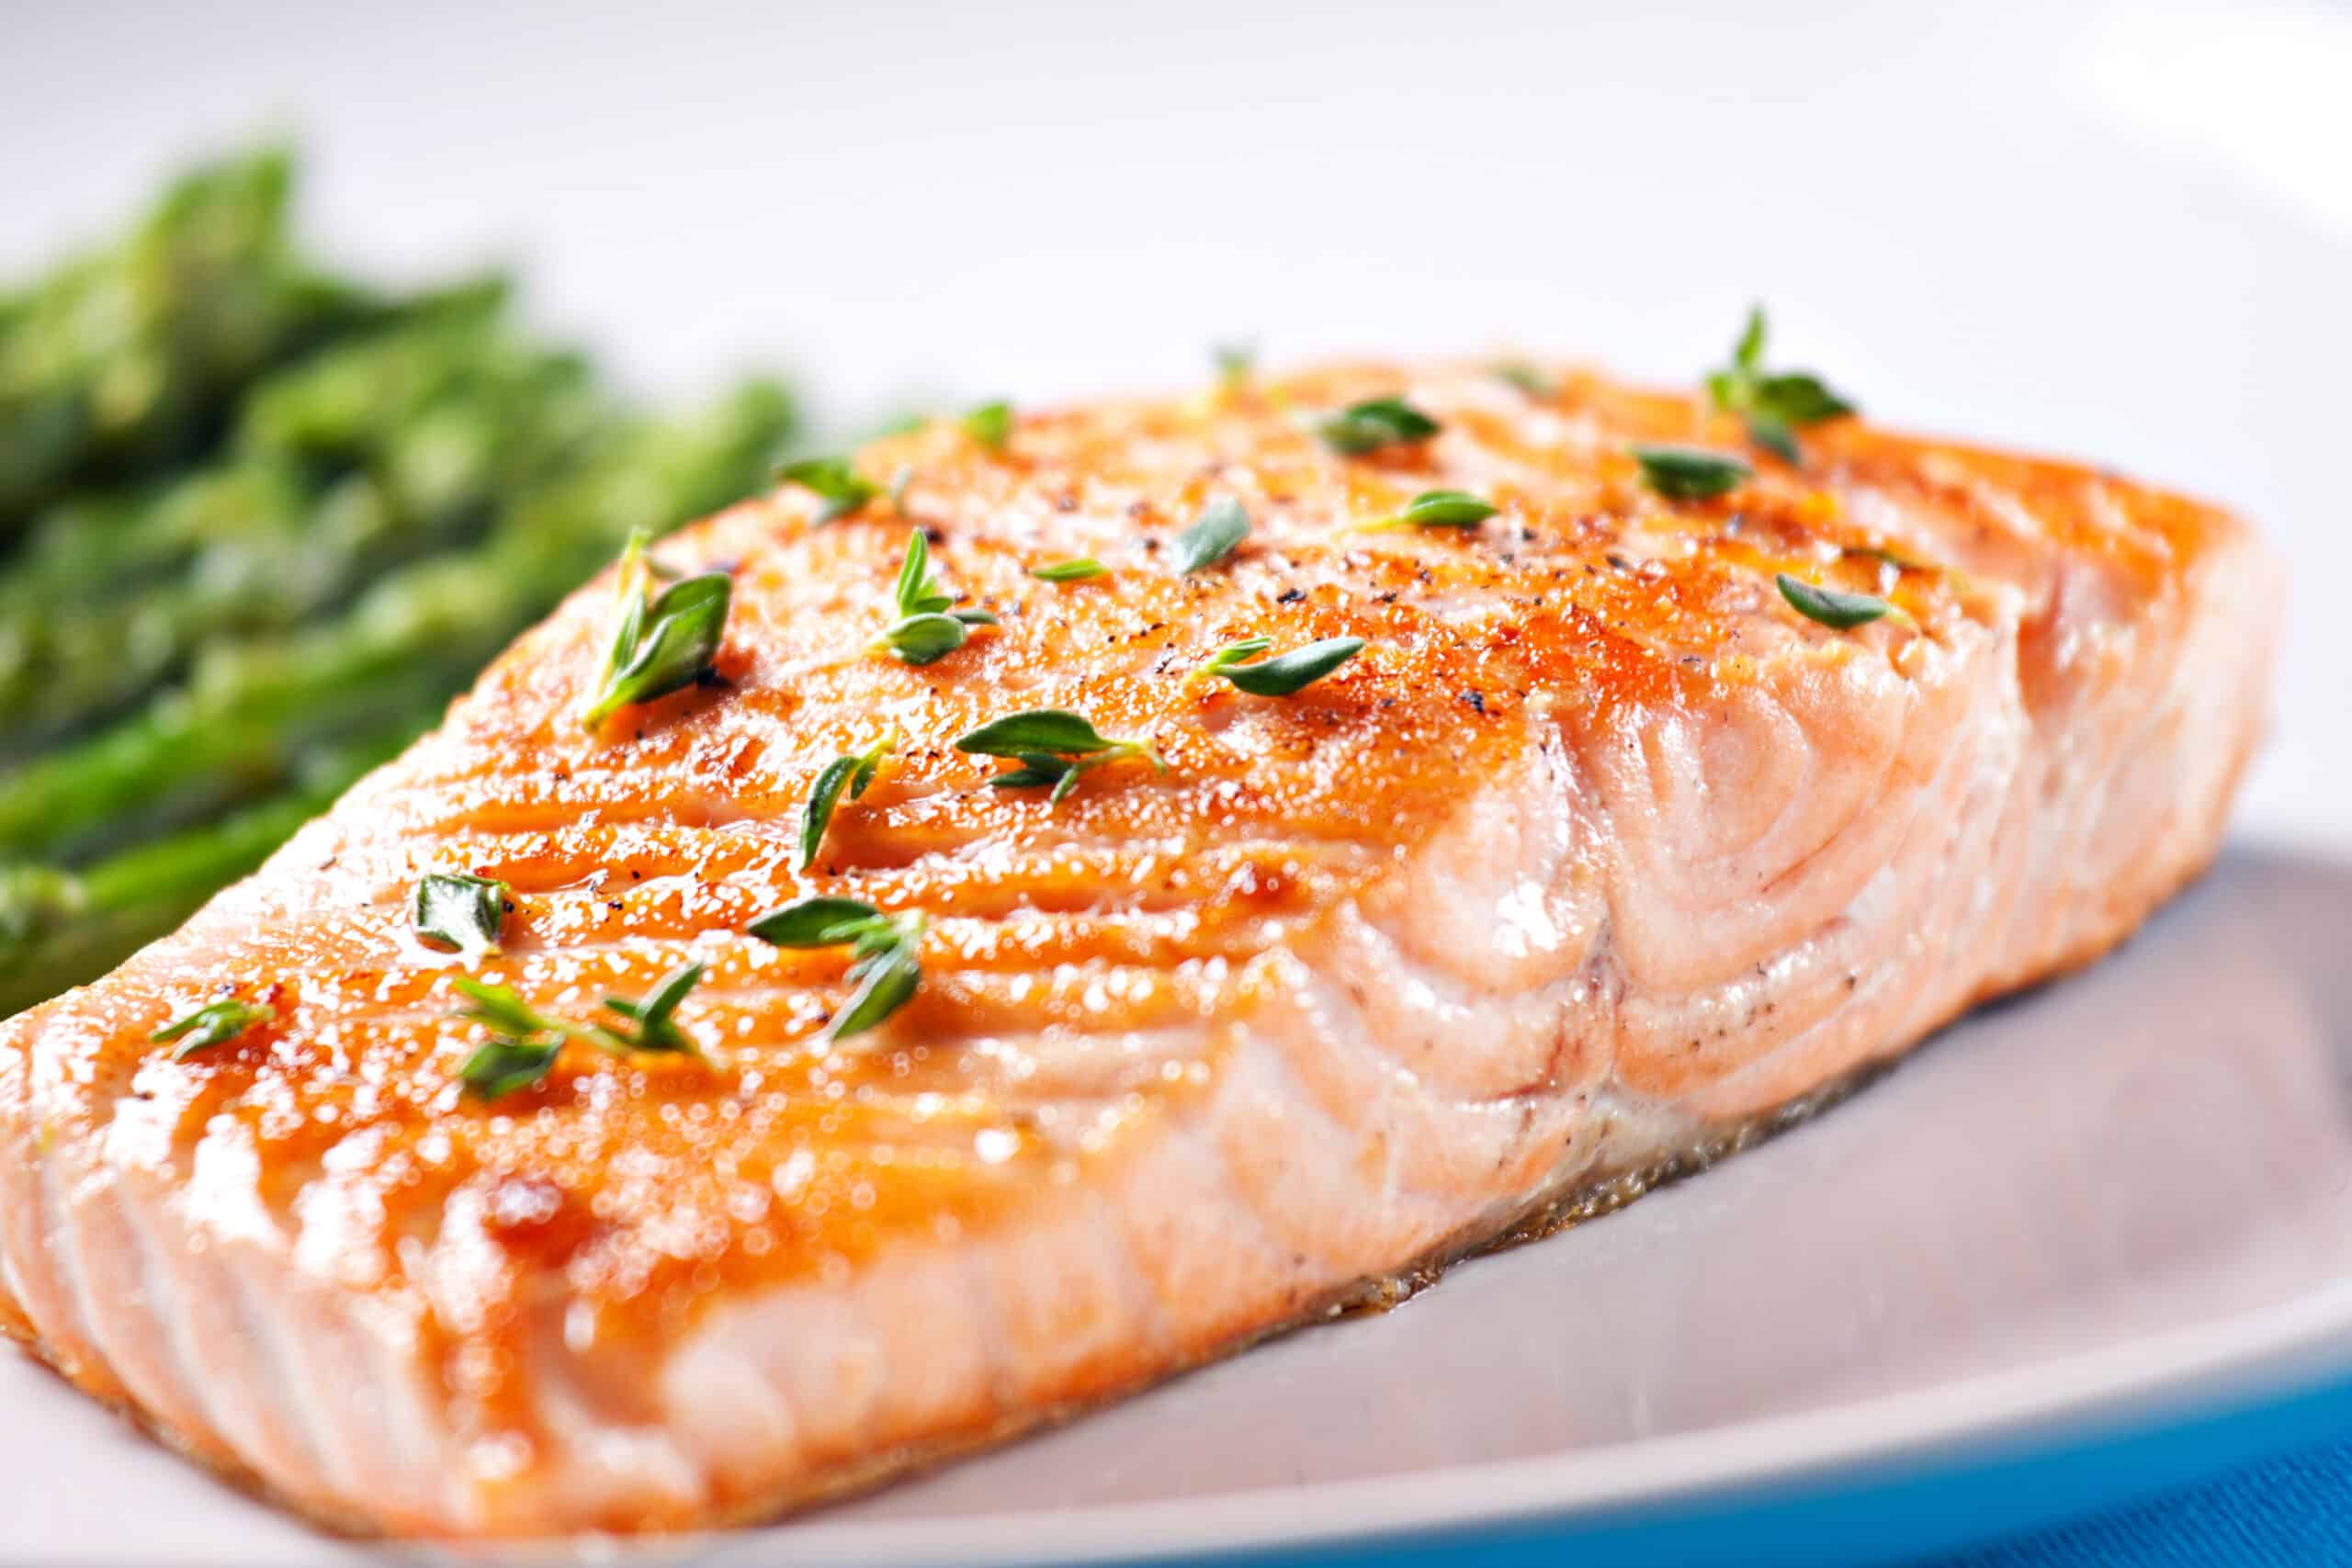
These potatoes go great with air fryer pork chops or salmon. Other Instant Pot air fryer recipes include air fryer brussel sprouts and air fried cauliflower recipes – they’re the best!
Jeannie says ⭐️⭐️⭐️⭐️⭐️
Delish! First time using my pro crisp and was in the mood for roasted potatoes. Agree- better than making int he oven. The kids loved it.
I am completely sold on the Duo Crisp air fryer but if you don’t have an Instant Pot air fryer or air fryer lid, you can use a traditional air fryer.
➡ If you’re looking for more potato recipes, try my air fryer red potatoes, batata harra, potato masala, potato stew, frozen potato skins, frozen french fries, or frozen sweet potato fries.
Ingredients and Tips
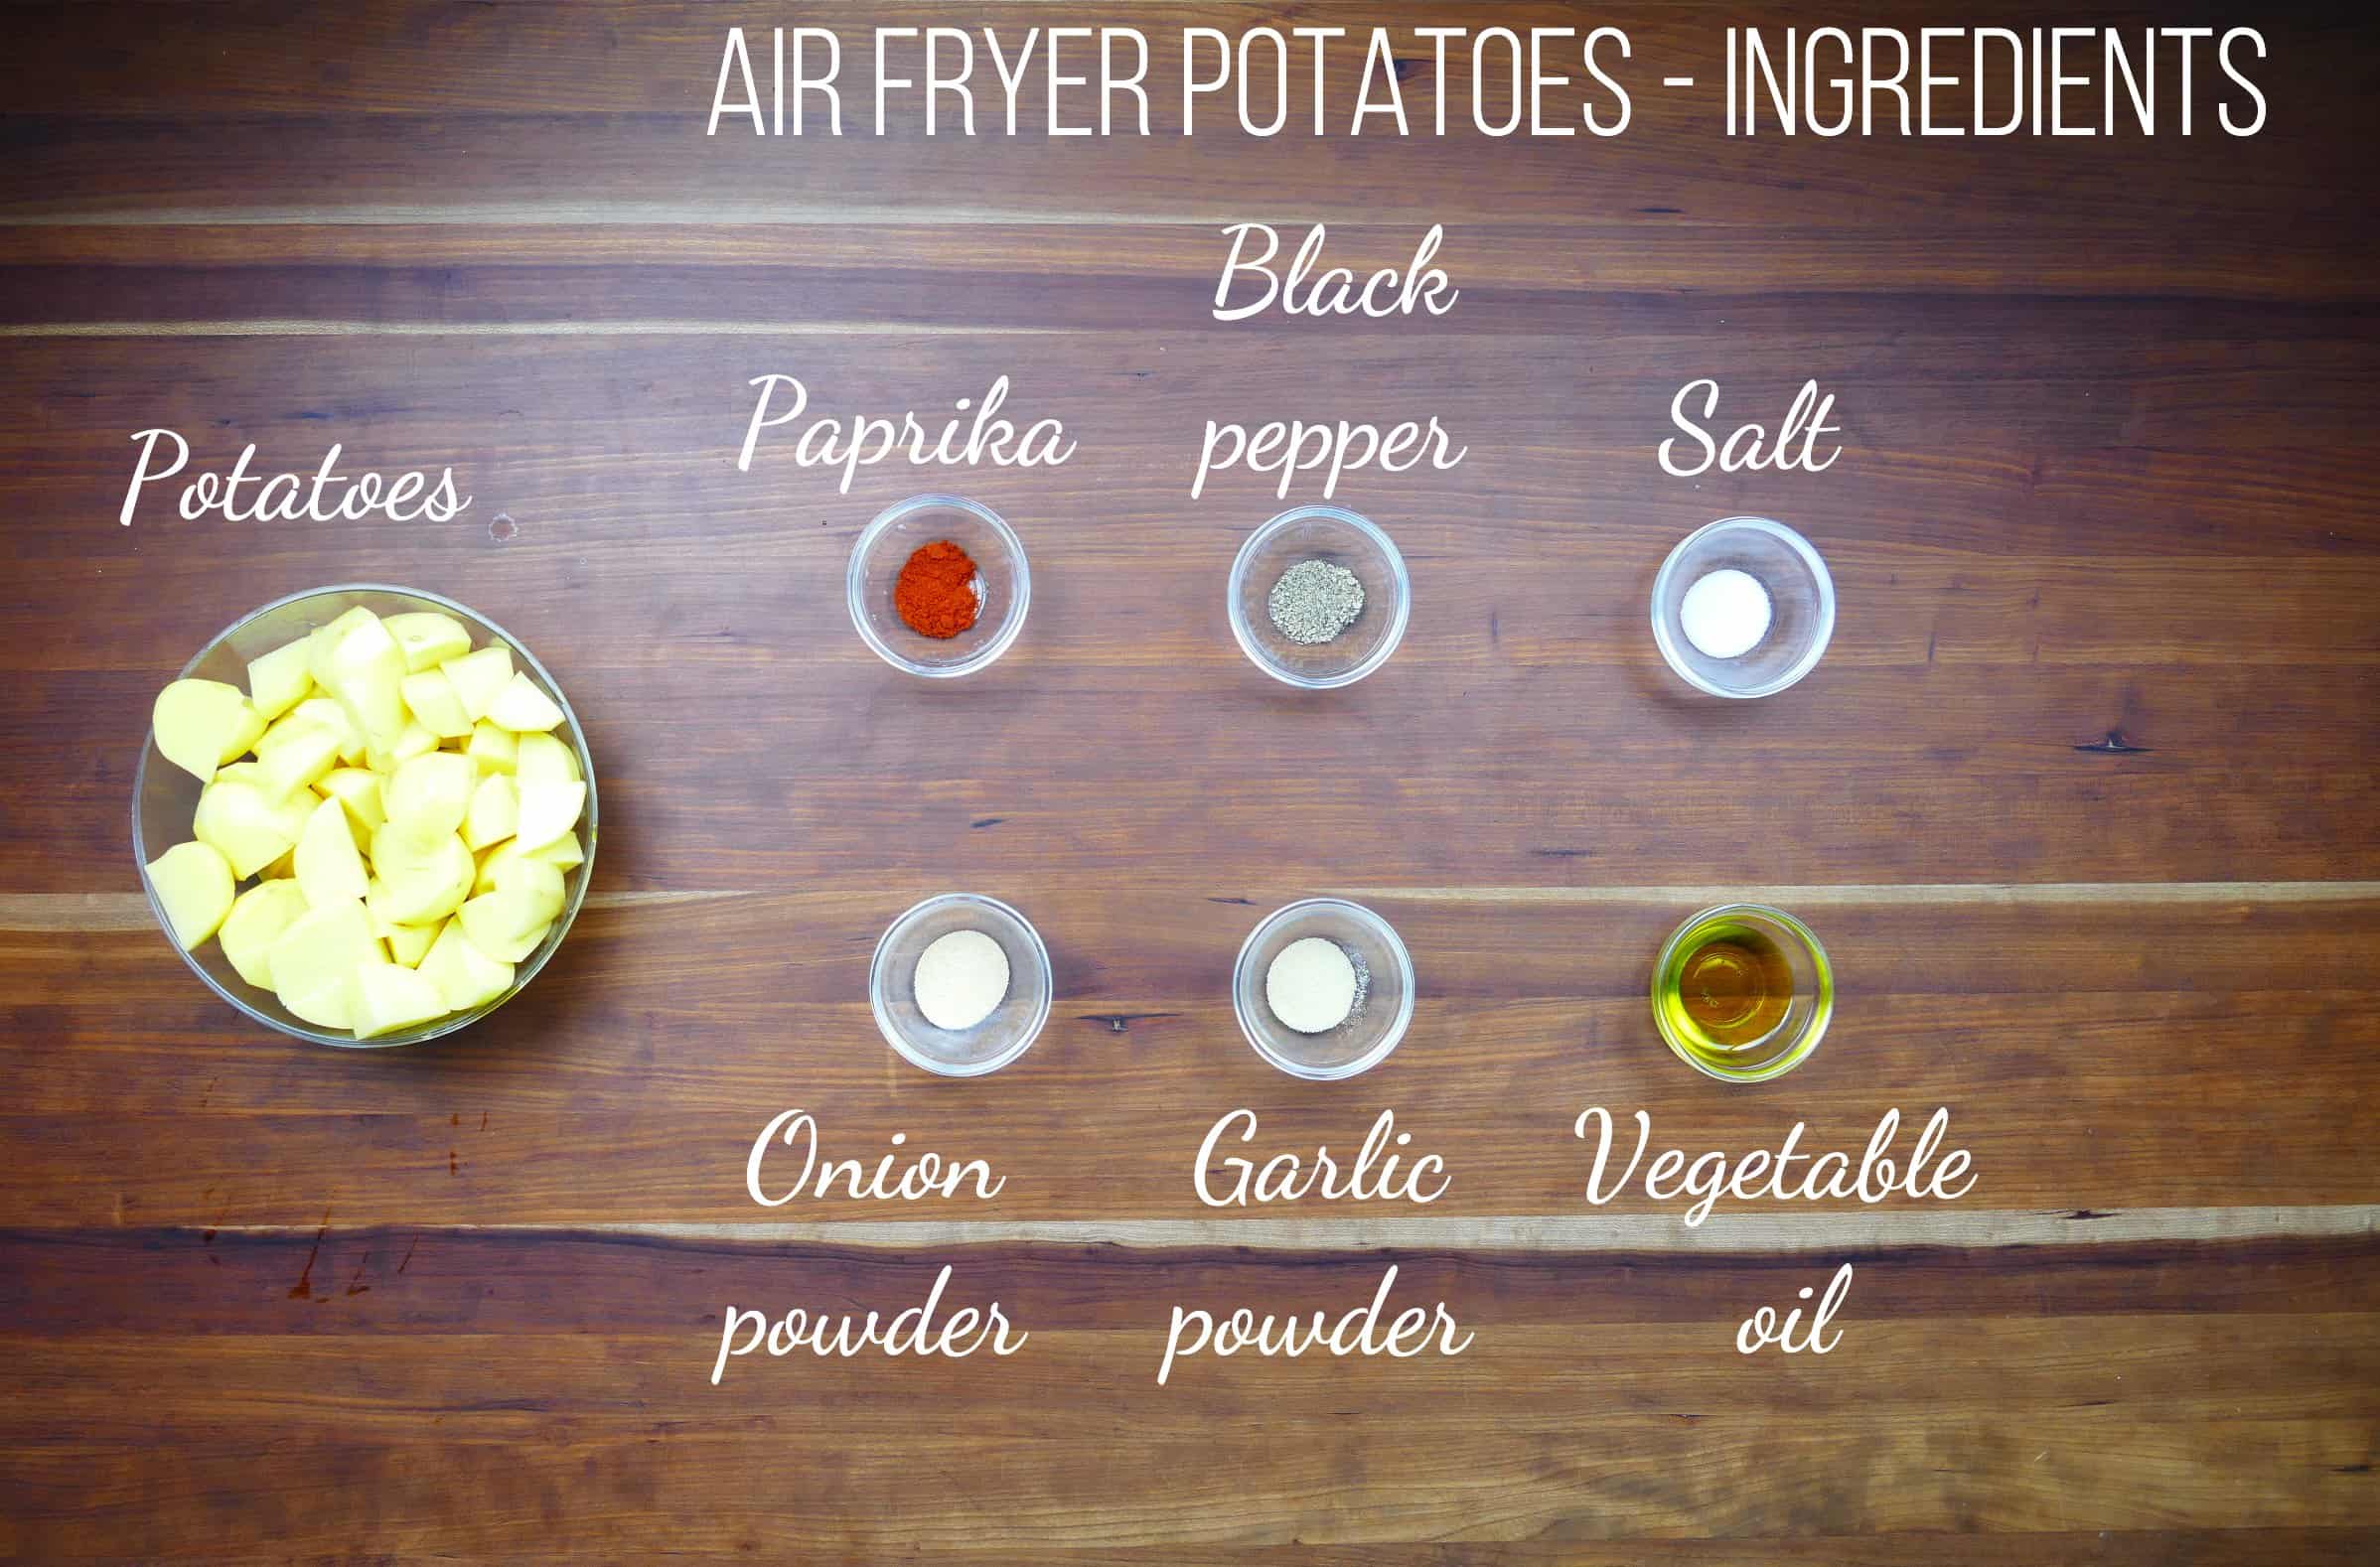
🧂 Ingredients for Instant Pot Air Fryer Potatoes
💡 Ingredient and Recipe Tips
✨ Prevent Sticking: Liberally coat both the air fryer basket and potatoes with vegetable oil—this is key! Apply with a spray bottle or paper towel. Skip canned nonstick sprays; use a refillable oil spritzer instead.
🧻 Dry Thoroughly: Make sure potatoes are completely dry before adding spices and oil. Moisture causes sticking!
📄 Parchment or Foil: For extra insurance, line the basket with parchment rounds or aluminum foil. Poke holes to allow air circulation.
🖐️ Hands-On Method: Use your hands to coat potatoes with oil for maximum coverage. Wash hands thoroughly afterward!
🥔 Potato Type: Yukon gold potatoes work best for this recipe. Red potatoes are great too. Russets can be too starchy.
✂️ Uniform Size: Cut potatoes into 1-inch cubes for even cooking. Different sizes lead to unevenly cooked pieces.
🥔 Mini Potatoes: If using mini potatoes, cut in half or leave whole and add a few extra minutes to cooking time.
🌶️ Spice It Up: Use the seasonings listed or customize to taste. Add ½ teaspoon cayenne pepper for extra heat.
🥣 Other Spices:
Here are some other ideas for seasonings:
❓ FAQs
No, you can stack the potatoes in the basket. Just make sure the potatoes are evenly spread out and don’t fill the basket so much that the air can’t circulate.
This is one of those recipes for which I recommend spraying the basket with oil.
Spray the basket with a light spritz of oil. Don’t use the canned oil spray, but instead use an oil spray mister that can be filled with oil. [Read More: Go to the section Air Fryer Tips in my guide on how to use the Instant Pot Duo Crisp]
Yes, you can use the same timing and temperature to make these Instant Pot air fryer roasted potatoes using the air fryer lid.
Yes, the timing and temperature will work with other brands of air fryers such as a traditional air fryer or a Ninja Foodi.
Use a nonstick spatula to gently move the potatoes. Sometimes letting the potatoes cook for a few more minutes loosens them. You can also line the basket with parchment paper or aluminum foil to prevent sticking next time. Be sure to poke a few holes in them to allow for circulation.
It’s important to oil them generously and not overcook them. The next time you make them, decrease the cooking time by two minutes. Different air fryers may have slight variations, so you have to find a time and temperature that works for you.
Spritz the potatoes with some oil and air fry them for another 2 to 3 minutes at 400 degrees.
Yes, the potatoes can be reheated by air frying them for 2 to 3 minutes at 375 degrees Fahrenheit.
I don’t preheat the Instant Pot Duo Crisp + air fryer before roasting the potatoes. Please note that the Duo Crisp has a built-in preheat time.
When I make two batches, I do notice that the second batch cooks faster since the air fryer is quite hot. It’s best to follow the instructions of the manufacturer.
Overcrowding the air fryer can result in soggy or undercooked food. It depends on the capacity of your air fryer. Some air fryers can accommodate more food.
If you need to air fry double the quantity, you can do it in two batches. Once both batches are done, combine the potatoes and air fry them for about a minute to heat them all the way through.
How to Make Roasted Potatoes
⏲️ Instant Pot Air Fryer Instructions
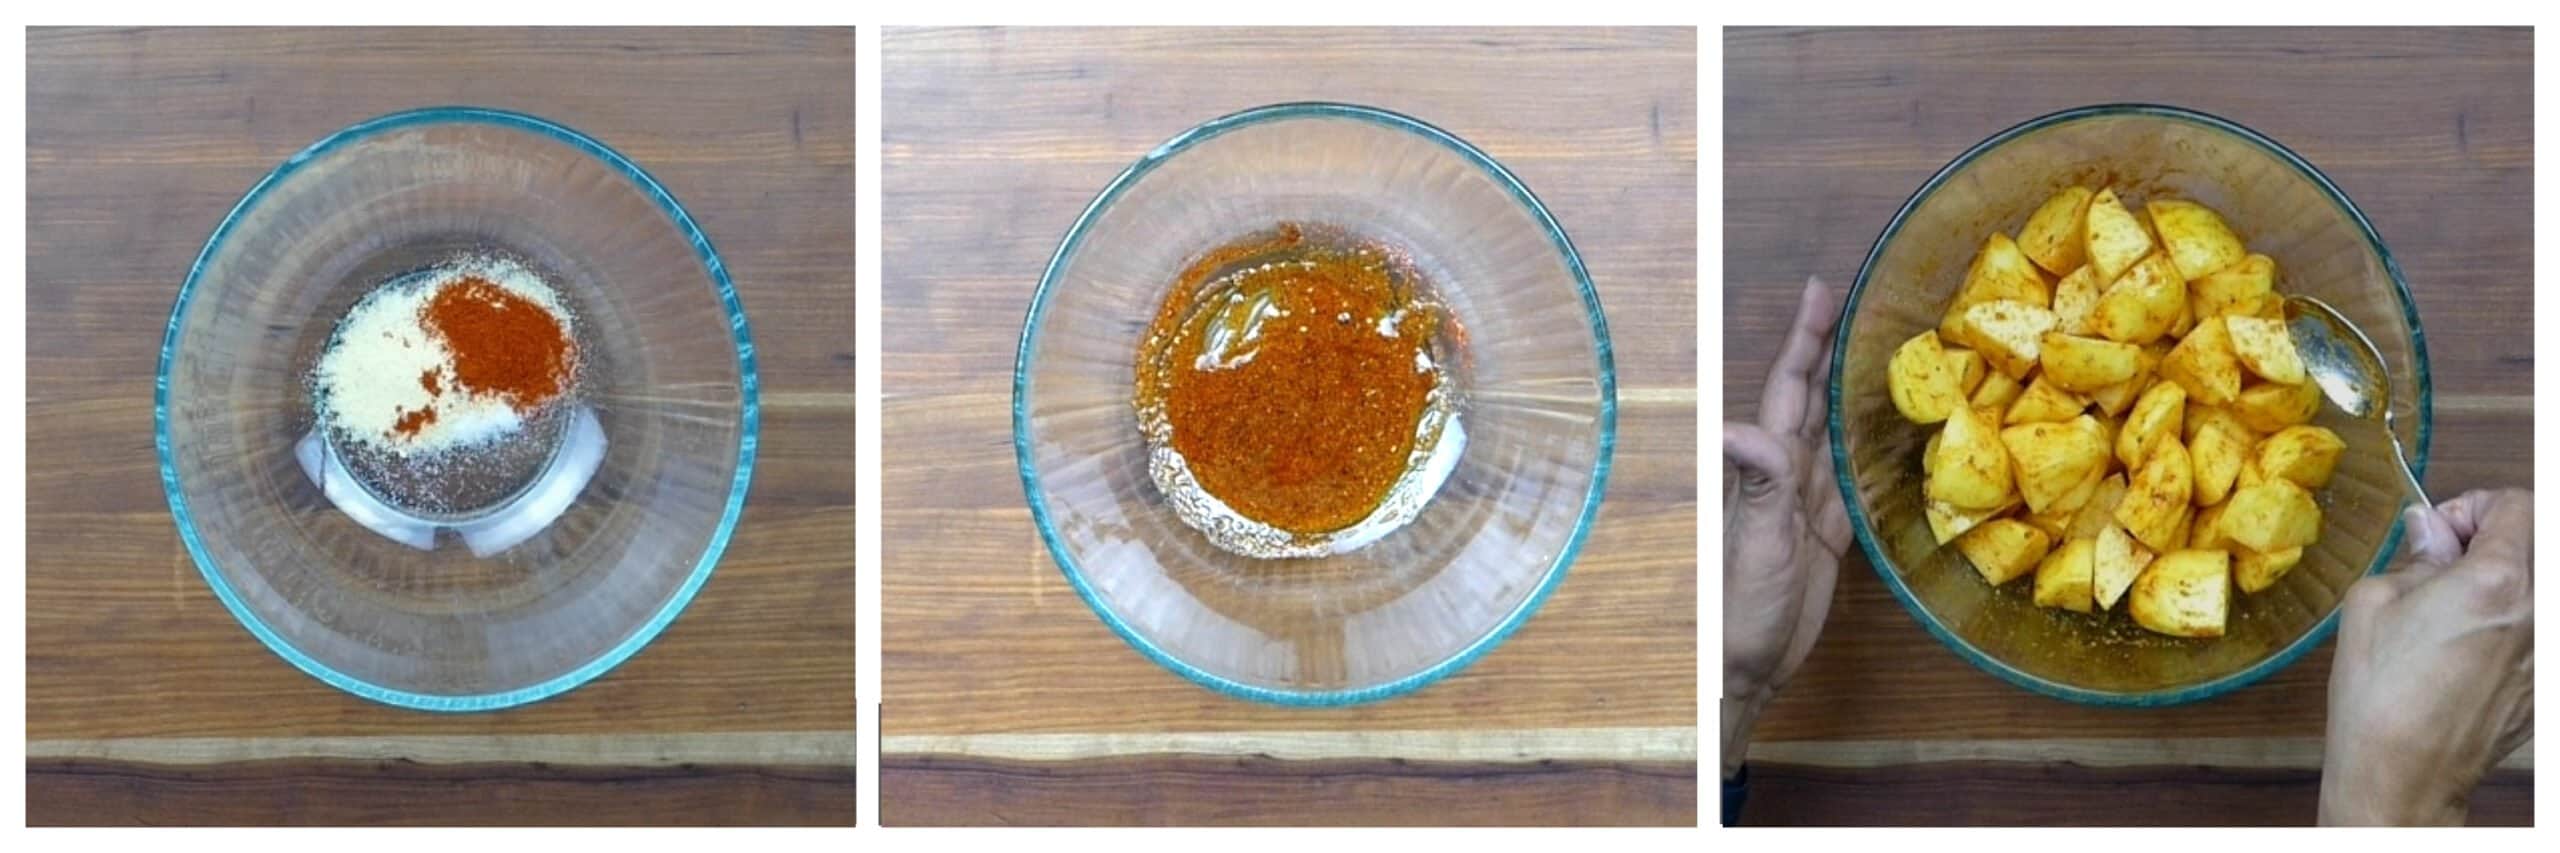
- Mix the spices together in a medium bowl.
- Stir in vegetable oil to form a paste.
- Dry the potatoes thoroughly and coat them with the seasonings, making sure all surfaces are covered.
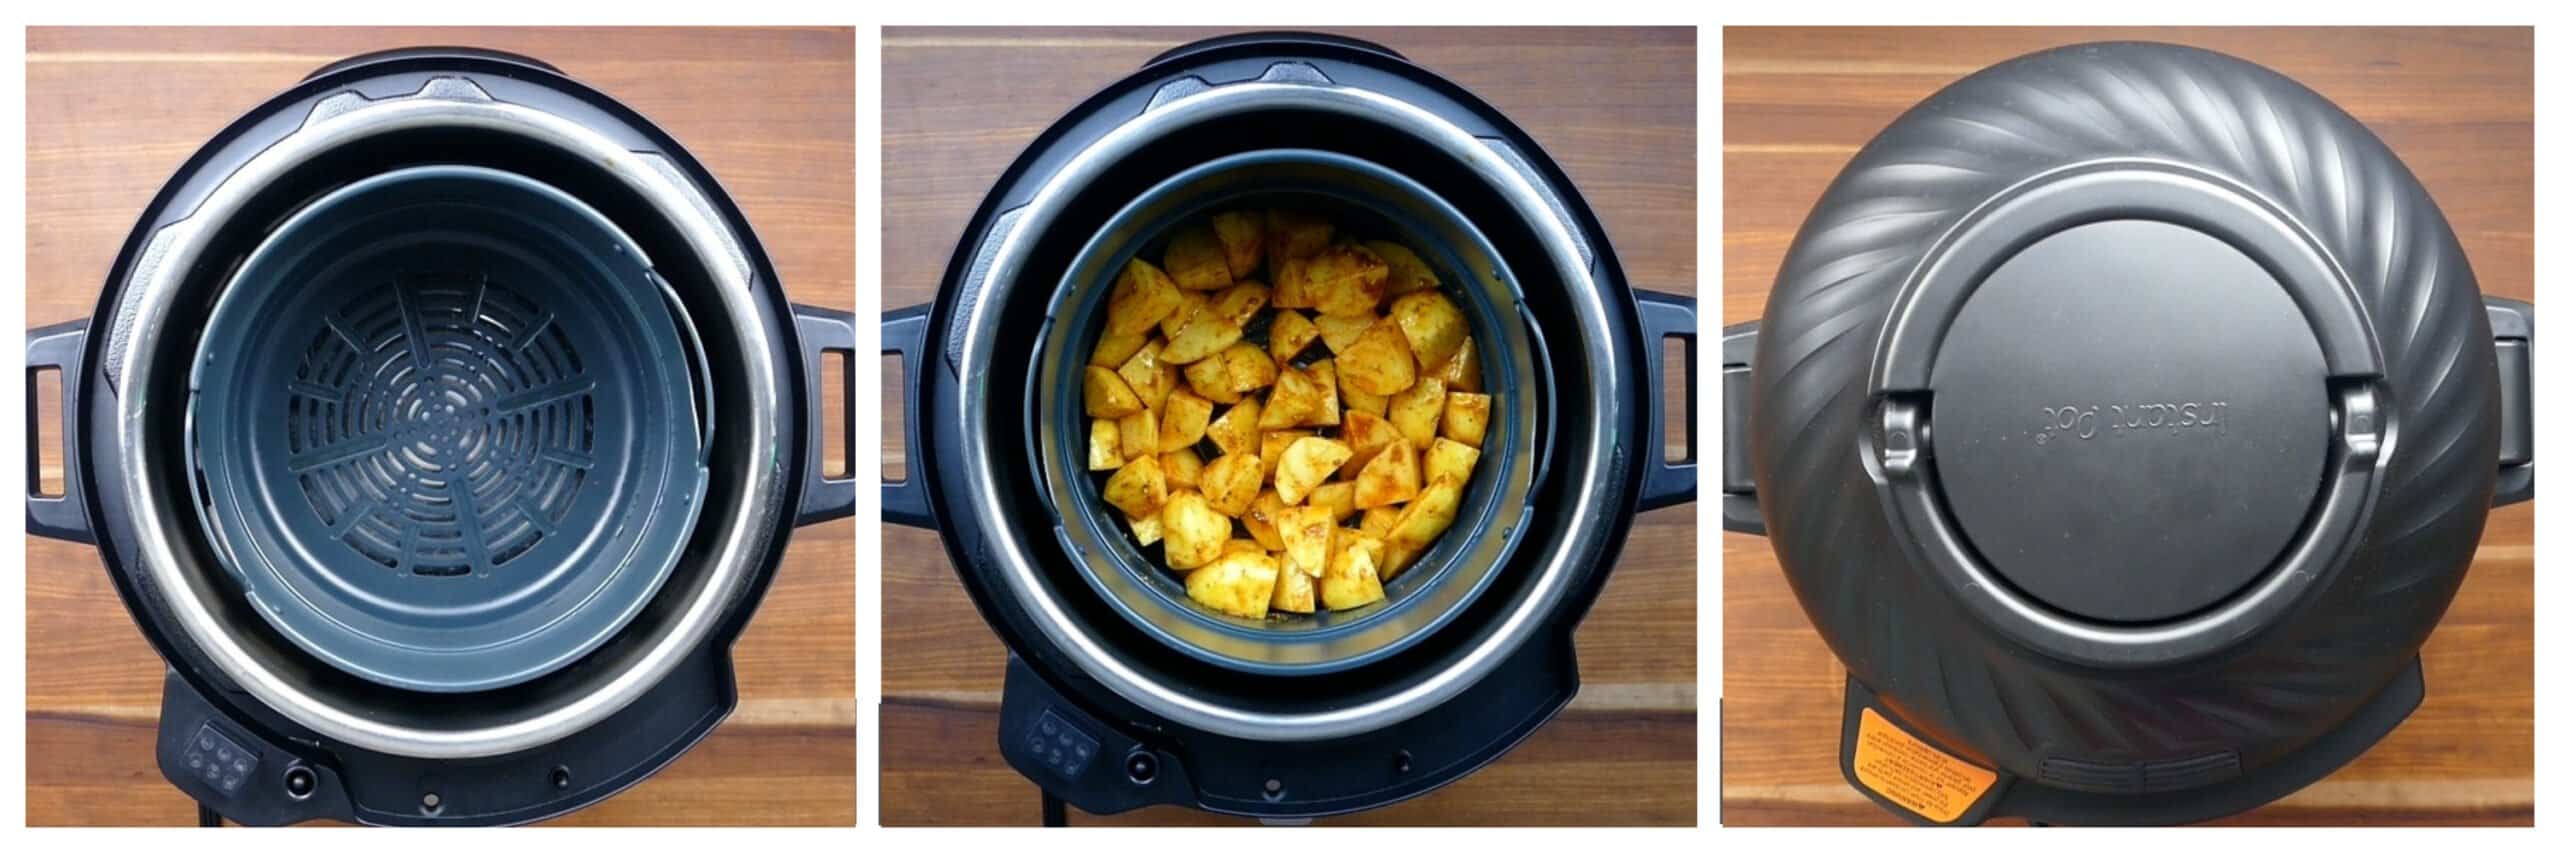
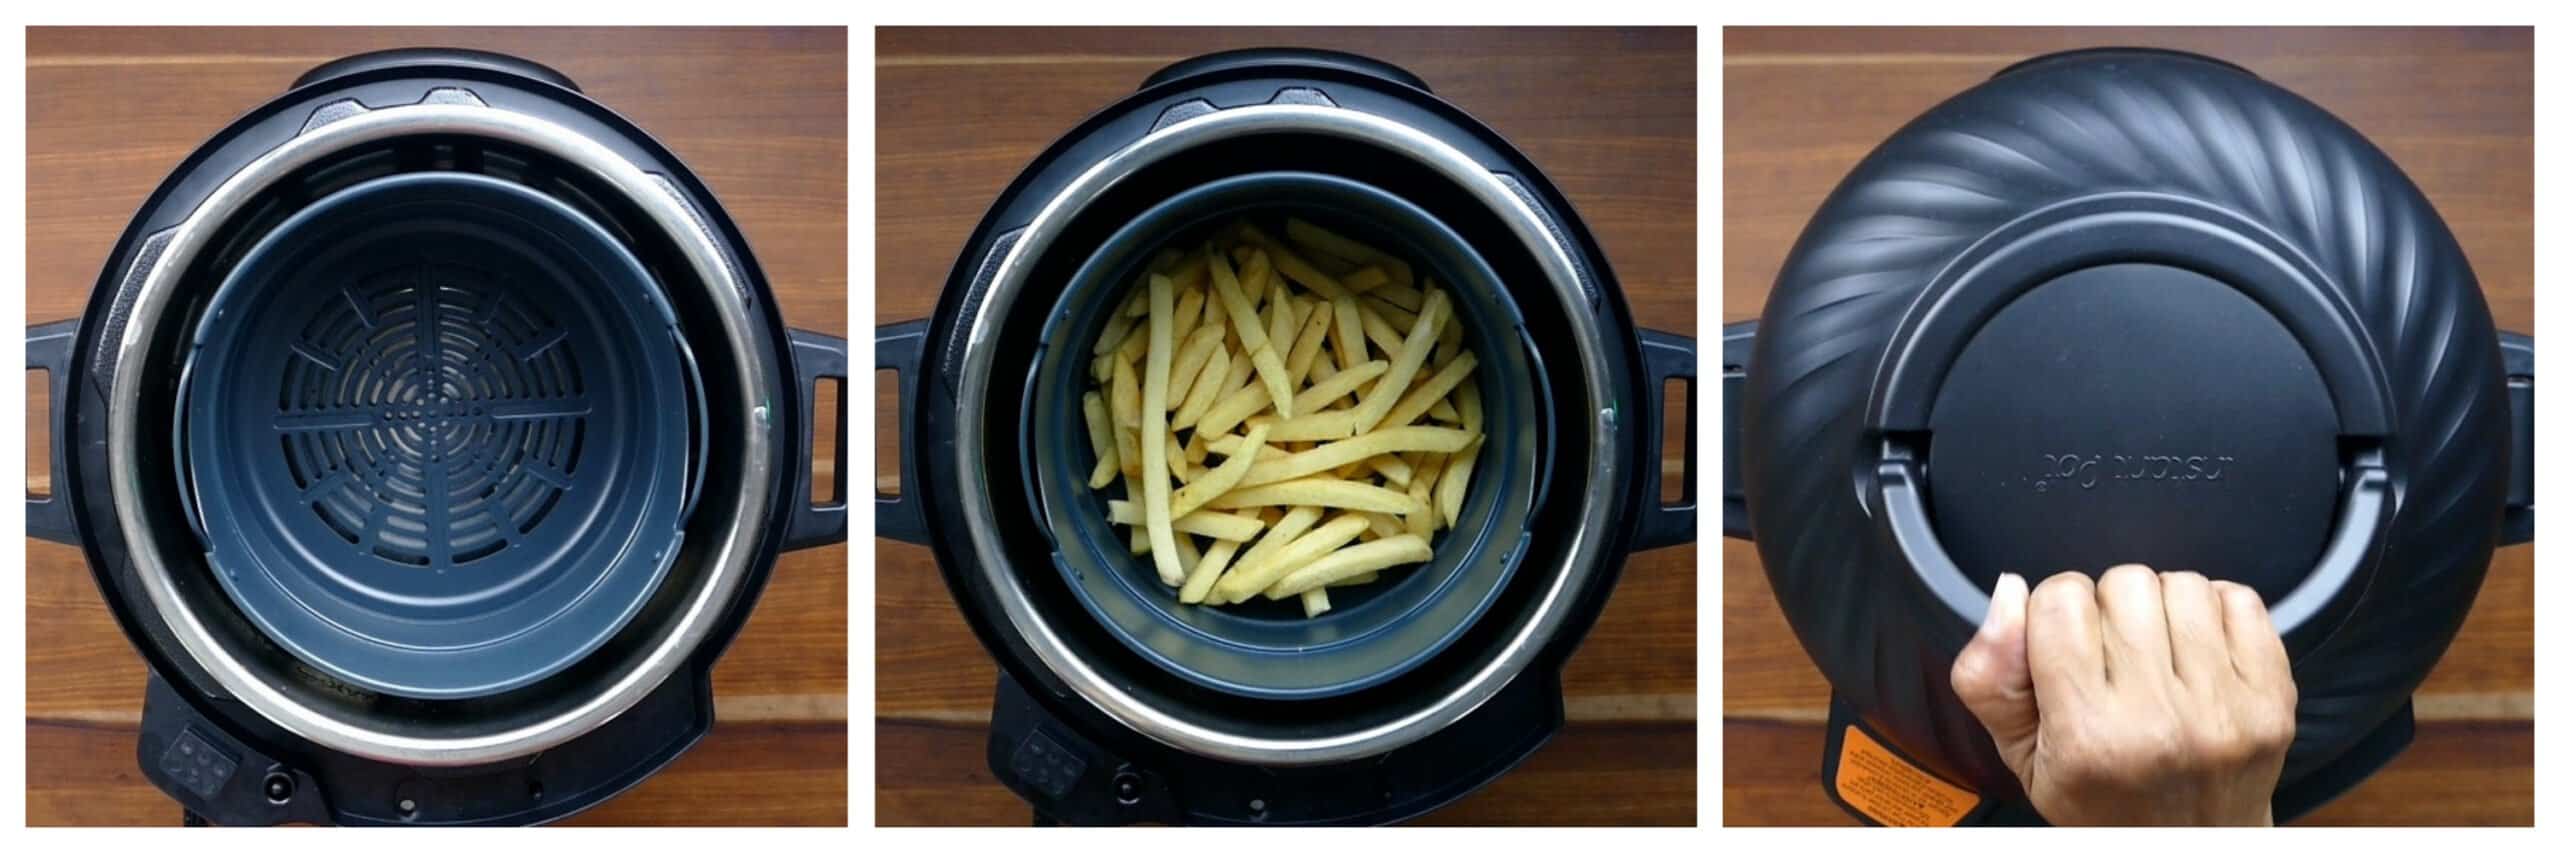
- Spray the air fryer basket liberally with vegetable oil.
- Transfer the potatoes into the air fryer basket.
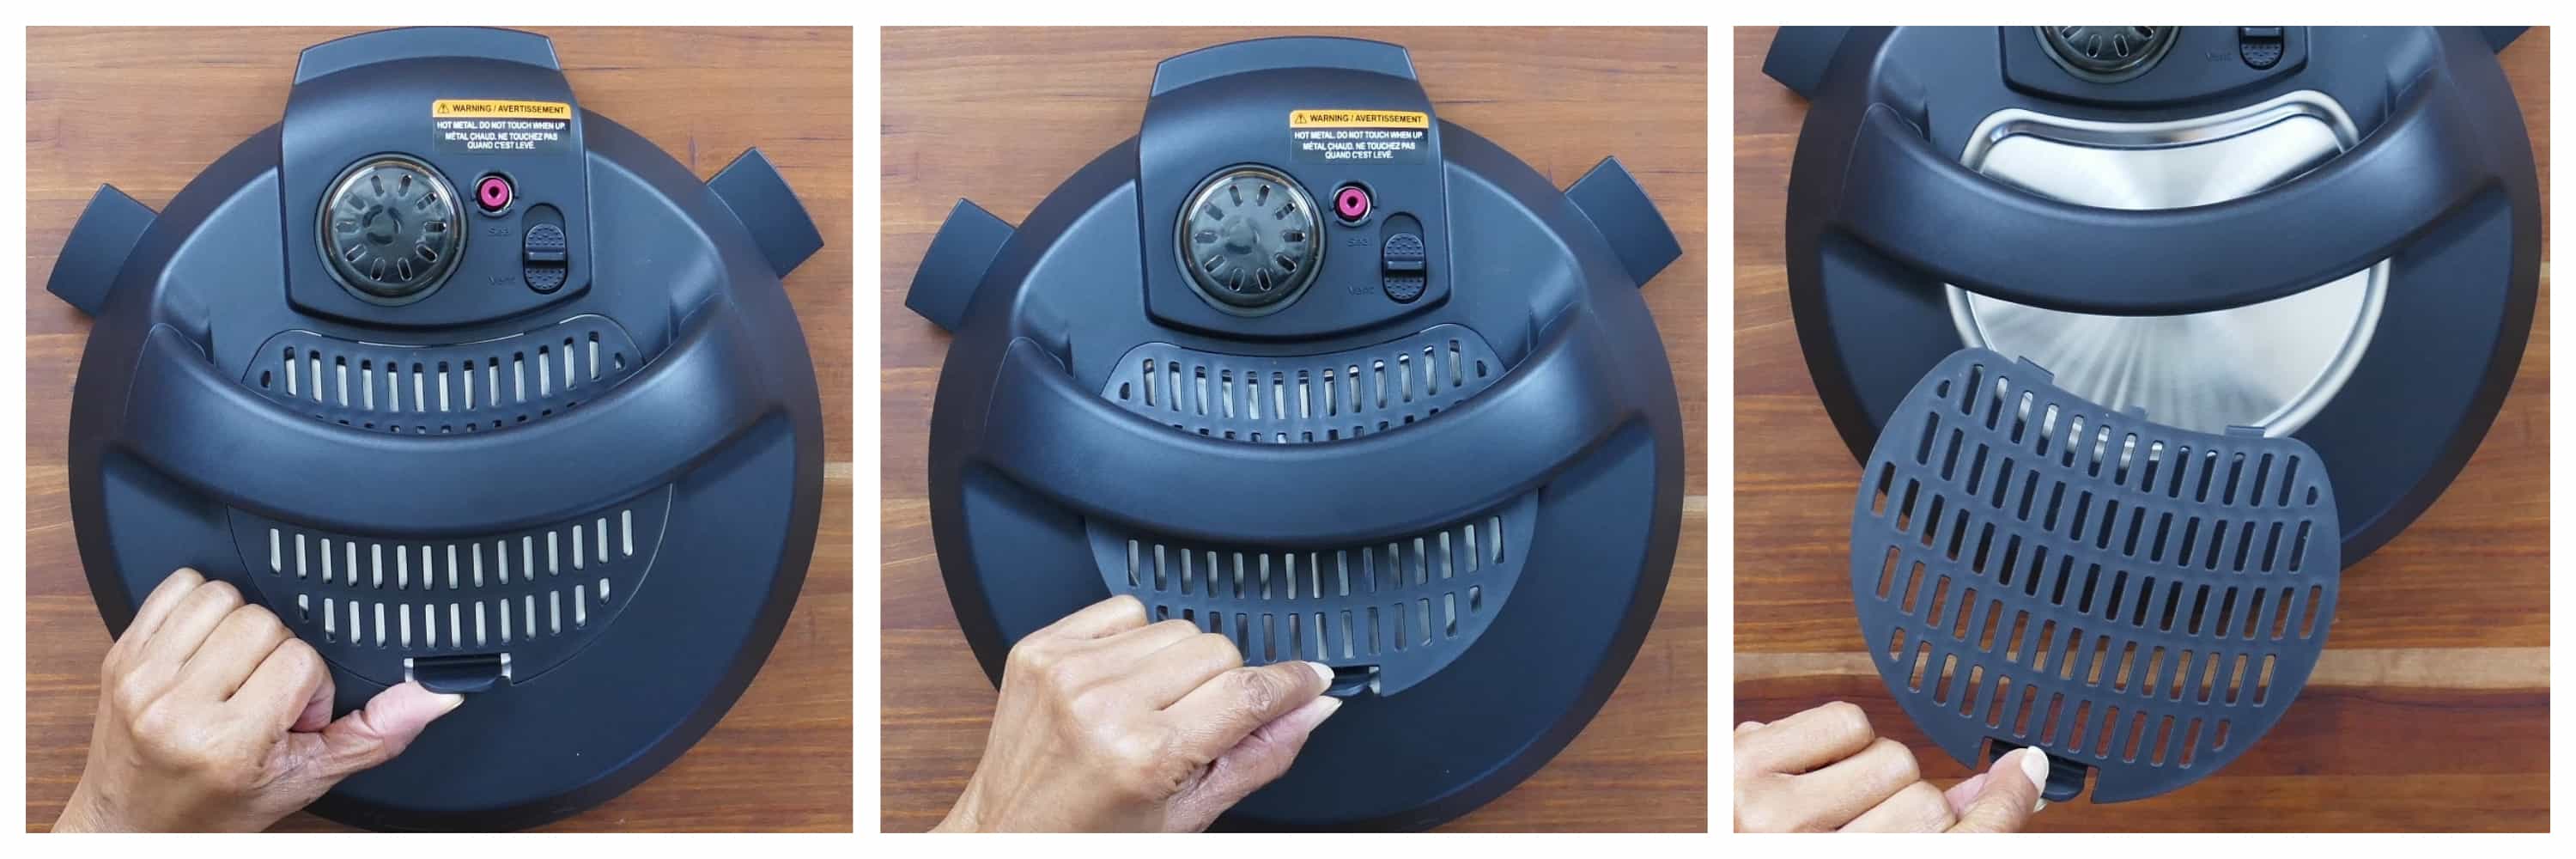
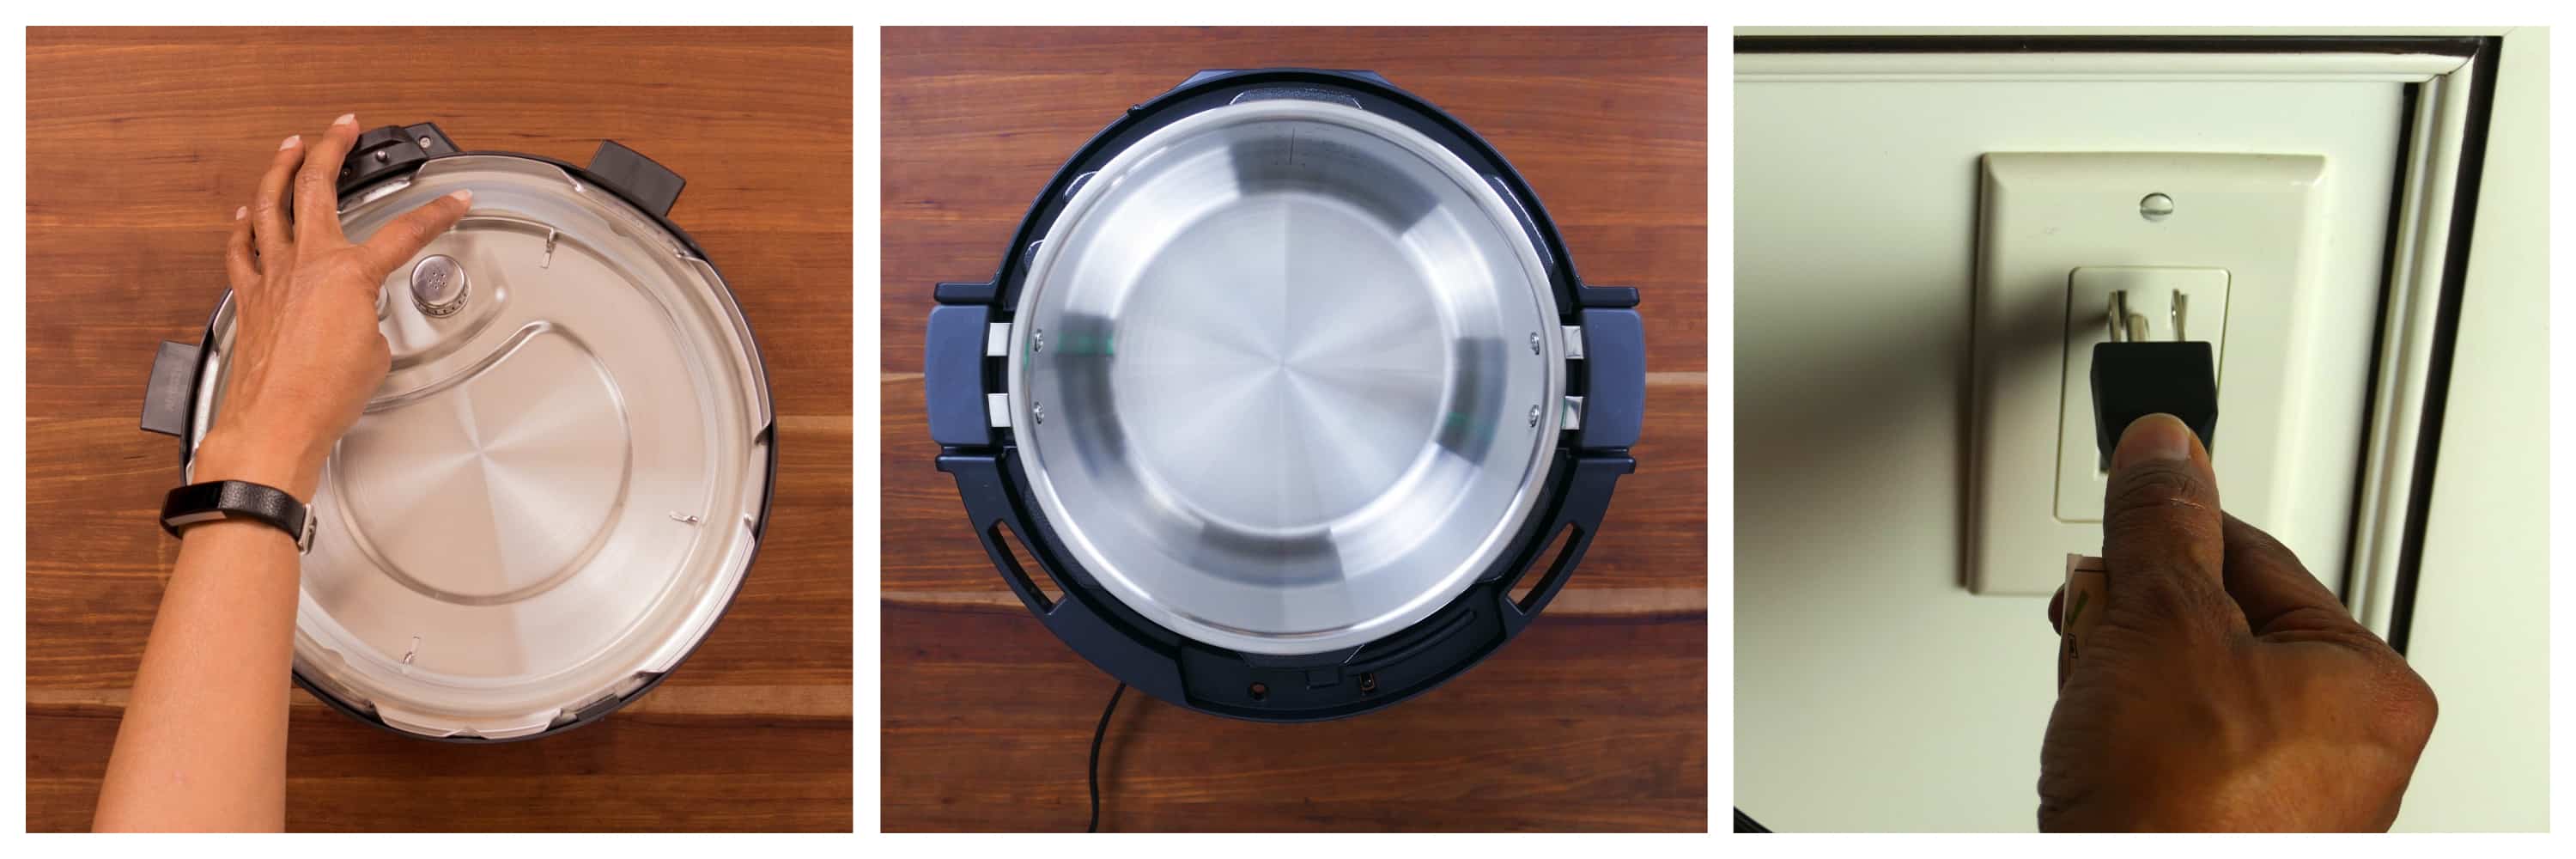
- Put on the air fryer lid.
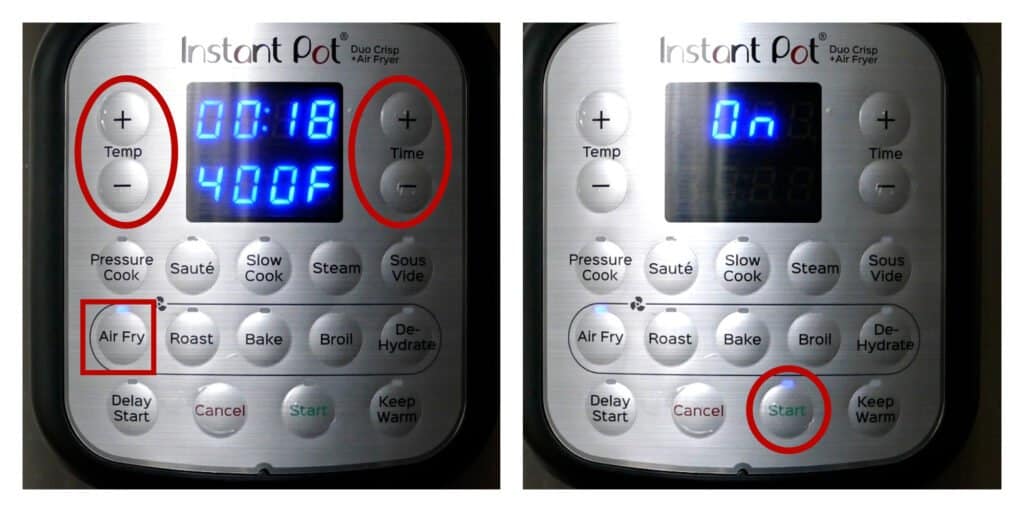
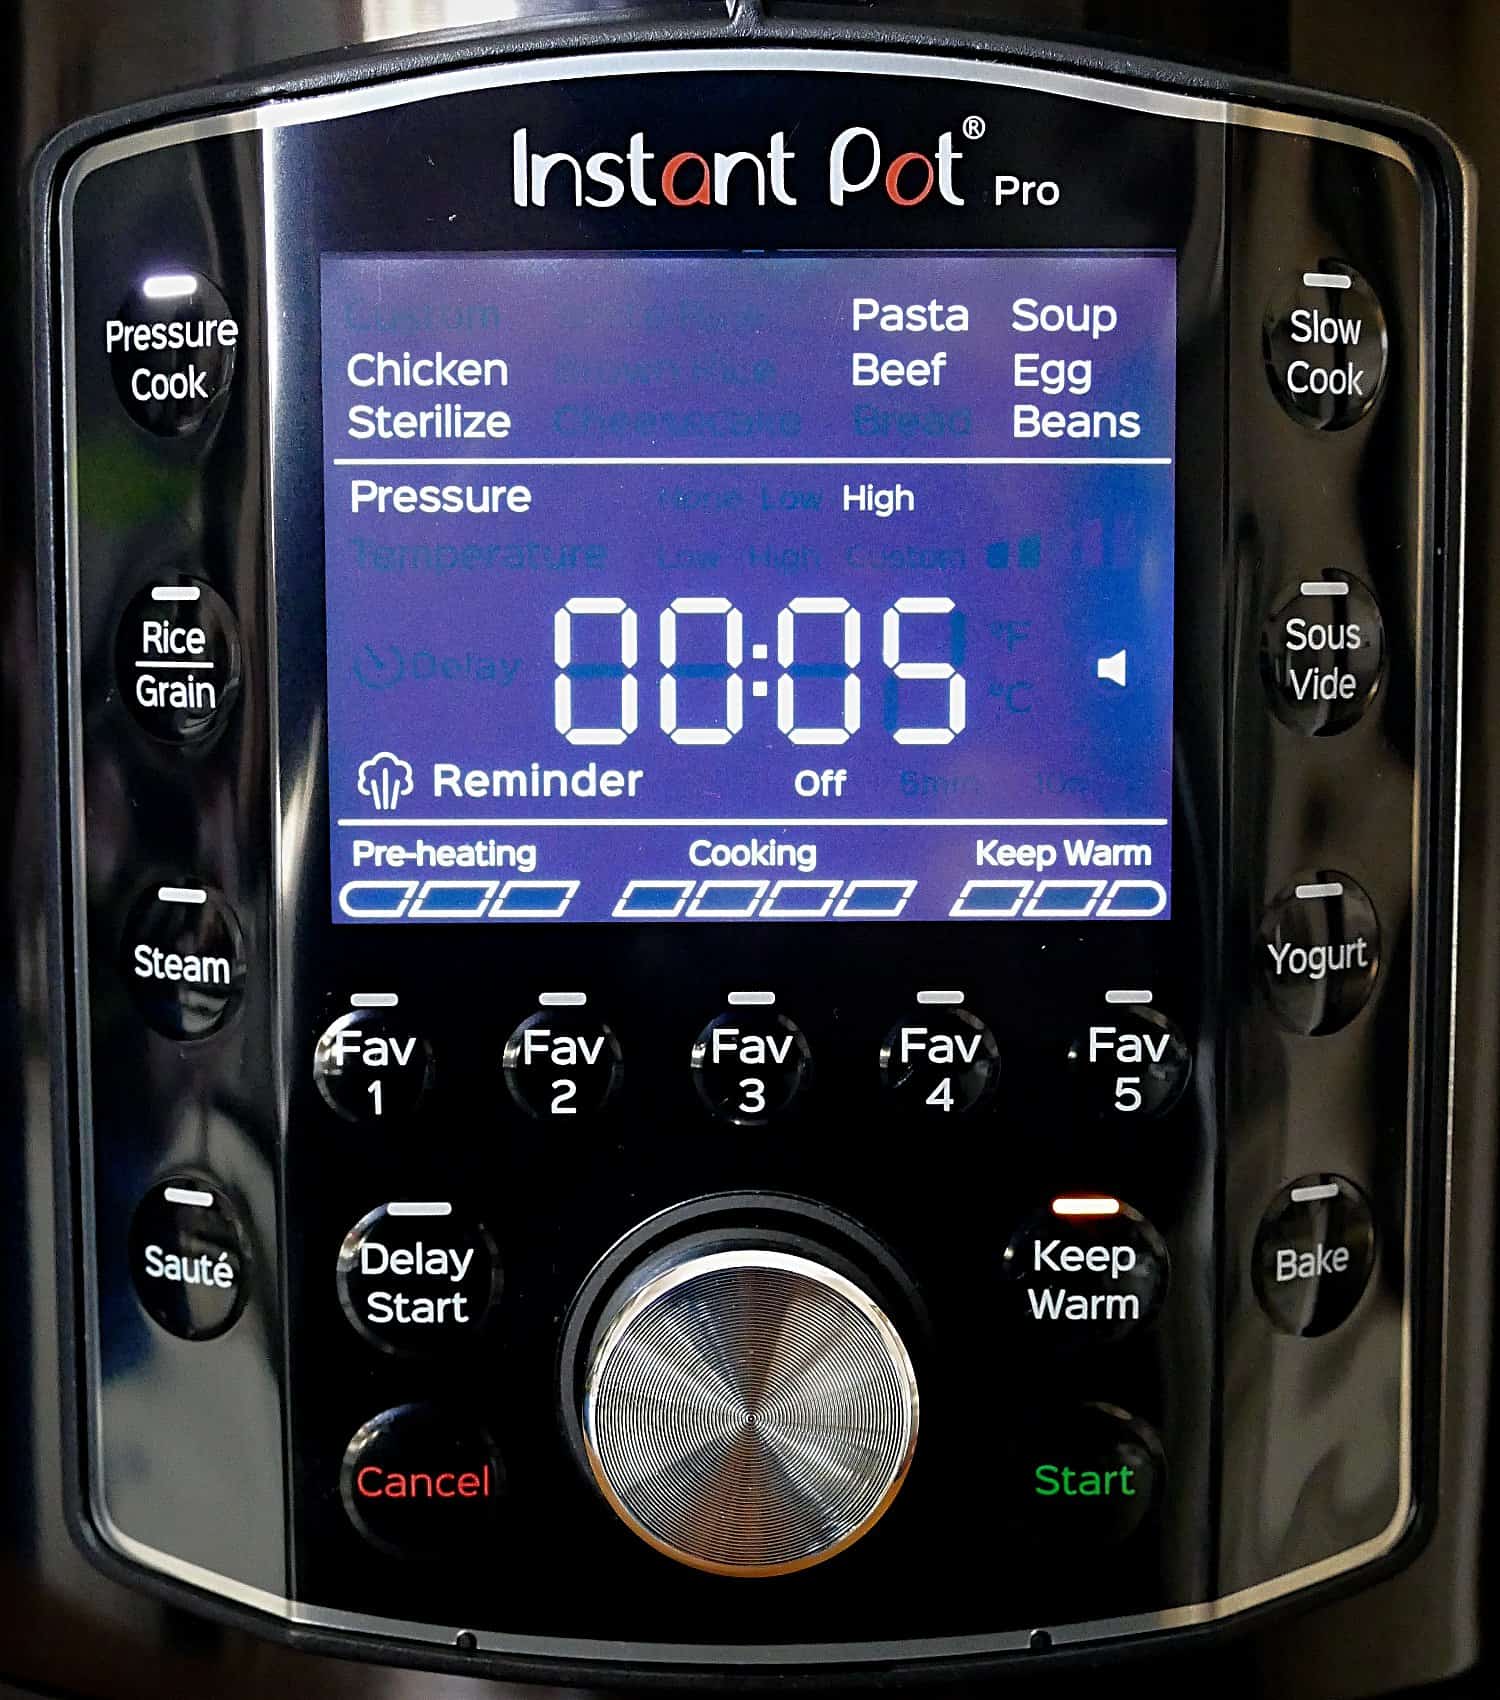
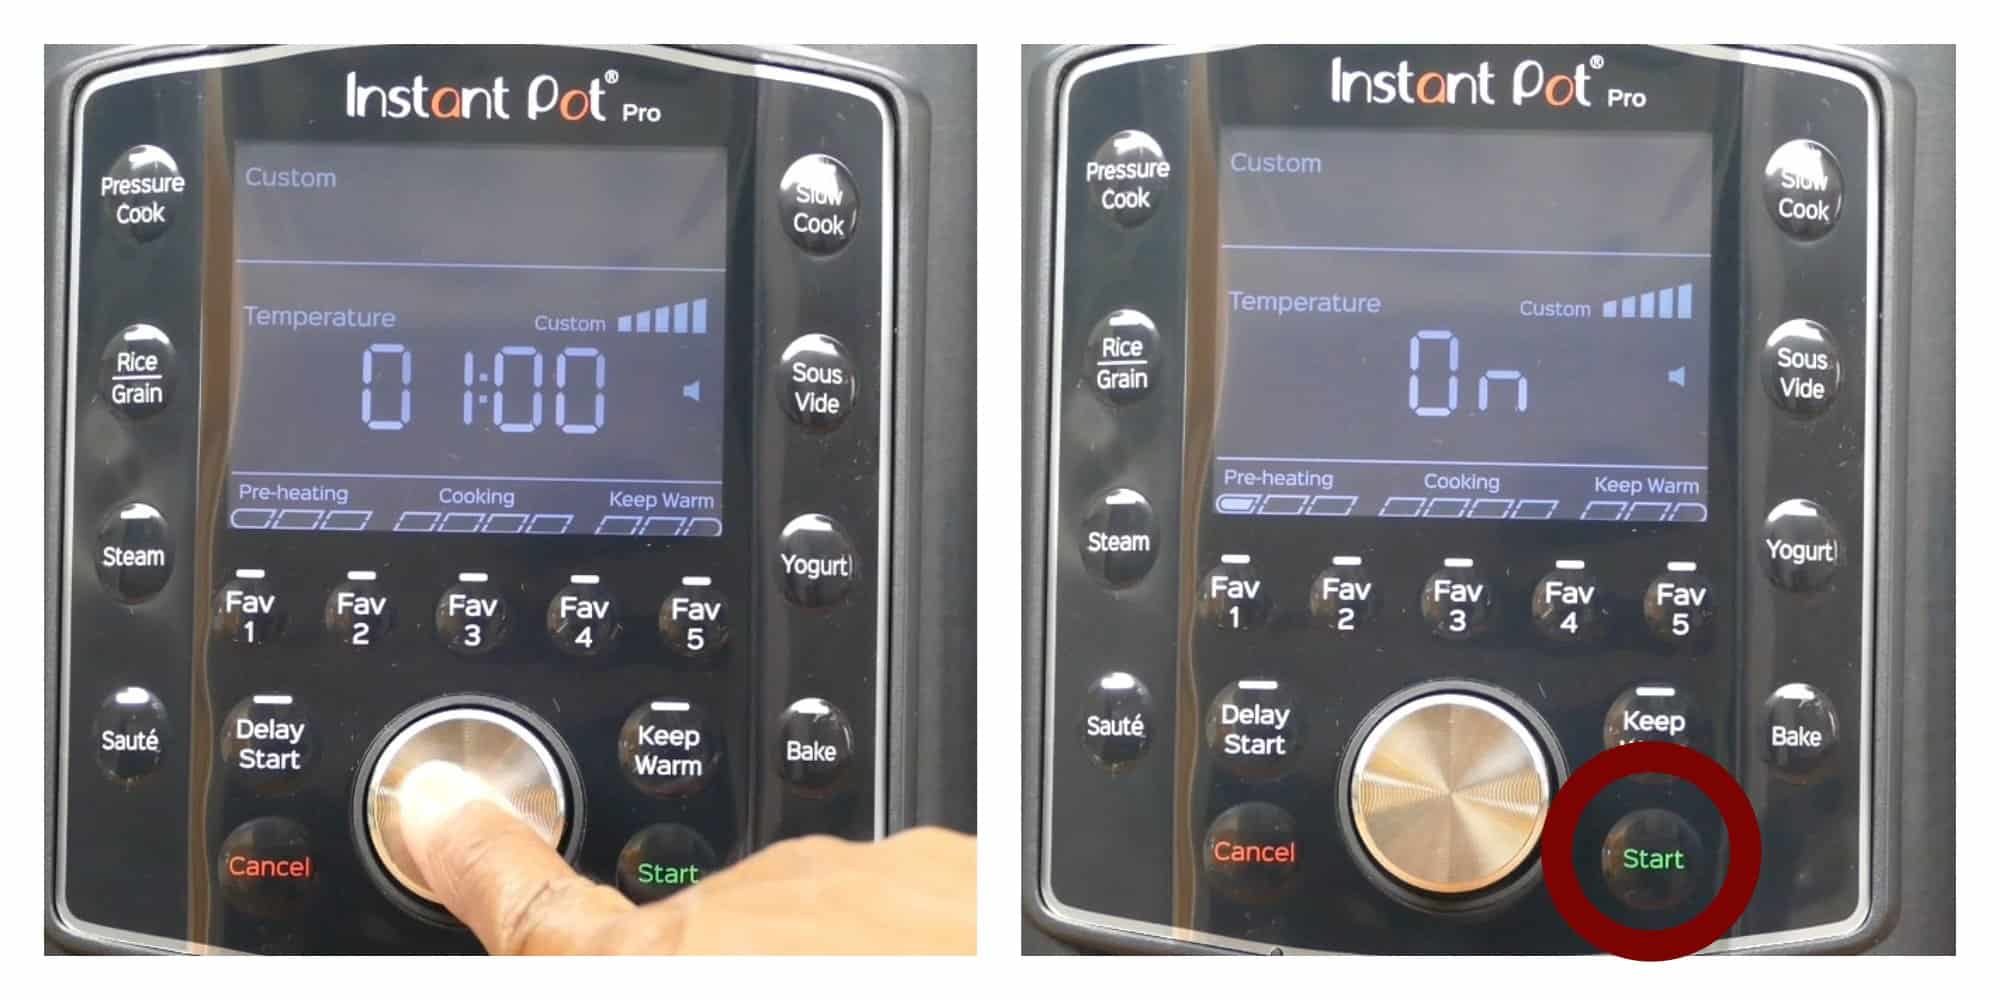
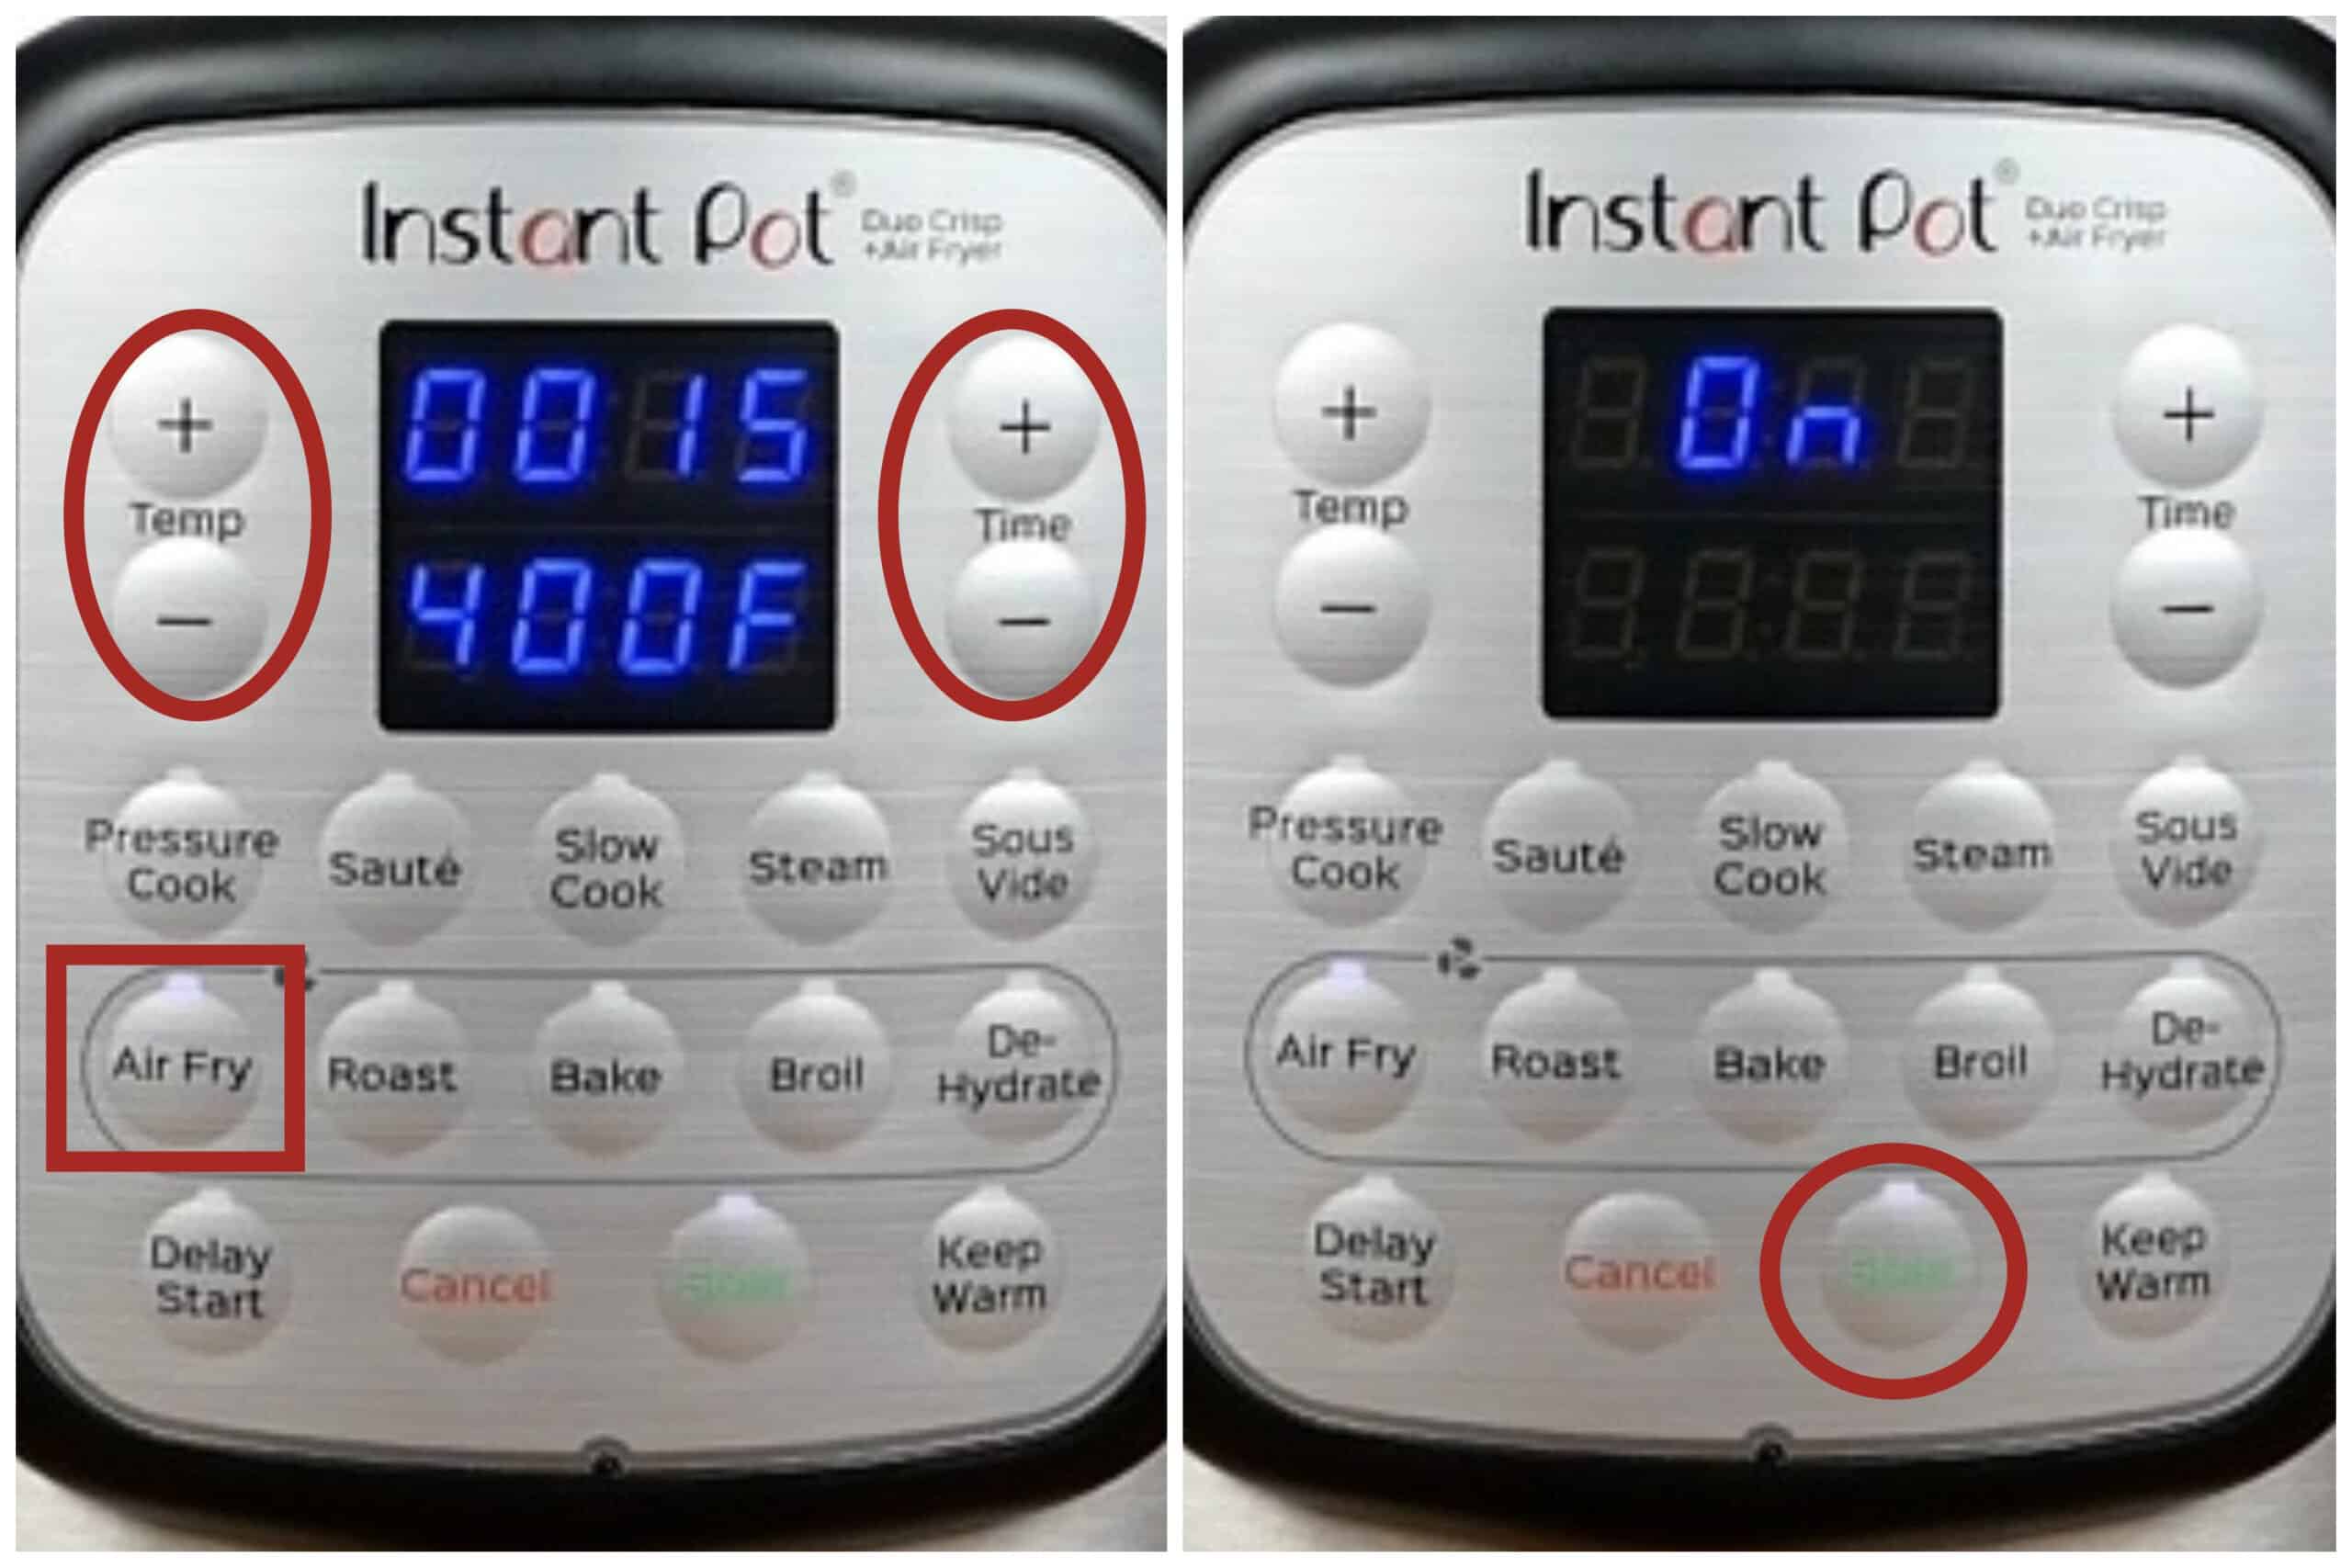
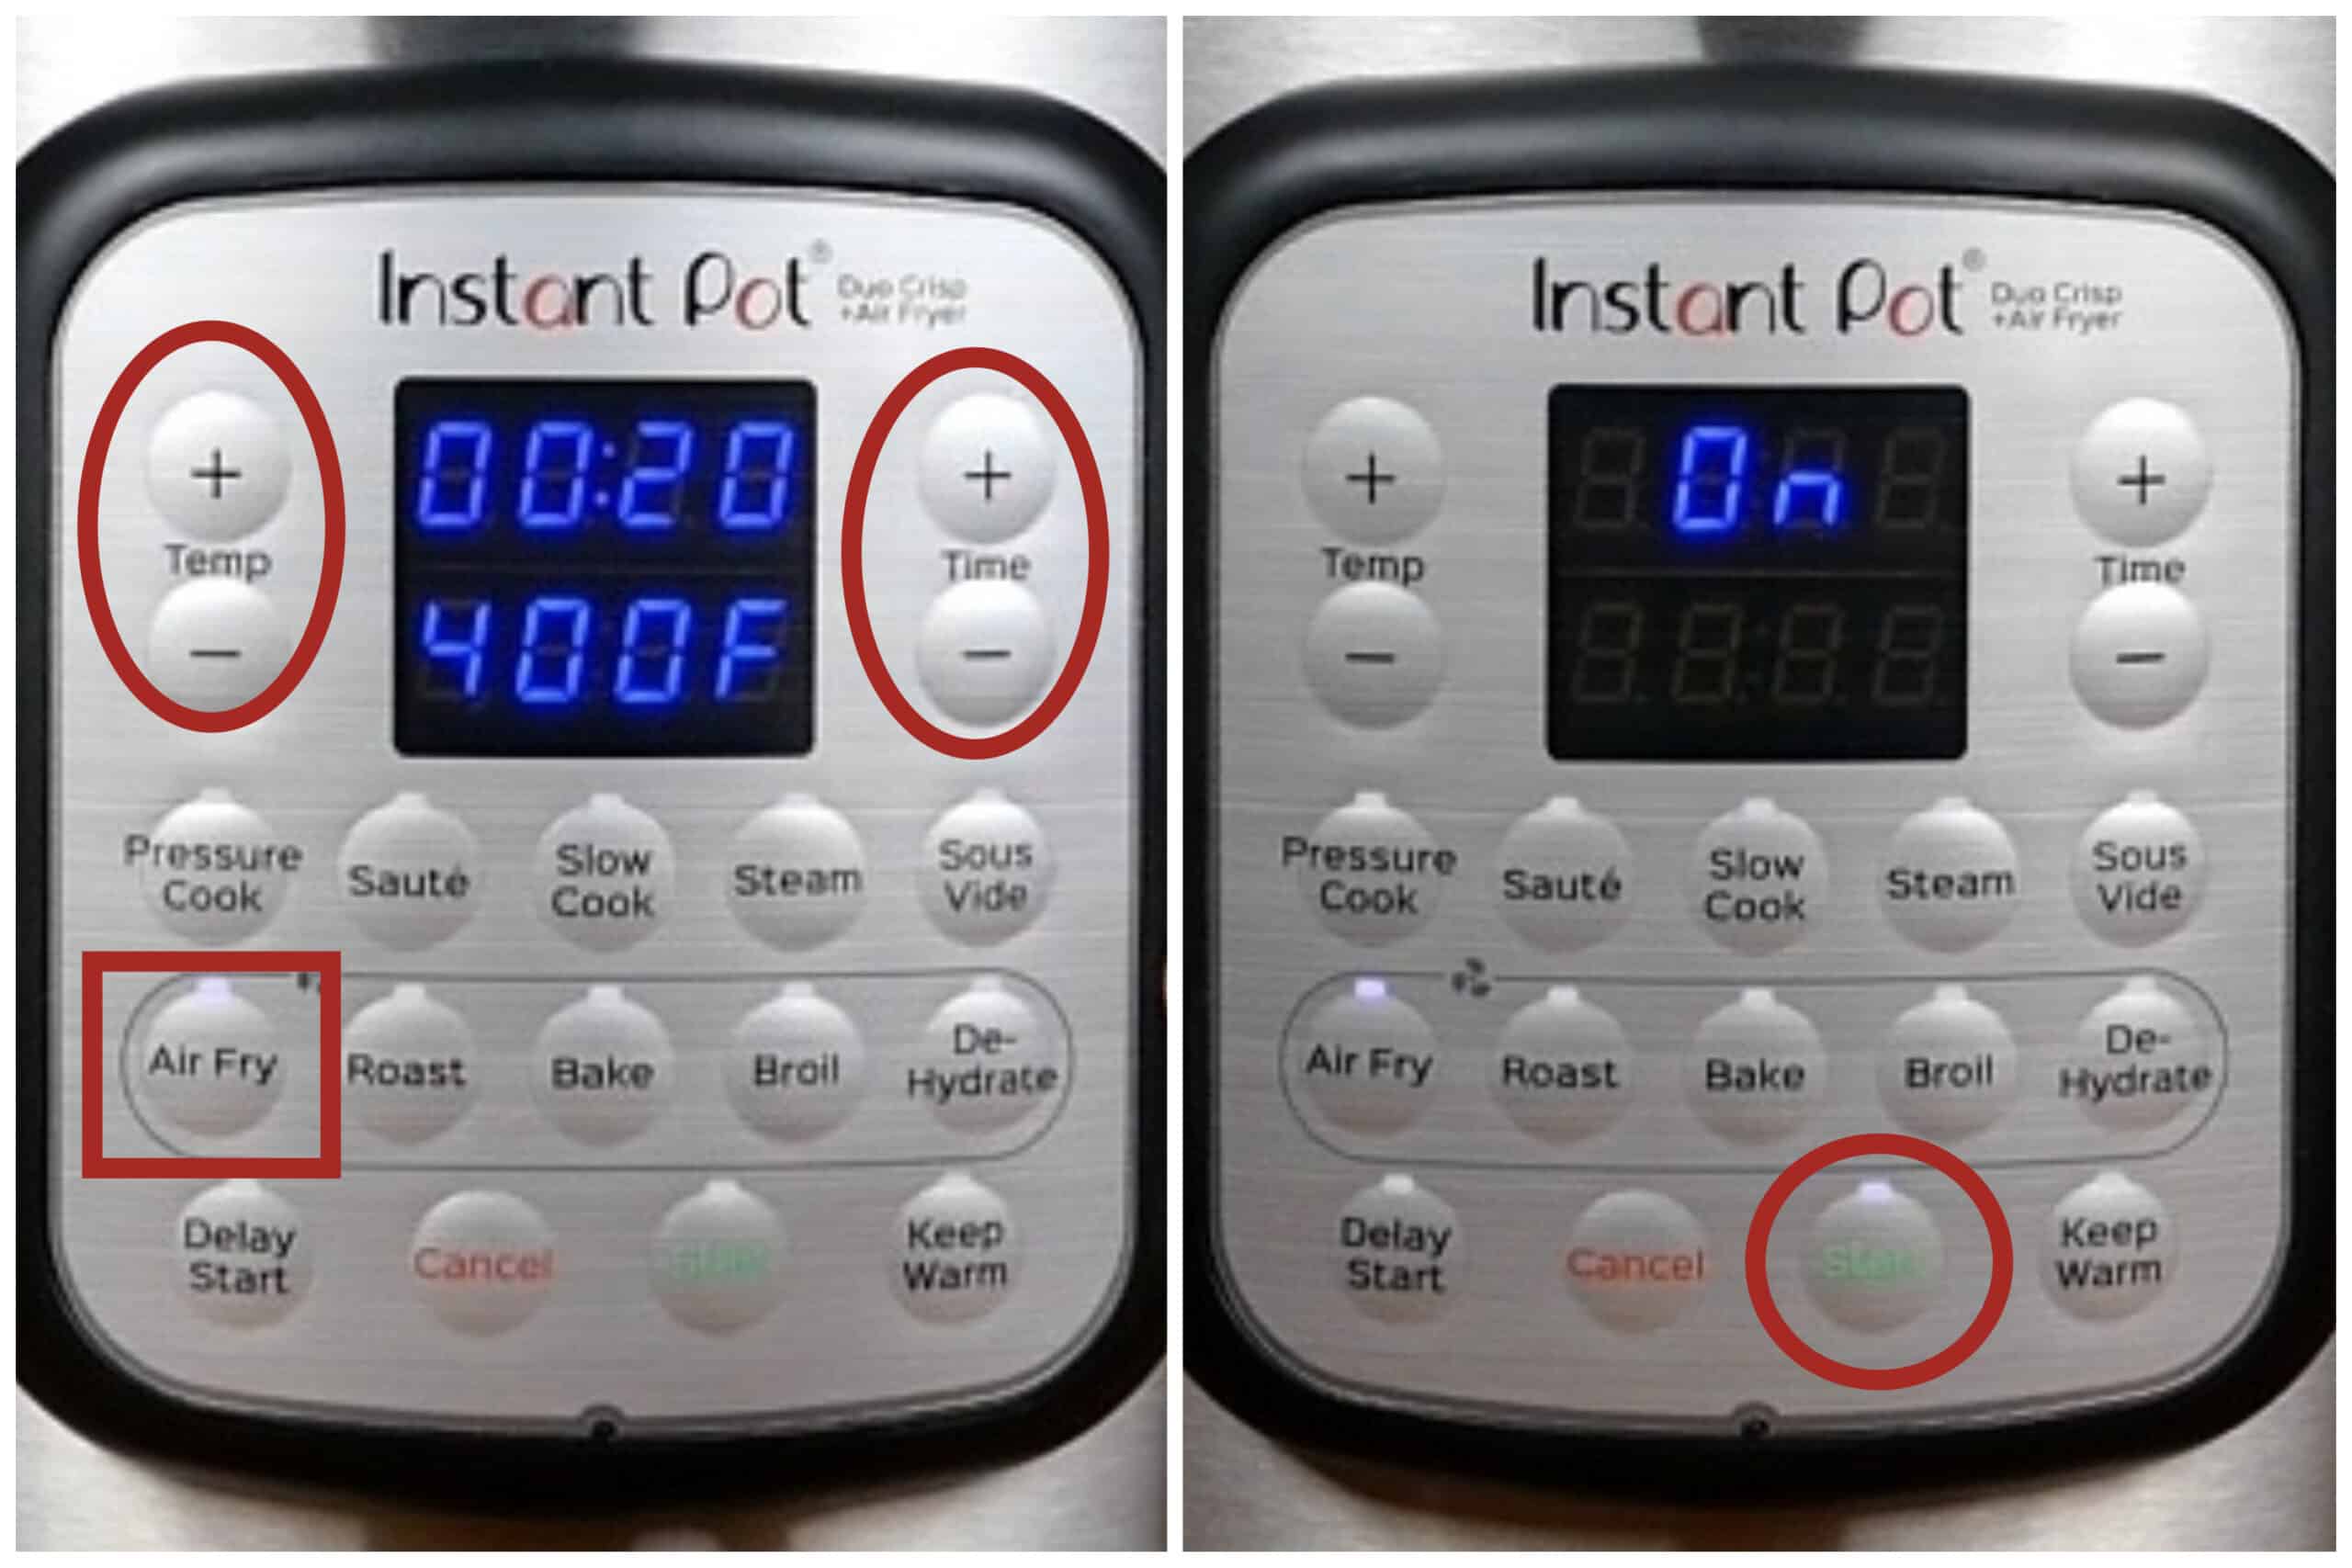
- Press the Air Fry Button.
- Press Temp + or – until the temperature says 400F.
- Press the Time + or – until the time says 00:18.
- Press Start.
- The display will say On, and once it has heated up, it will start counting down from 00:18 to 00:00.
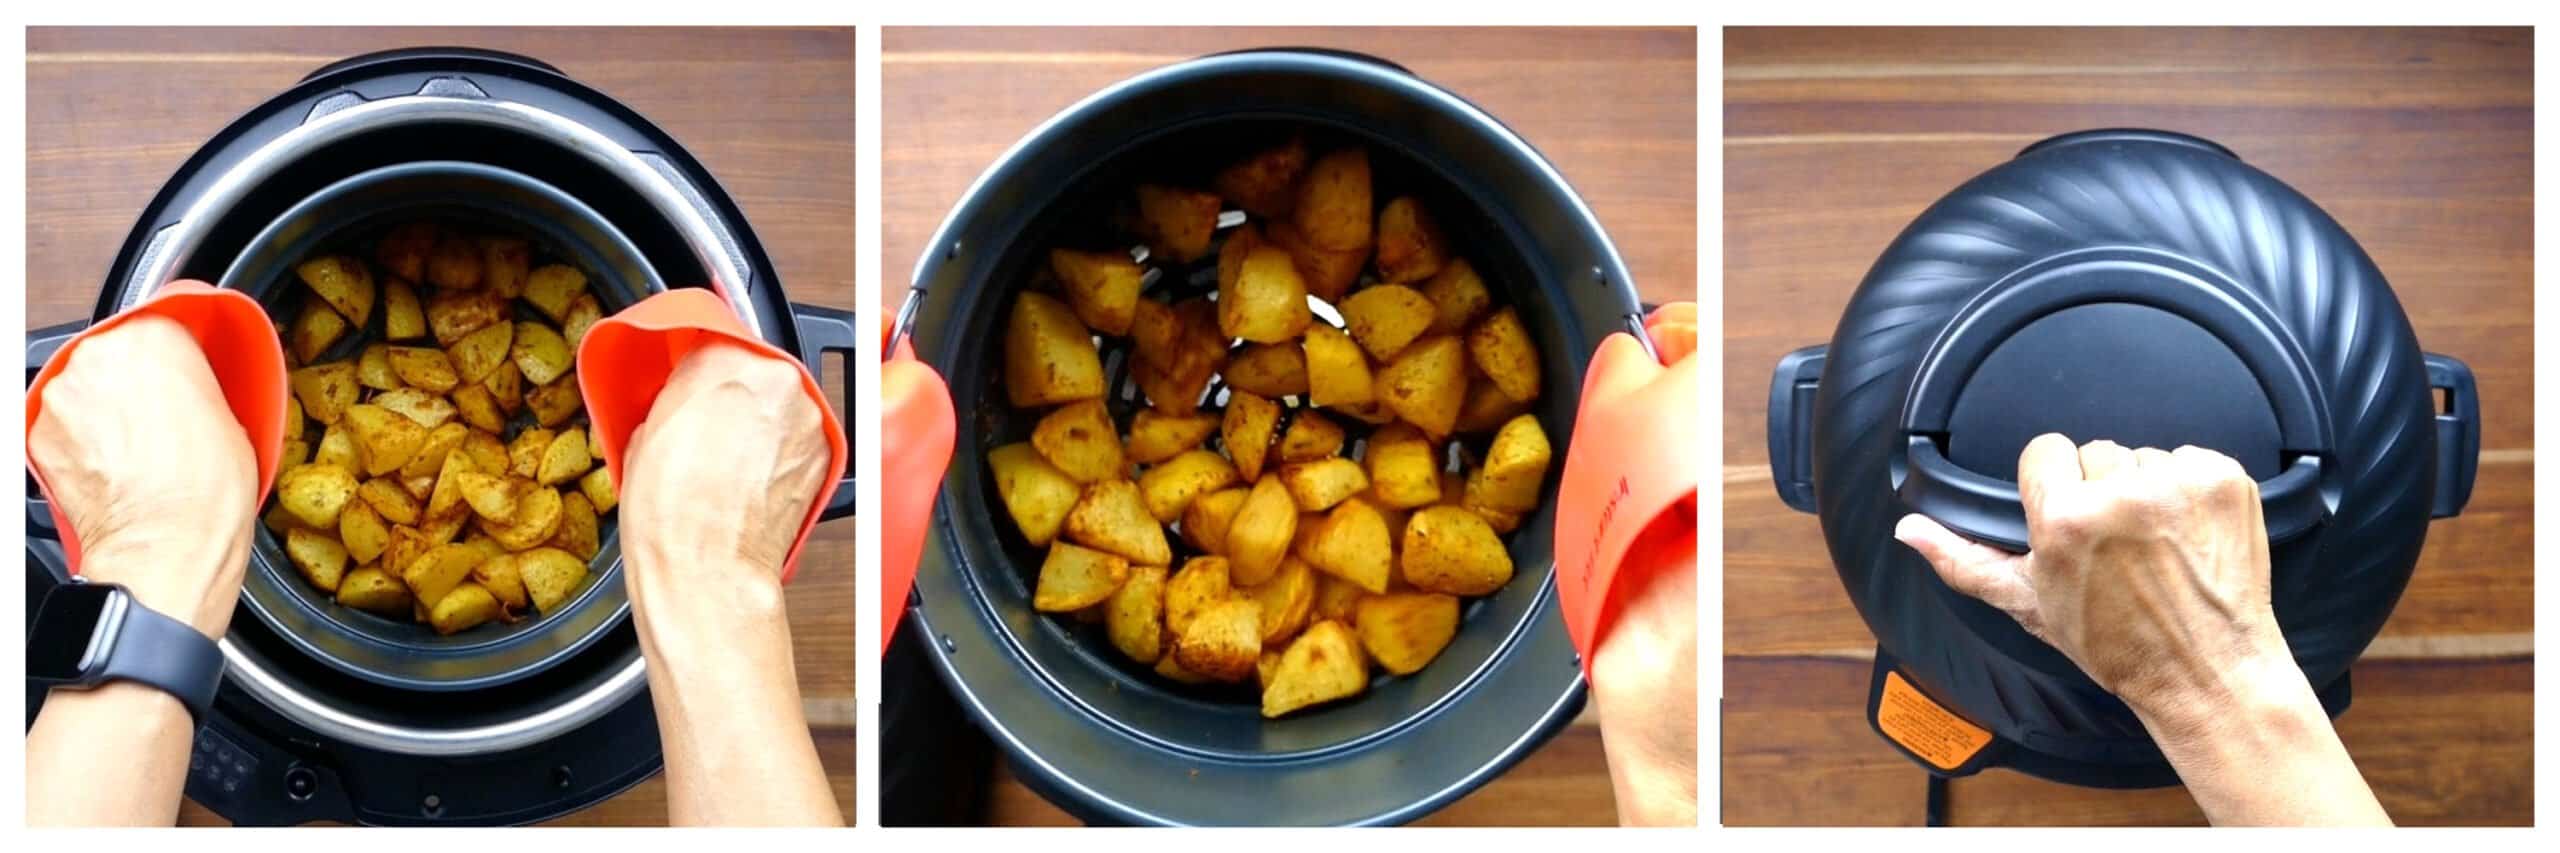
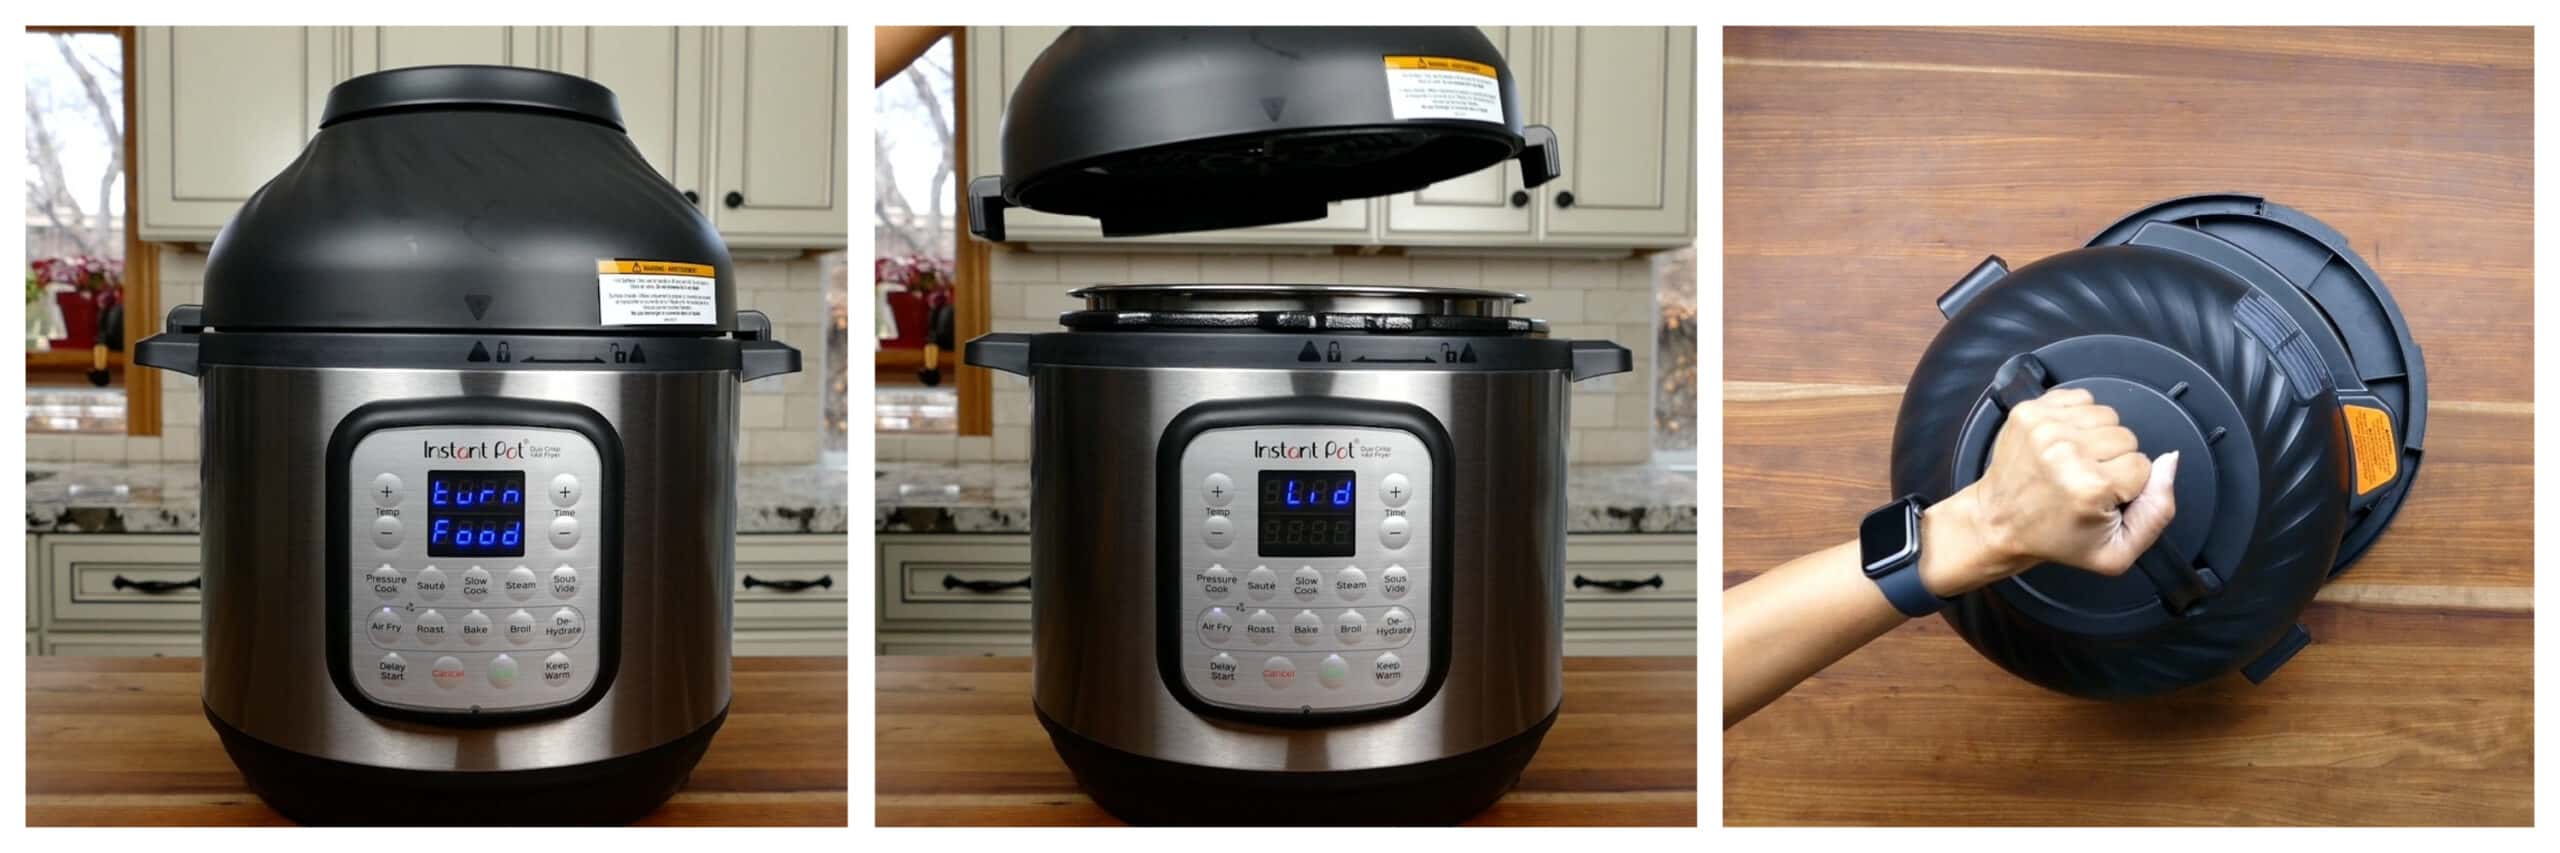
- Using silicone mitts, lift the basket by the handles and shake the potatoes up a couple of times. If you find that the potatoes are sticking to the bottom, use a nonstick spatula to gently lift the potatoes.
- Close the lid.
- Cooking will automatically continue.
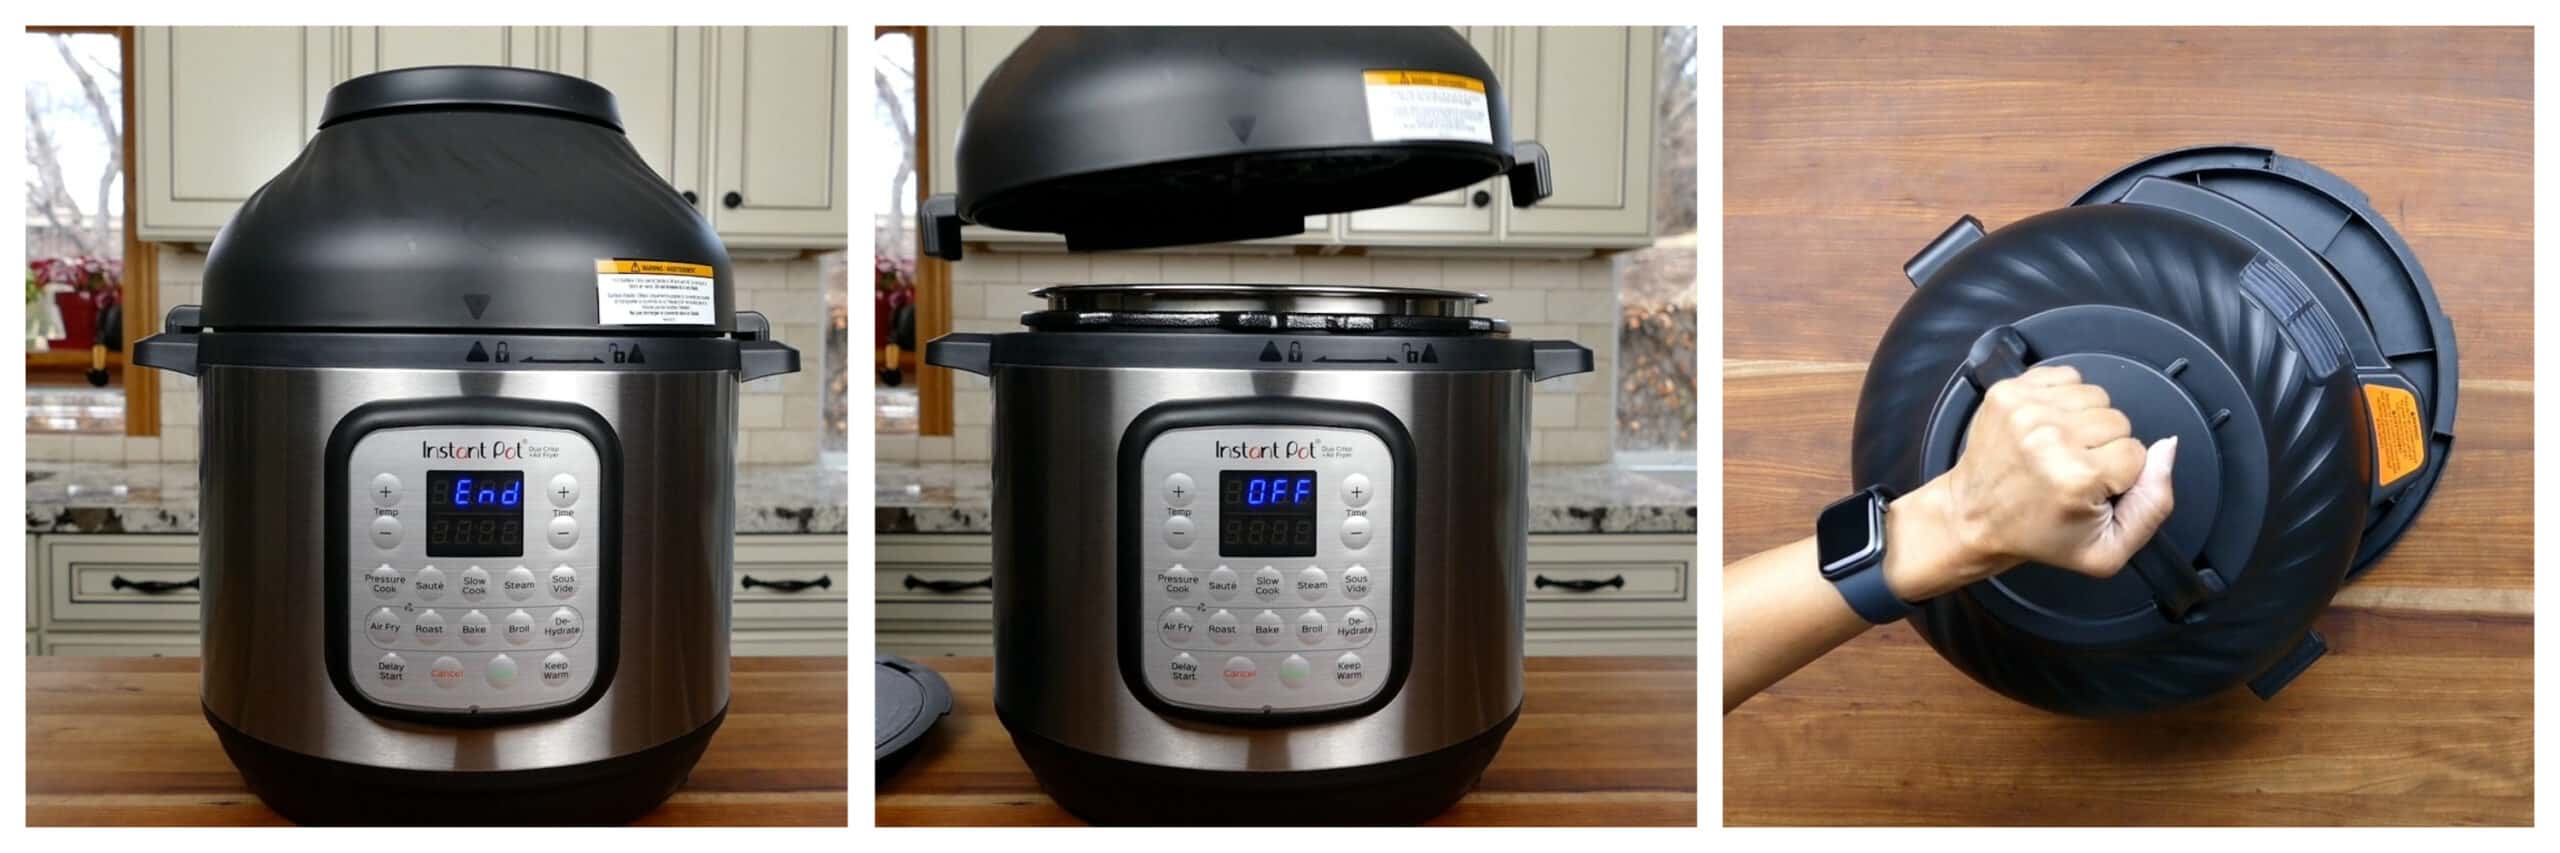
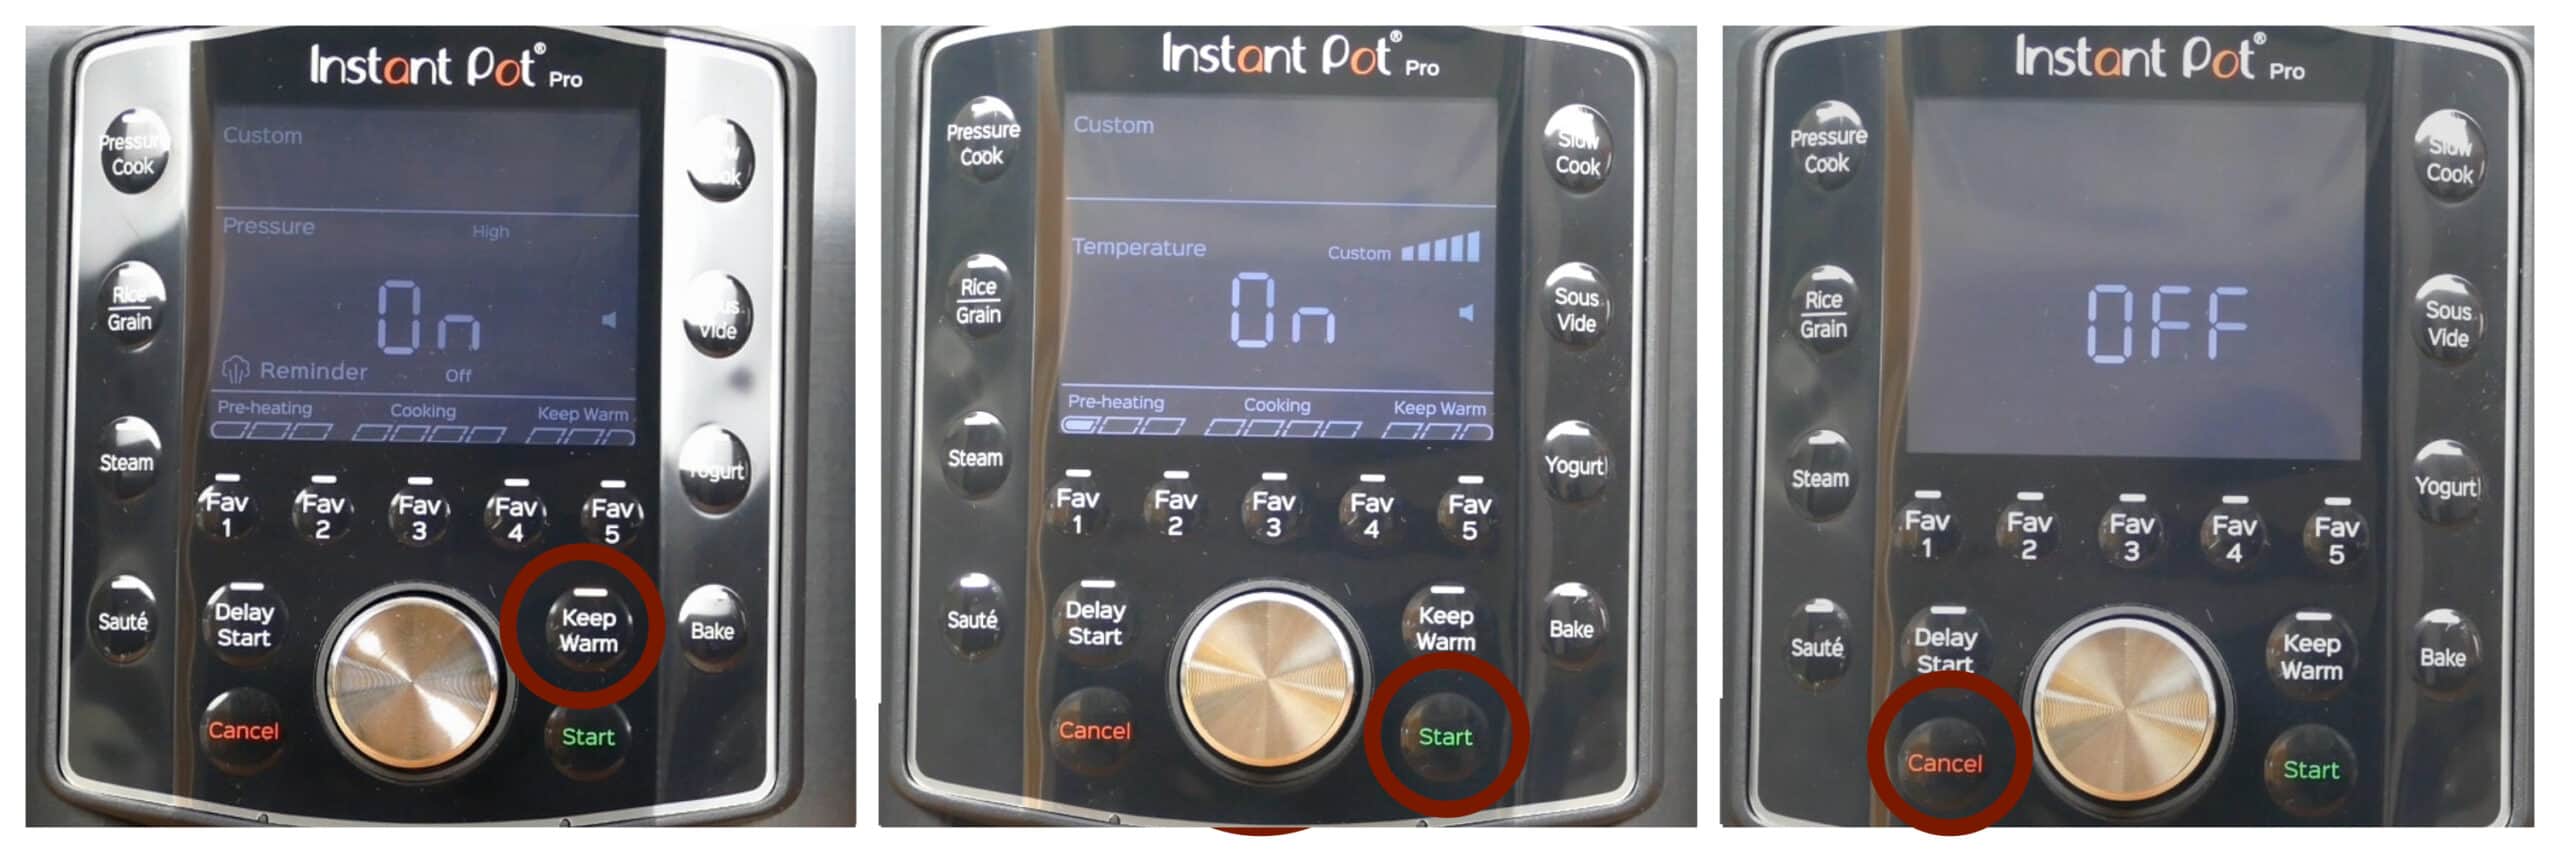
- When the timer runs down, the Instant Pot will beep and the display will say End.
- Lift the air fryer lid and place it on the protective pad.
- If the food’s not cooked to your liking, program the Instant Pot to air fry for another few minutes.
♨️ Oven Instructions
- Prep and season the potatoes.
- Preheat oven to 425 degrees Fahrenheit.
- Line a baking sheet with aluminum foil.
- Coat the aluminum foil with oil.
- Spread potatoes in a single layer on the baking sheet.
- Bake for 25 to 30 minutes or until the potatoes are golden in color and cooked through.
See the recipe card below for detailed instructions.

Instant Pot Air Fryer Potatoes
Ingredients
- 1 ½ lbs potatoes (⅔ kg) preferably Yukon gold, cut into 1-inch cubes
- ¾ teaspoon onion powder
- ¾ teaspoon garlic powder
- ½ teaspoon salt
- ½ teaspoon black pepper powder
- ½ teaspoon paprika
- 1 tablespoon vegetable oil
Instructions
- Pat the potatoes dry with paper towels or a clean kitchen towel until they're completely dry. This is an important step.
- Mix the ¾ teaspoon onion powder, ¾ teaspoon garlic powder, ½ teaspoon salt, ½ teaspoon black pepper powder, and ½ teaspoon paprika in a medium bowl. Stir in the 1 tablespoon vegetable oil to make a paste.
- Add the 1 ½ lbs potatoes to the spice mix and coat evenly until every surface is covered.
Air Fryer Instructions
- Place the air fryer basket in the air fryer and coat with oil. You can either use a paper towel soaked with oil or an oil sprayer. Don't use canned aerosol oil as that can harm the coating of the air fryer basket.
- Transfer the potatoes to the basket and make sure they're evenly spread out.
- Close the lid and air fry for 18 minutes at 400 degrees Fahrenheit.
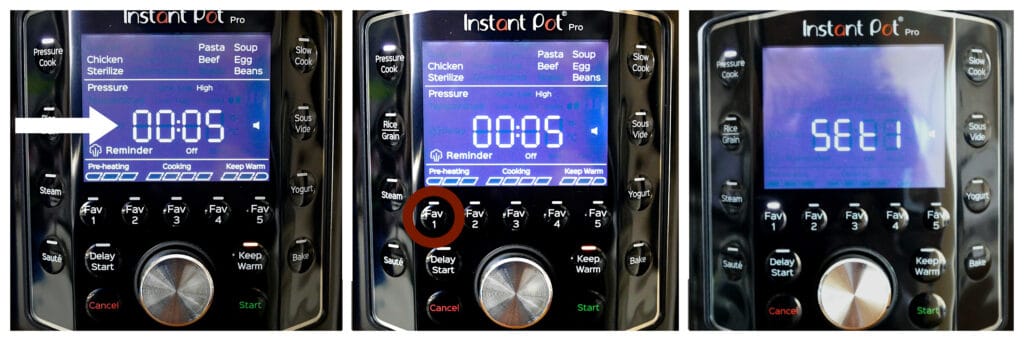
- If you are using an Instant Pot air fryer, partway through cooking, the display says turn Food. If you are using an air fryer without this feature, set a timer to turn the potatoes 12 minutes into the cooking process.
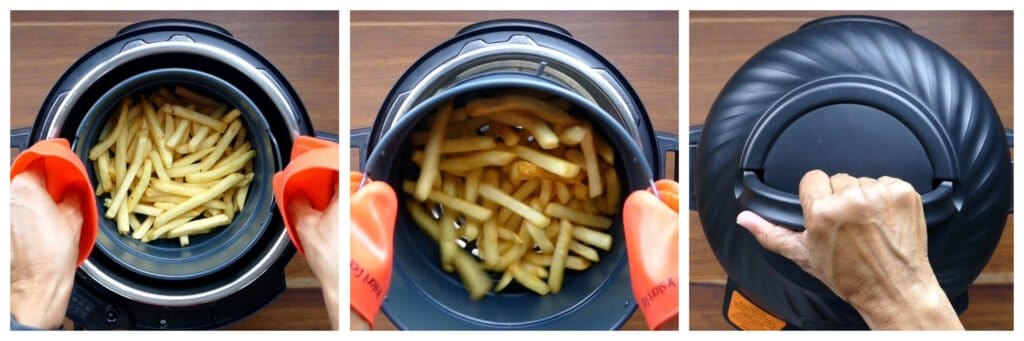
- Open the lid and using silicone mitts, lift the basket and shake the contents so the potatoes are tossed well. Close the lid and continue cooking.
- When the cooking time is up, open the lid and check to make sure the potatoes are cooked to your liking. Toss the potatoes again and air fry for another 2 minutes, if desired.
- Transfer the potatoes to a serving dish.
Oven Instructions
- Preheat oven to 425 degrees Fahrenheit.
- Line a baking sheet with aluminum foil and coat the foil with oil.
- Spread the potatoes in a single layer on a baking sheet.
- Bake for 25 to 30 minutes or until the potatoes are cooked through and golden in color.
Video
Notes
- Prep time does not include the time needed to peel and cut the potatoes.
- Cooking time can vary based on the air fryer model and the size of the potato cubes. At the 15-minute mark, check the potatoes to see if they’re done.
Nutrition
I am not a certified nutritionist. I provide my best estimate of nutritional information merely as a courtesy to my readers. If you depend on nutritional information for dietary or health reasons, I suggest using your favorite online nutrition calculator to confirm the nutritional value of this recipe based on the actual ingredients that you use.
Did you know that the best way to support your favorite bloggers is to comment and rate recipes, and share on social media? If you loved this recipe, please comment and give it a five ⭐ rating in the comment section below. If you’re a pinner, pin this post using the Pin buttons at the top and bottom of this post and in the recipe card above. Thank you for your support!