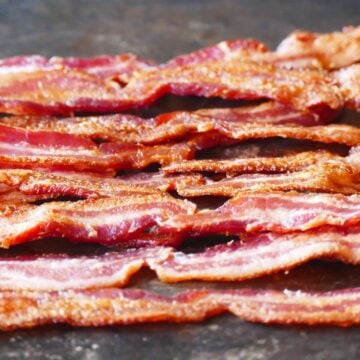
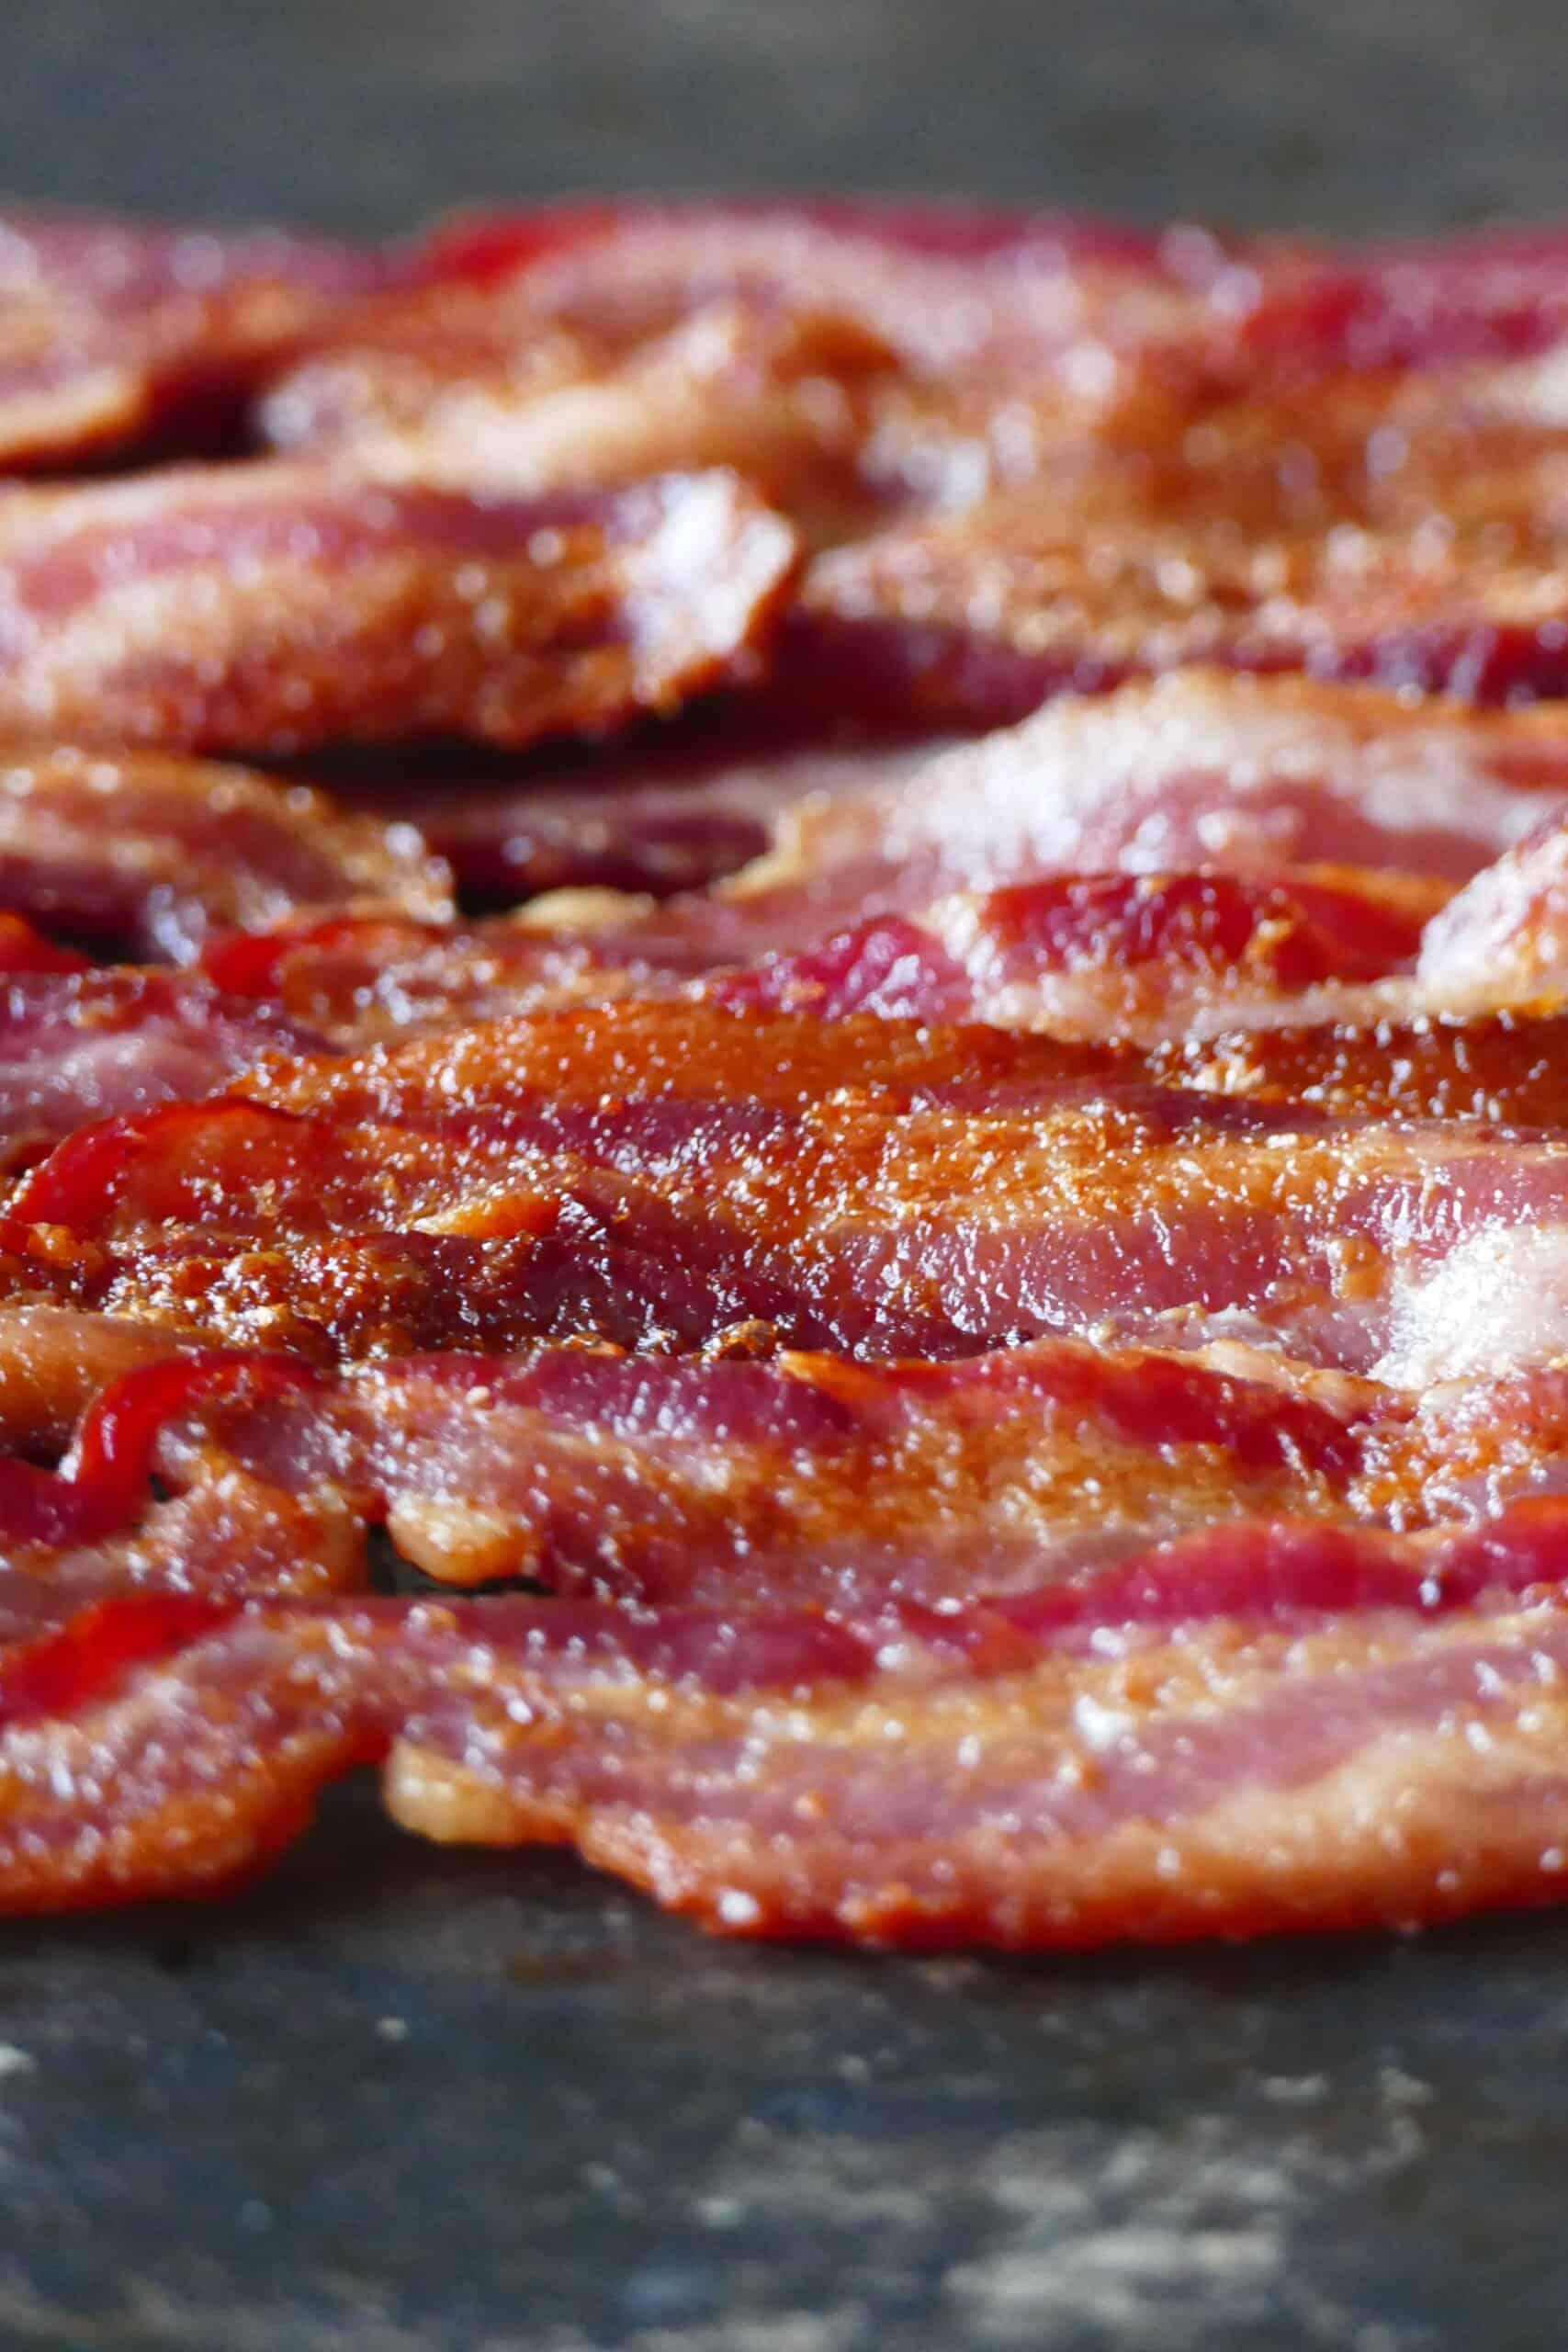
Instant Pot air fryer bacon is a quick and easy way to cook smaller amounts of bacon. Making bacon in the air fryer results in crispy bacon in less than 10 minutes with none of the mess and splatter of the stovetop version.
This post contains affiliate links. As an Amazon Associate, I earn from qualifying purchases. Please read the disclosure.
Introduction
Cooking bacon on the stove is messy. And cooking bacon in the oven takes too long. Instant Pot air fryer bacon is much easier and less messy than either method. There’s no splatter to clean up and bacon’s done in less than ten minutes.
Whether you want to cook bacon for a BLT sandwich or to complete your breakfast, the Instant Pot air fryer is the perfect appliance for the job.
I have a feeling you’ll agree with me if you try it. Once you use your air fryer to cook bacon, you’ll never want to cook bacon any other way.
For a complete breakfast, check out my recipe for air fryer potatoes. You can also make frozen hashbrowns in the air fryer.
Tips for Success
Prevent smoking
I generally don’t have any issues with smoke in the air fryer while cooking bacon. If you have issues, add ½ inch of water to the inner pot before placing the air fryer basket.
The water should be below the level of the basket. The hot grease will fall into the water and prevent smoking.
You can also place a couple of slices of bread on the bottom of the inner pot to catch the grease.
Also make sure that the air fryer basket is clean when you begin. If the basket or the base have leftover food particles or crumbs, they can cause the air fryer to smoke.
Size of bacon
You can either pleat the bacon to get it to fit in the air fryer basket or cut the pieces in half. Try to minimize the overlap of bacon slices. The greater the overlap, the less evenly cooked it will be.
Cleanup
You can minimize cleanup by lining the inner pot (not the basket) with a piece of aluminum foil. I wouldn’t recommend parchment paper.
Drain the fat
When you’re done cooking a batch of bacon, place the pieces on a double layer of paper towels to drain the fat and grease from the bacon.
FAQS
Although you can turn the bacon partway through cooking, you don’t need to. I find that the bacon cooks just fine without turning it.
Yes, you can use the same timing and temperature to make these Instant Pot air fryer bacon using the air fryer lid.
Yes, the timing and temperature will work with other brands of air fryers such as a traditional air fryer or a Ninja Foodi.
It could be because the bacon was thin. I use regular bacon. The next time you make it, check on it a few minutes before the time’s up and decrease the cooking time. Different air fryers may have slight variations, so you have to find a time and temperature that works for you.
It may be because the bacon is thick-cut or due to variations in air fryer brands. To further crisp the bacon, air fry for another 1 to 2 minutes. Check on the bacon every 30 seconds or so to prevent burning.
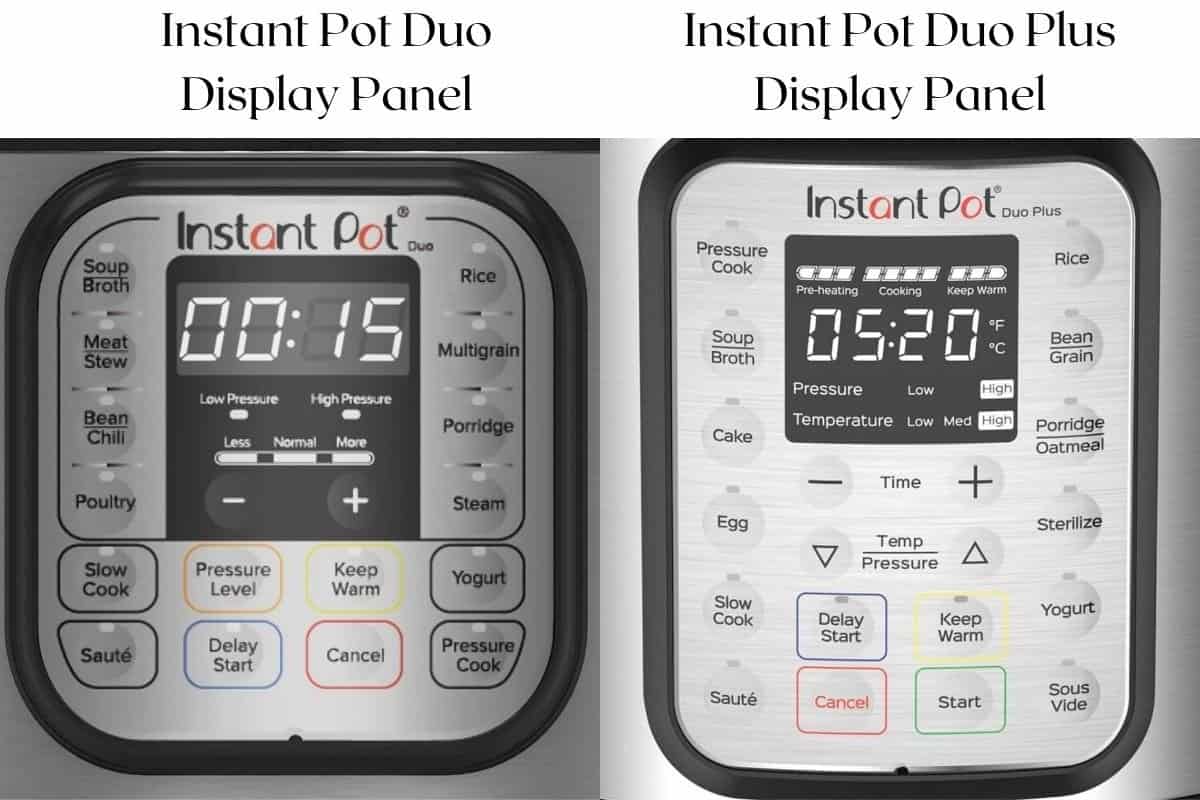
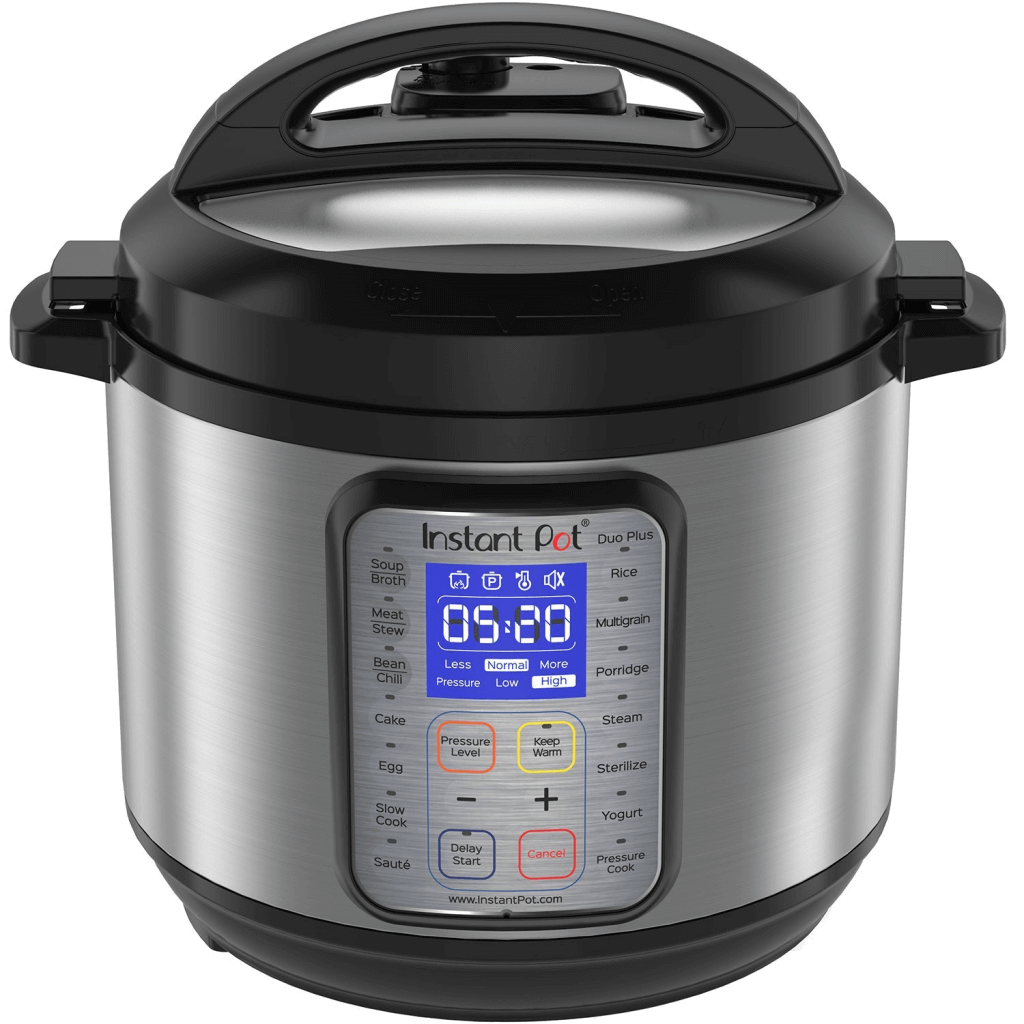
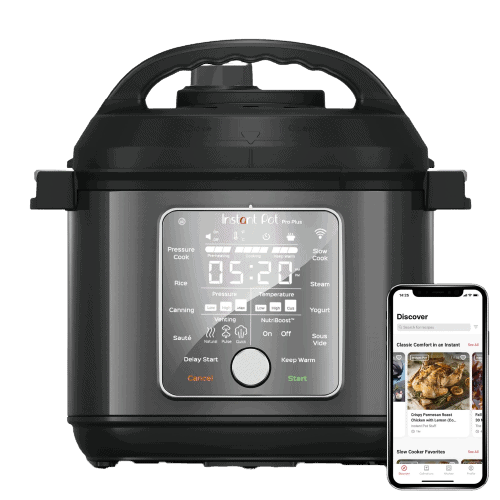
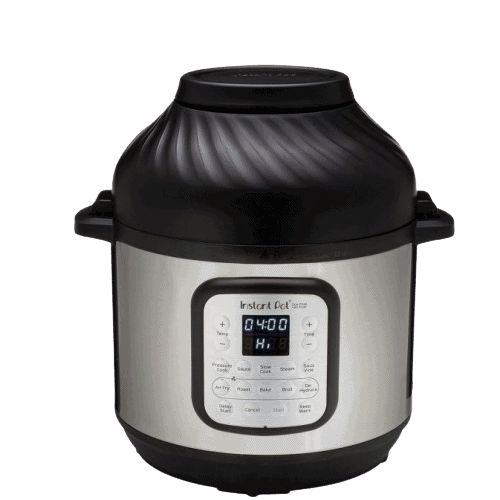
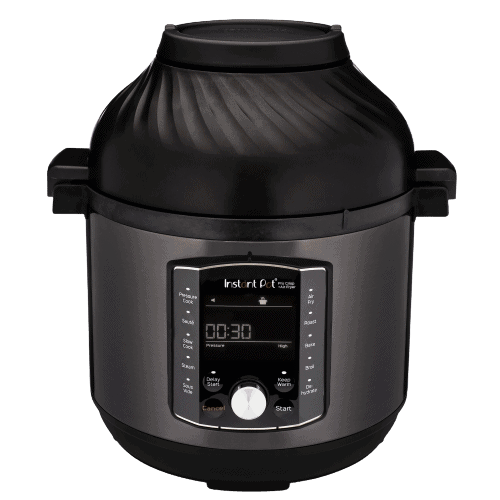
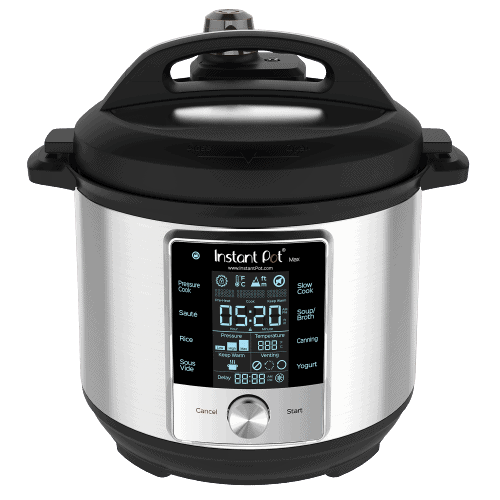
If you’re new to the Instant Pot and aren’t familiar with how to use it, you might find it helpful to first read one of the following guides and then come back here to learn how to make this recipe.
- General Instant Pot Instructions for Beginners
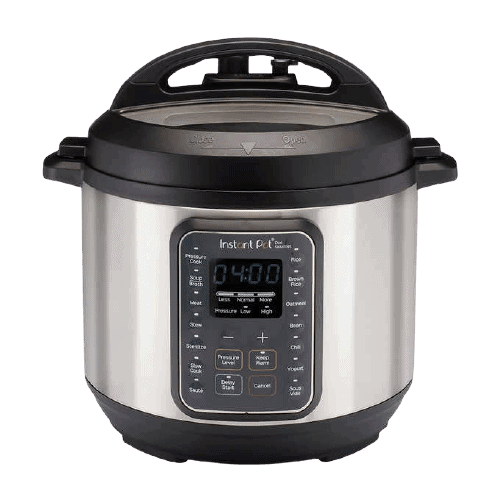
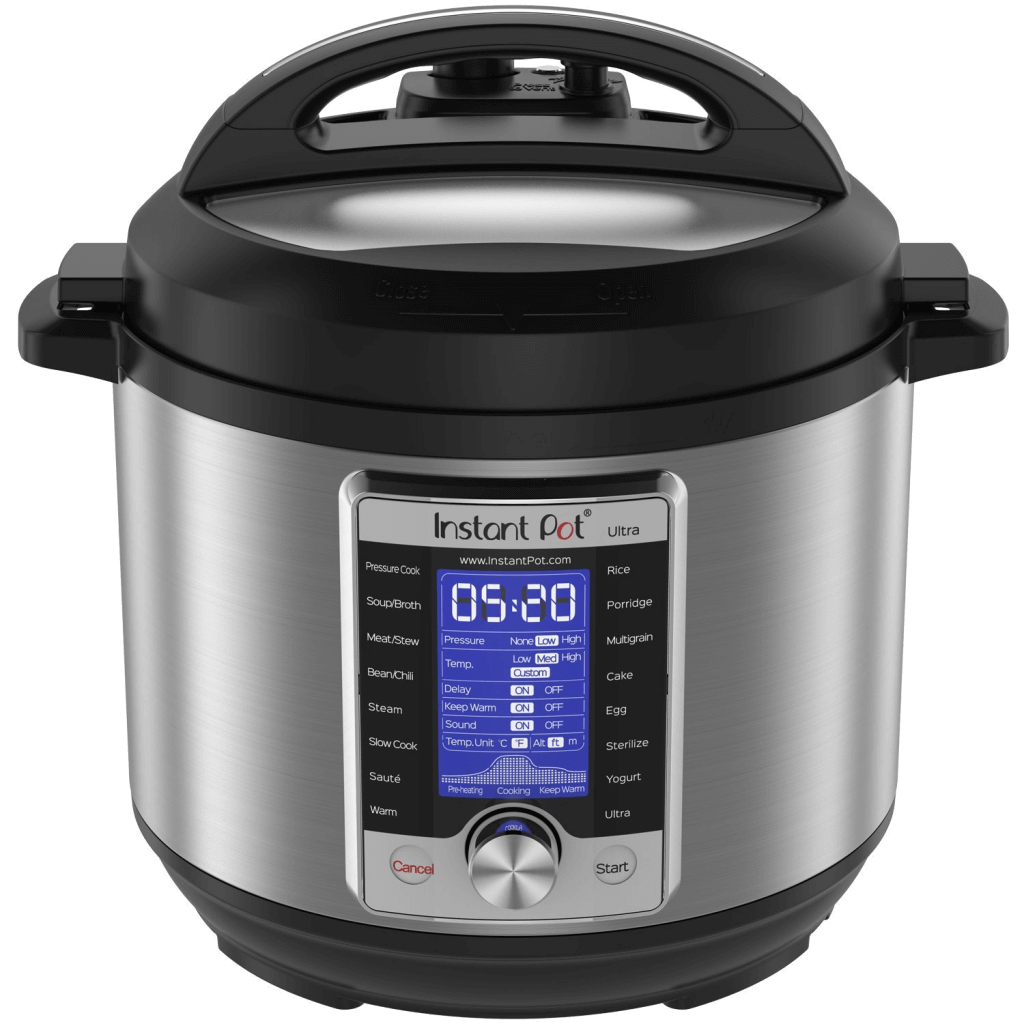
- Instant Pot ULTRA Beginner’s Manual
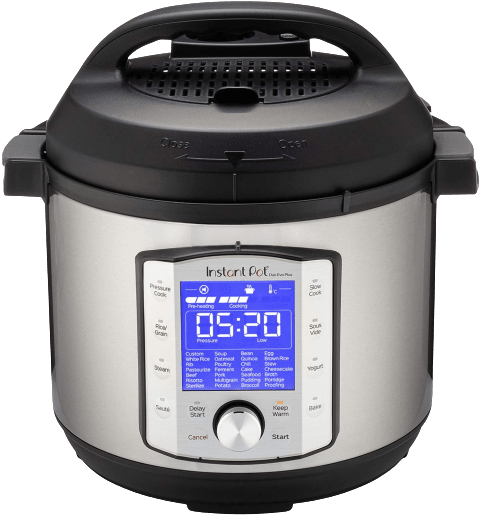
- Instant Pot DUO EVO PLUS Beginner’s Manual
- Instant Pot DUO NOVA Beginner’s Manual
- Instant Pot DUO GOURMET Beginner’s Manual
- Instant Pot DUO CRISP Beginner’s Manual
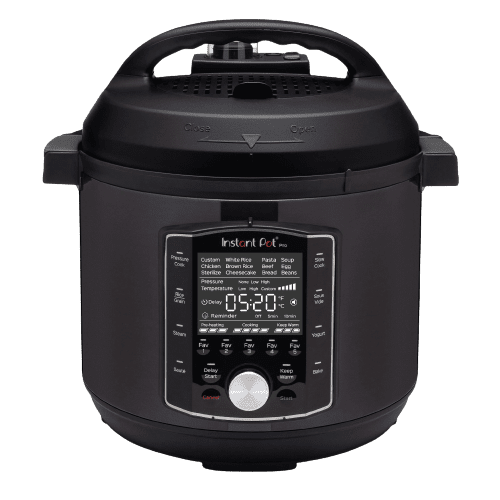
- Instant Pot PRO Beginner’s Manual
- Instant Pot PRO CRISP Beginner’s Manual
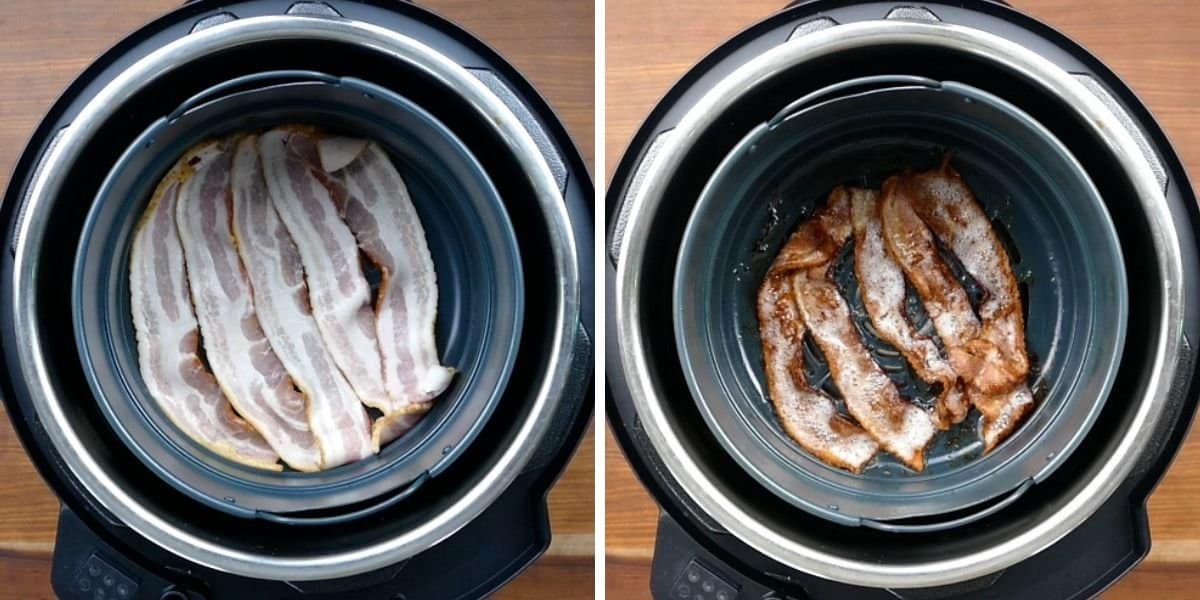
How to make bacon in the air fryer (step by step instructions for Duo Crisp model)
- Preheat air fryer
- Place bacon in the air fryer basket
- Air fry bacon
- Repeat for more batches
See the recipe card below for detailed instructions.

Instant Pot Air Fryer Bacon
Ingredients
- 5 slices bacon
Instructions
Air Fryer Instructions (See Note!)
- Place the empty air fryer basket in the air fryer and preheat at 400 degrees Fahrenheit for 2 minutes. **
- Place the bacon in the air fryer basket without much overlap. Cut the bacon in half if the pieces don't easily fit.
- Air fry for 6 minutes at 400 degrees Fahrenheit.
- Transfer the bacon to a platter with silicone tongs.
Video
Notes
- Note: Every air fryer’s cooking time will vary due to wattage, capacity, and other factors. Always check on the food 2 to 3 minutes before the time is up to make sure it’s not burning or overcooking!
- * Oscar Meyer hardwood smoked bacon was used in this recipe. Nutrition information is for Oscar Meyer hardwood smoked bacon.
- Every air fryer will vary. The first time you make this recipe, monitor the bacon and adjust the air frying time as needed.
Nutrition
I am not a certified nutritionist. I provide my best estimate of nutritional information merely as a courtesy to my readers. If you depend on nutritional information for dietary or health reasons, I suggest using your favorite online nutrition calculator to confirm the nutritional value of this recipe based on the actual ingredients that you use.
Did you know that the best way to support your favorite bloggers is to comment and rate recipes, and share on social media? If you loved this recipe, please comment and give it a five ⭐ rating in the comment section below. If you’re a pinner, pin this post using the Pin buttons at the top and bottom of this post and in the recipe card above. Thank you for your support!