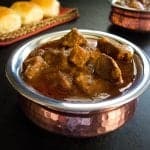
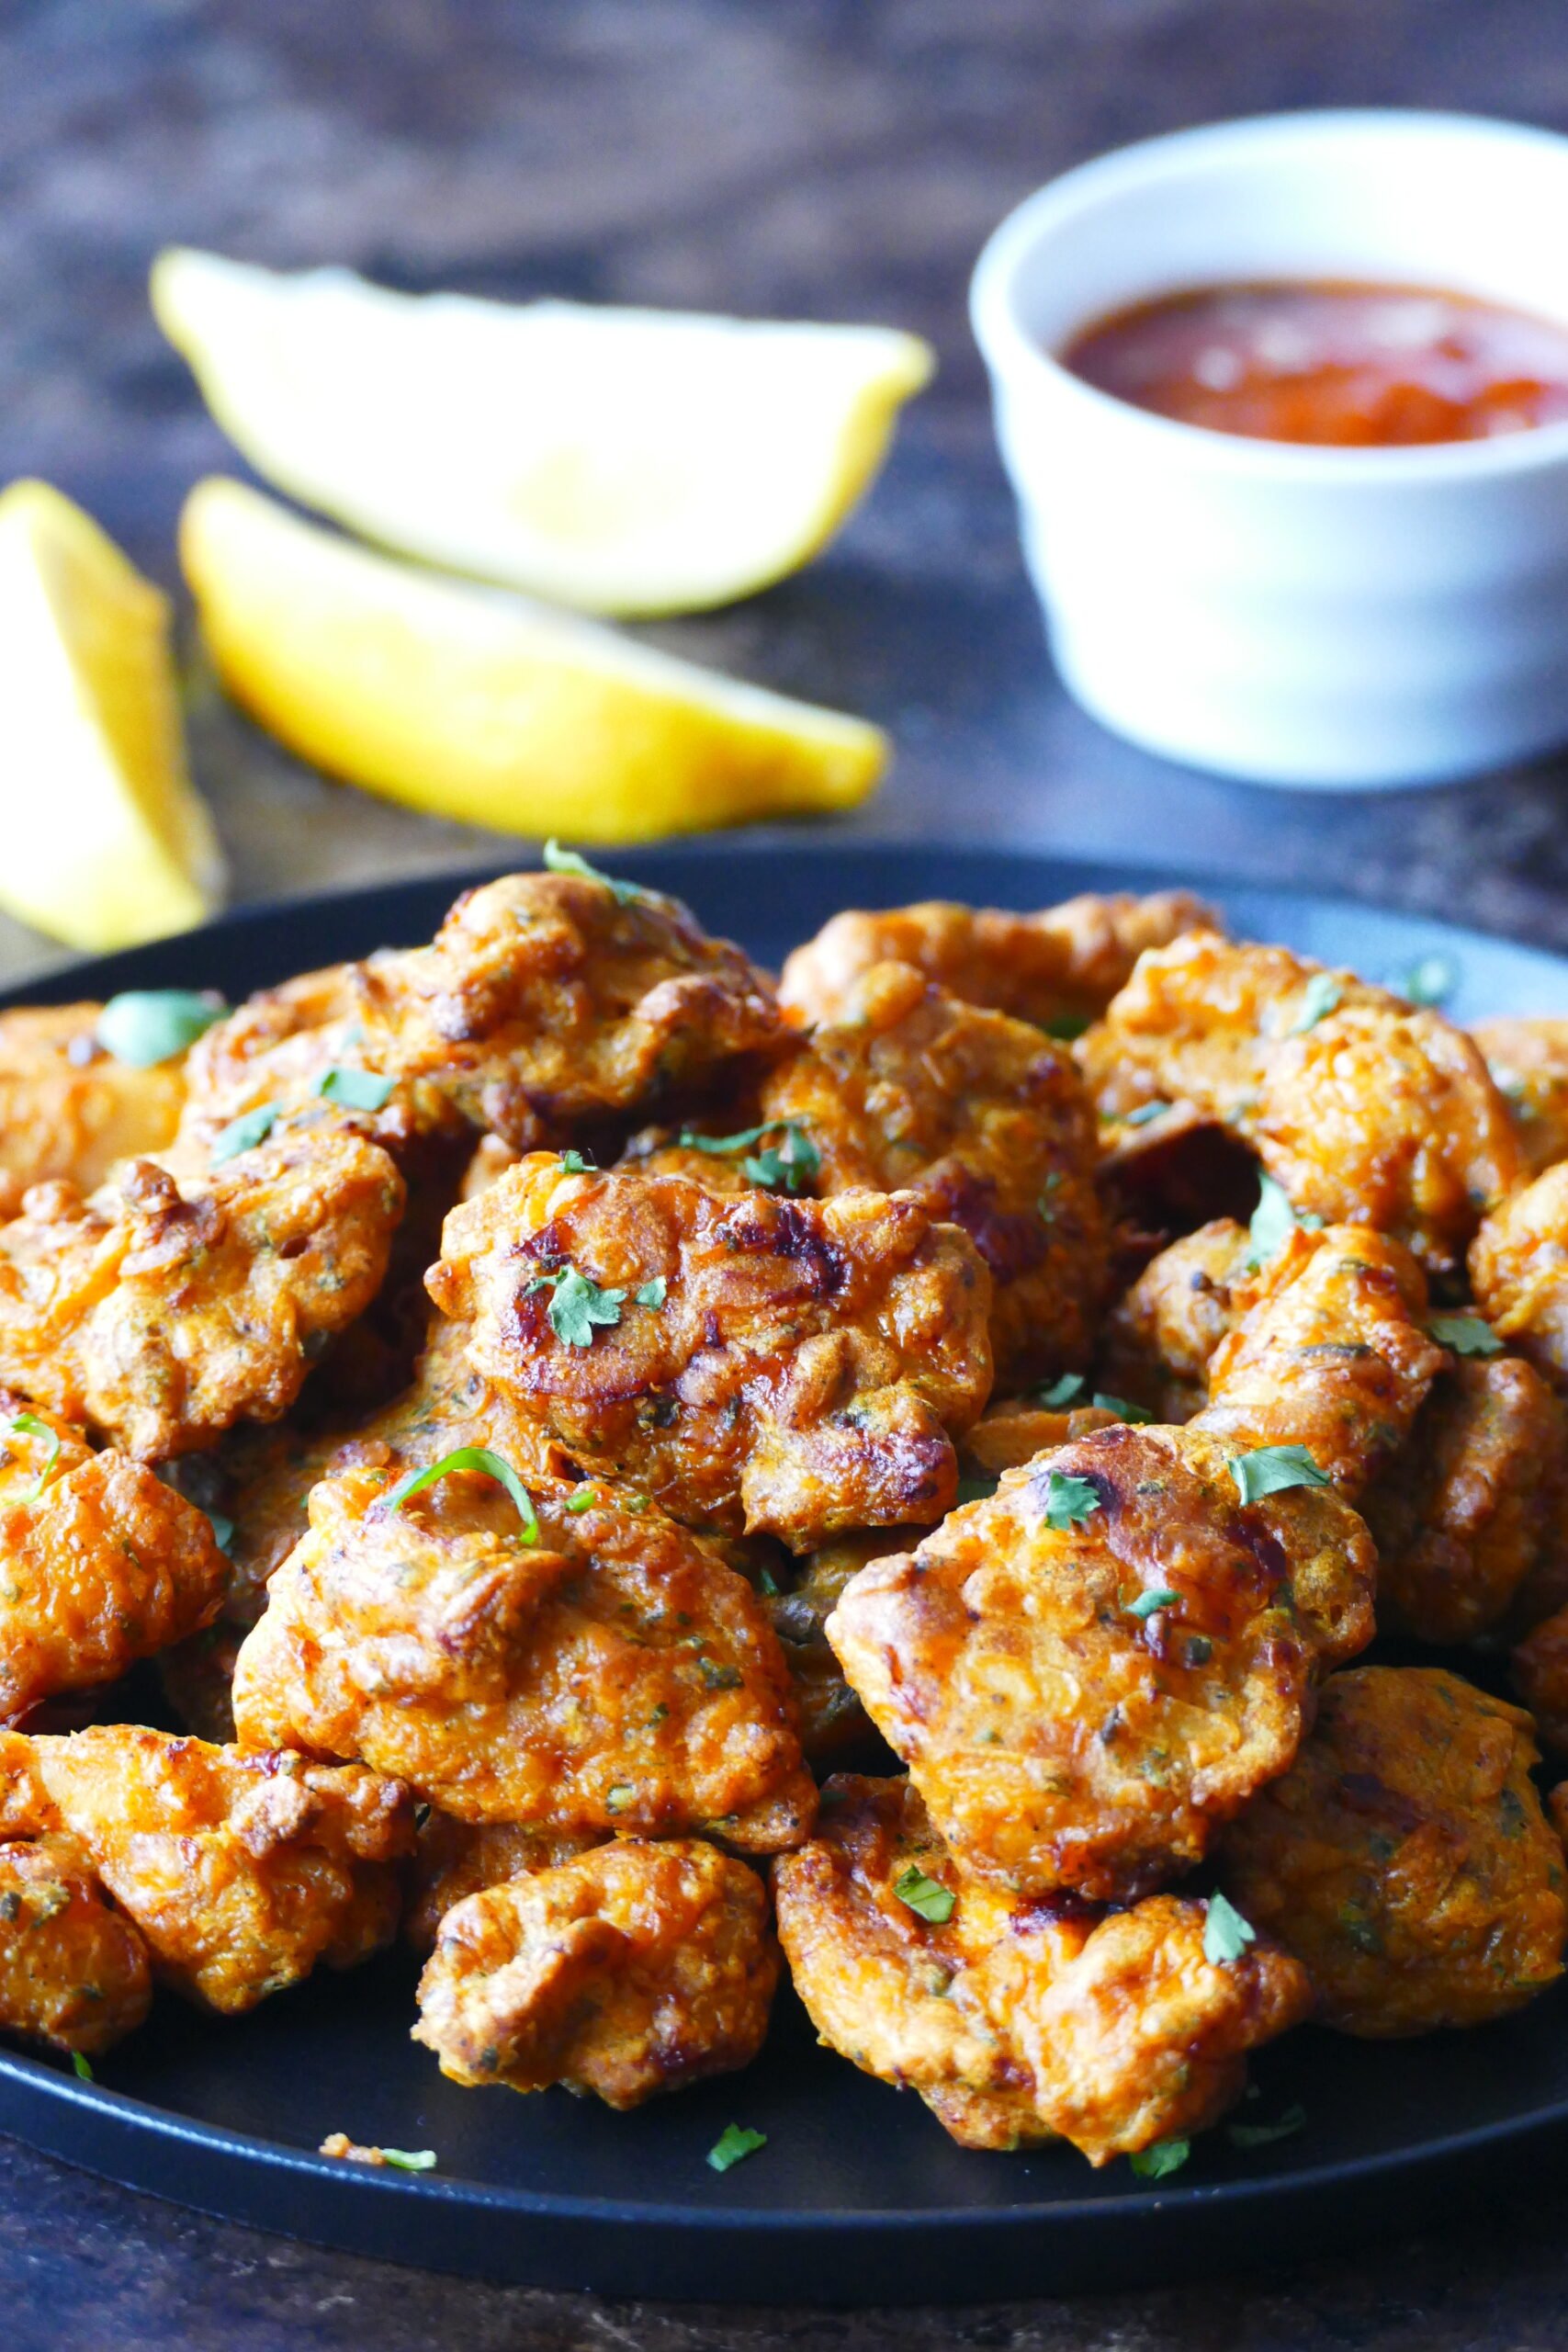
Trader Joe’s falafel in the air fryer are seriously amazing. They’re pillowy soft on the inside and crispy crunchy on the outside. They’re also so delicious and healthy, and can be a super easy snack, appetizer, or main dish.
This post contains affiliate links. As an Amazon Associate, I earn from qualifying purchases. Please read the disclosure.
Falafel are not only delicious but they’re healthy too. A very popular middle eastern dish, falafel are lightly spiced crispy balls of ground garbanzo beans and/or fava beans that can be part of a delicious vegetarian meal.
Falafel can be eaten in a Mediterranean rice bowl, salad, sandwich, or on their own with a dipping sauce.
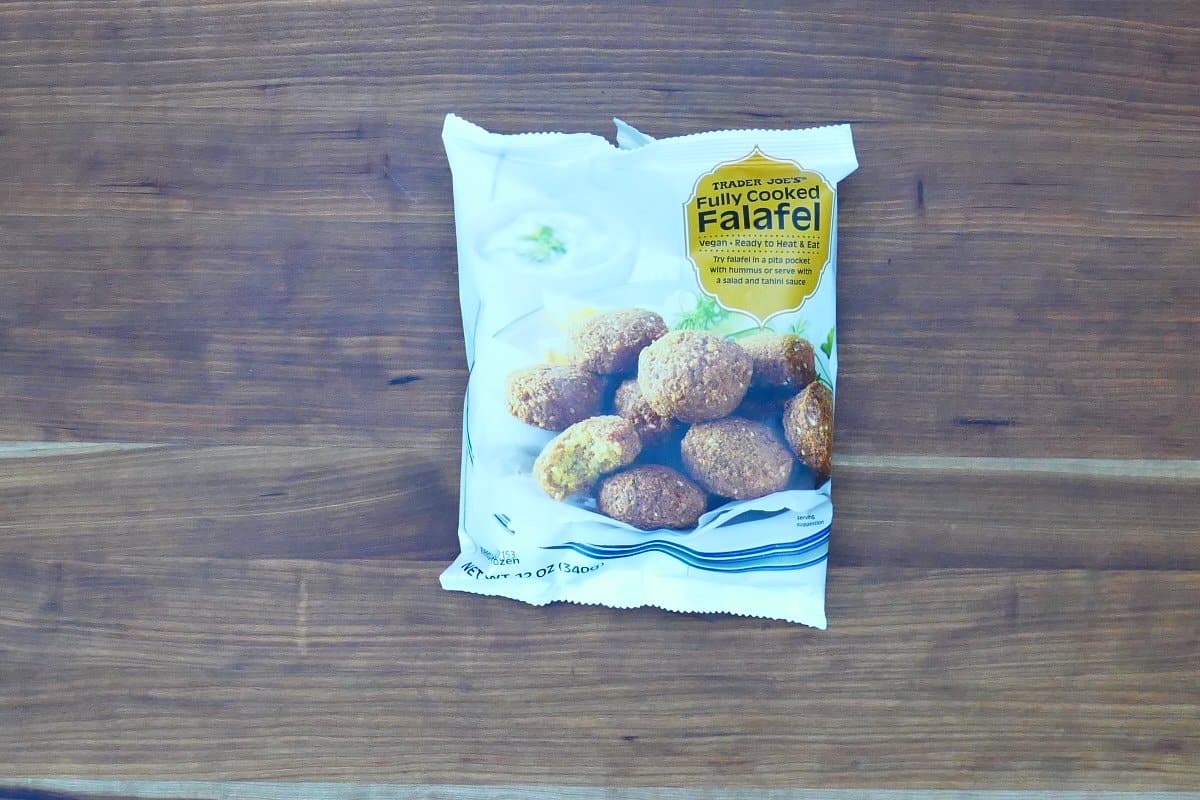
I love the frozen falafels from Trader Joe’s because they’re the next best thing to homemade falafel. They’re fully cooked falafel that just need to be crisped up.
They’re so soft and airy on the inside, yet perfectly crispy on the outside when you air fry them. There’s no need to use a deep fryer to get perfect falafel.
There are two Trader Joe falafel products. One is frozen falafel balls and the other is Trader Joe’s falafel mix that you add water to and either deep fry or bake.
I prefer Trader Joe’s frozen falafel over the mix because of their light texture, great flavor, and how easy they are to make. It’s rare to find pillowy, airy falafel like these. They’re not dense and heavy like some falafel brands can be.
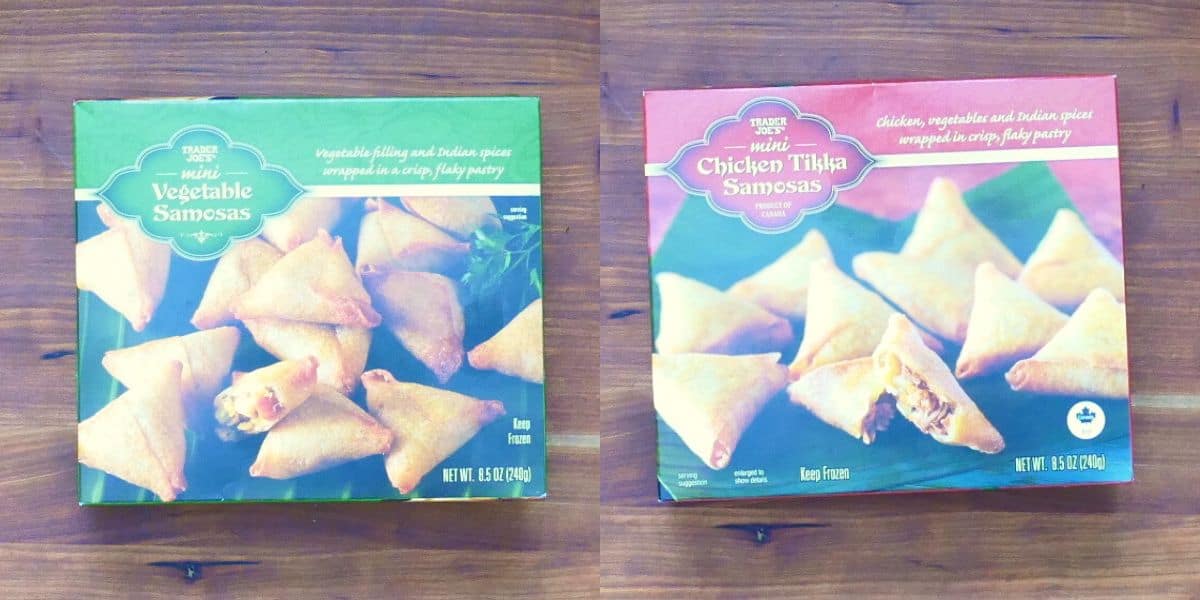
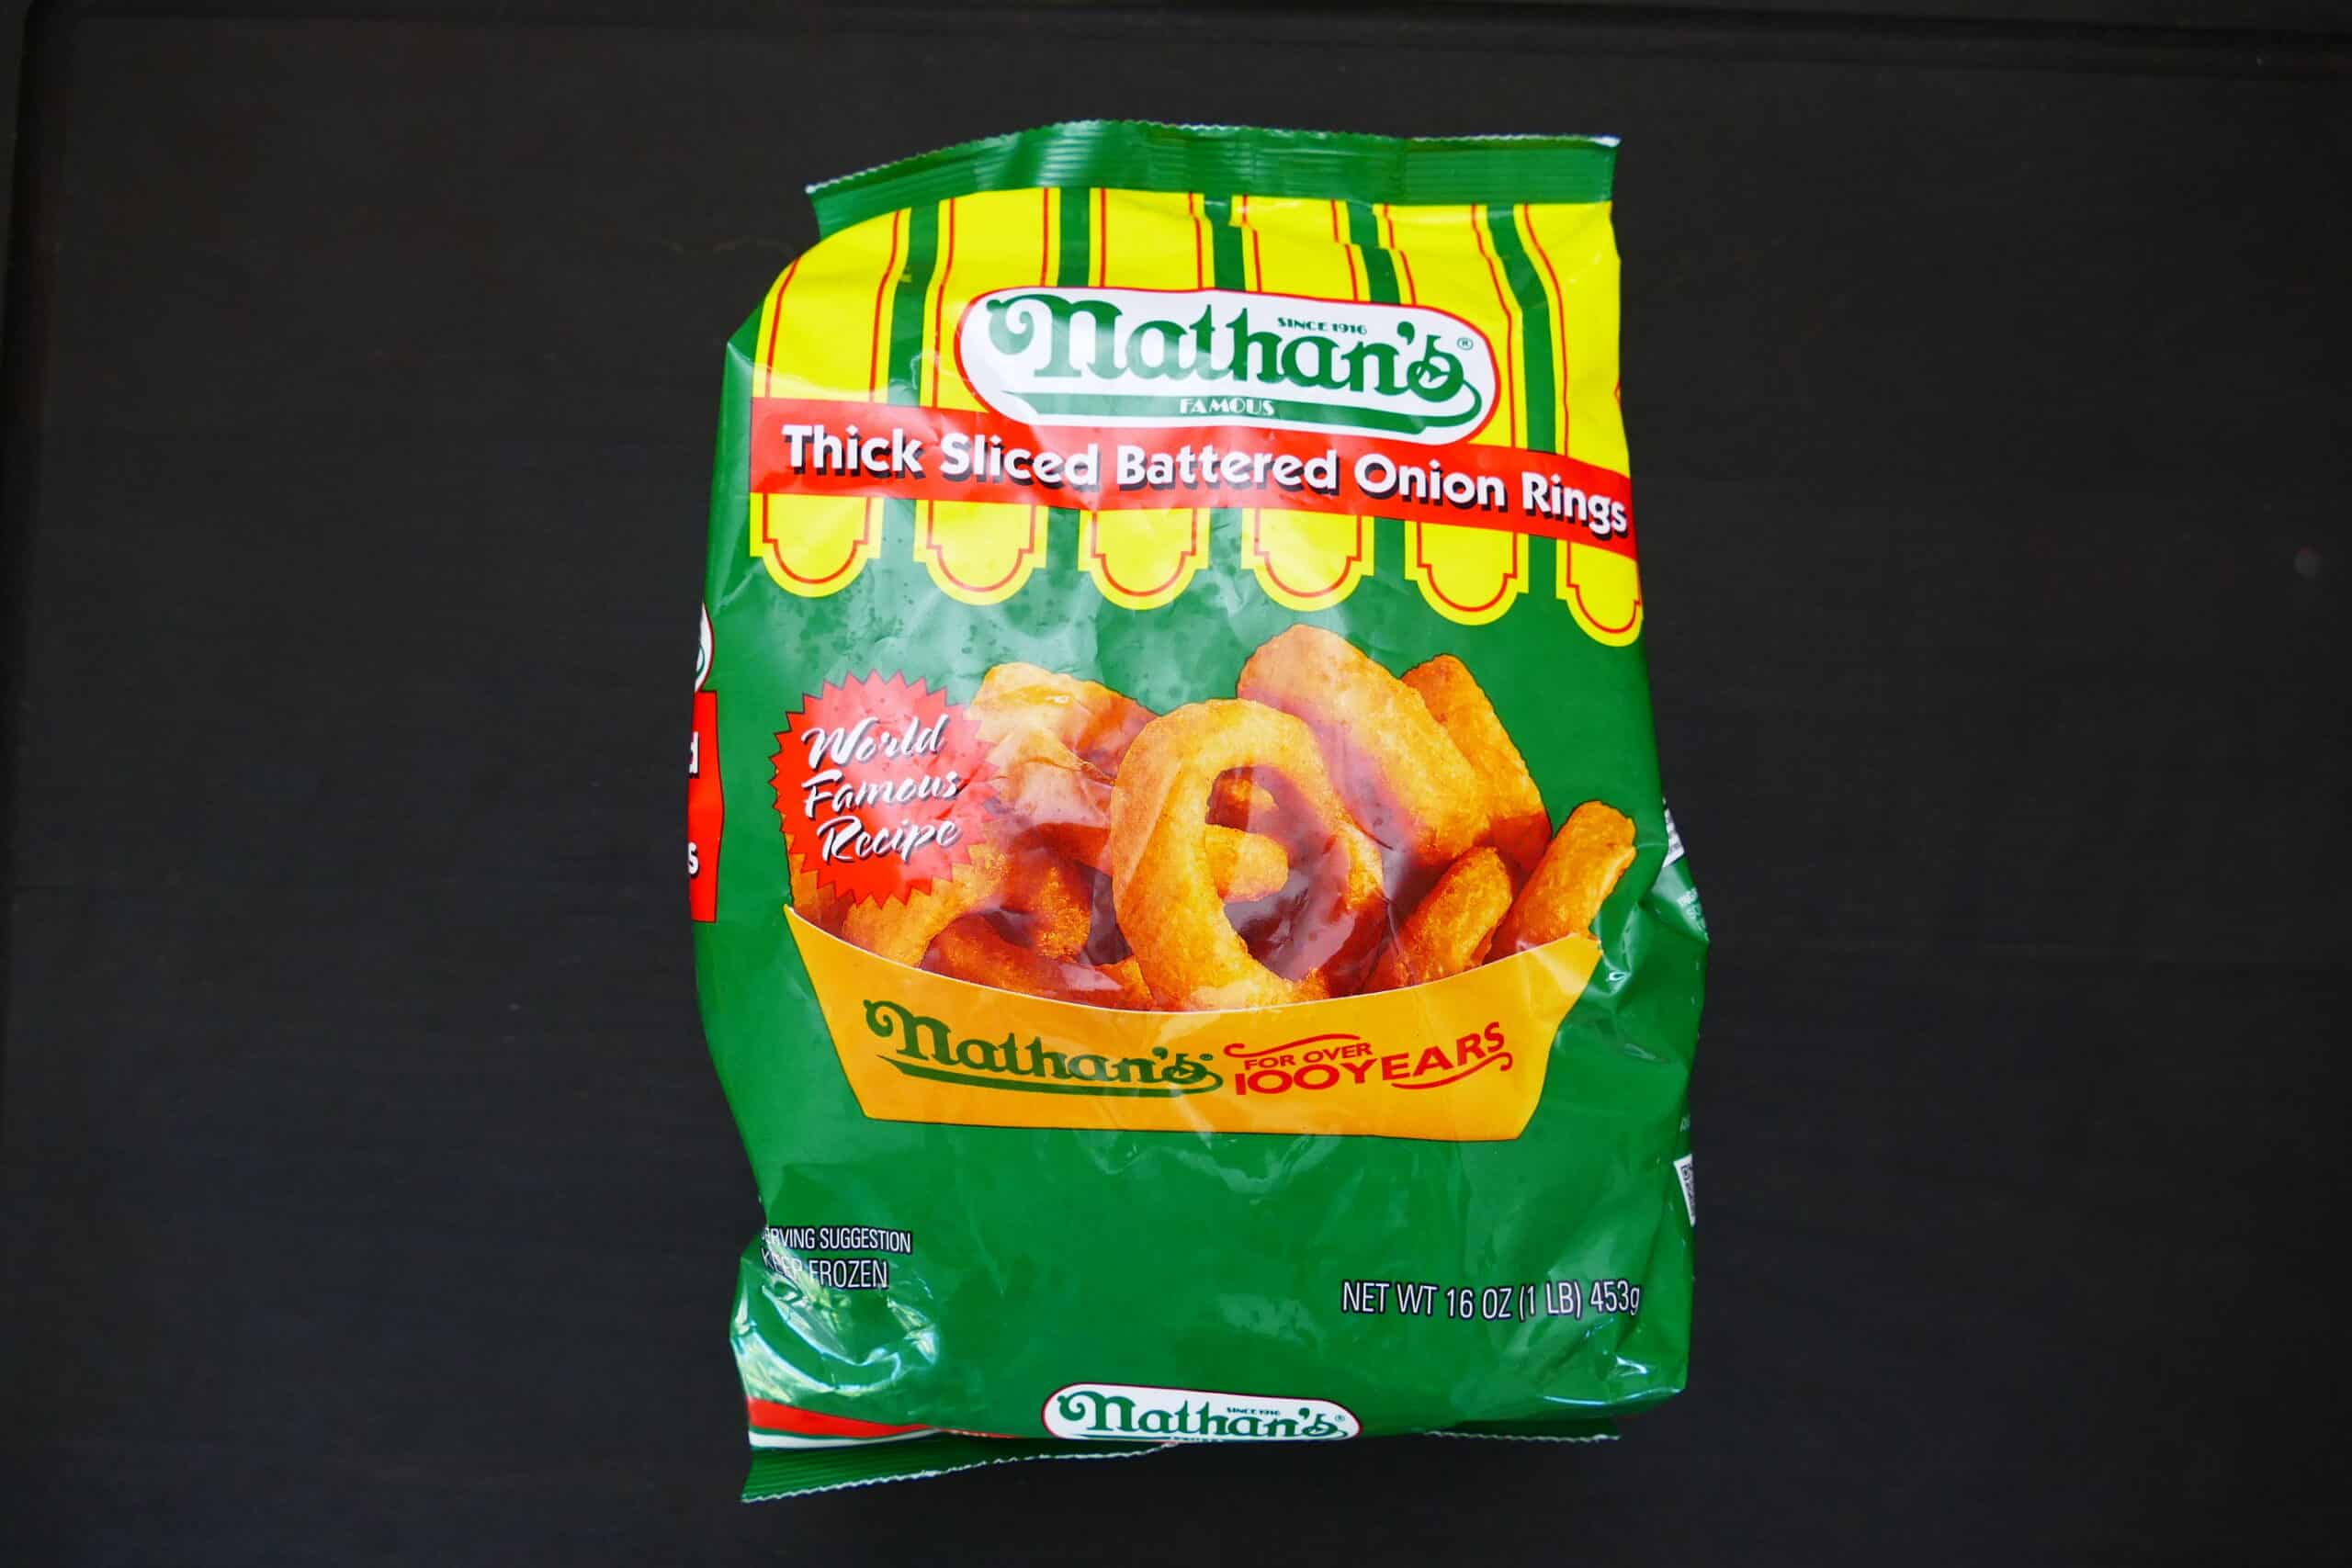
The air fryer is particularly good at heating up frozen food. Some easy ideas include air fryer samosas (also from Trader Joe’s), frozen egg rolls, onion rings, hot wings, and popcorn chicken.
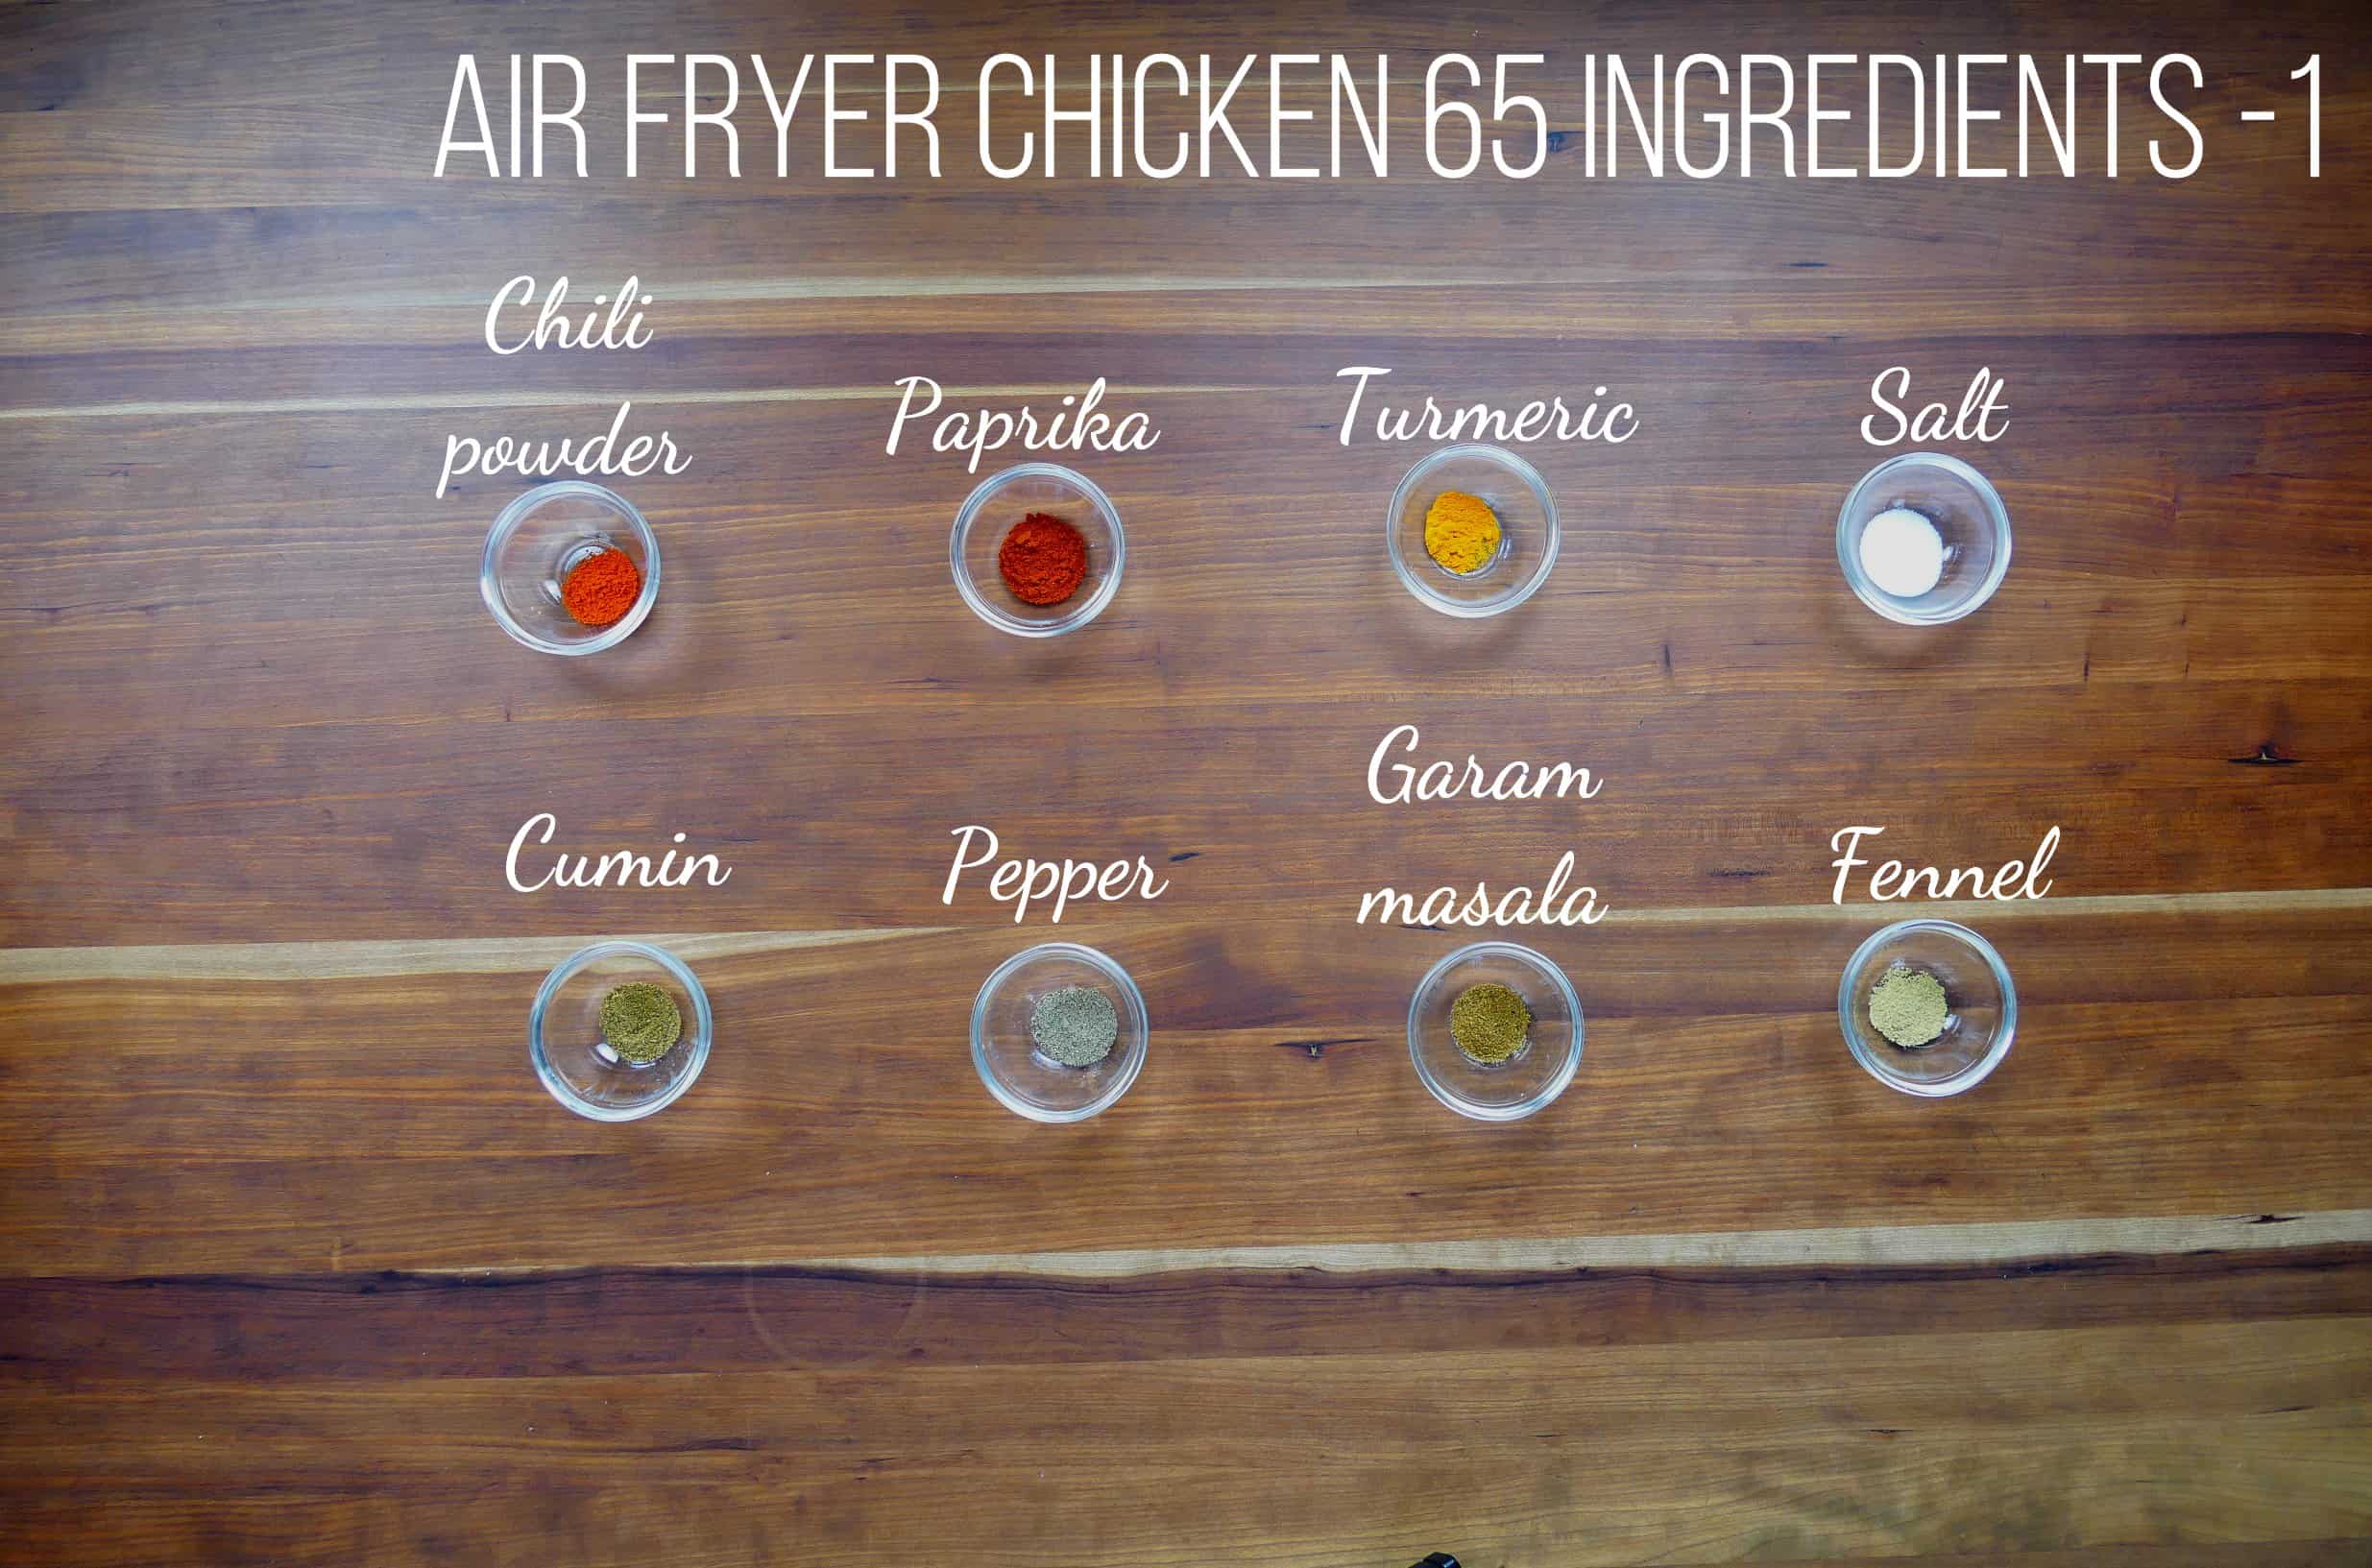
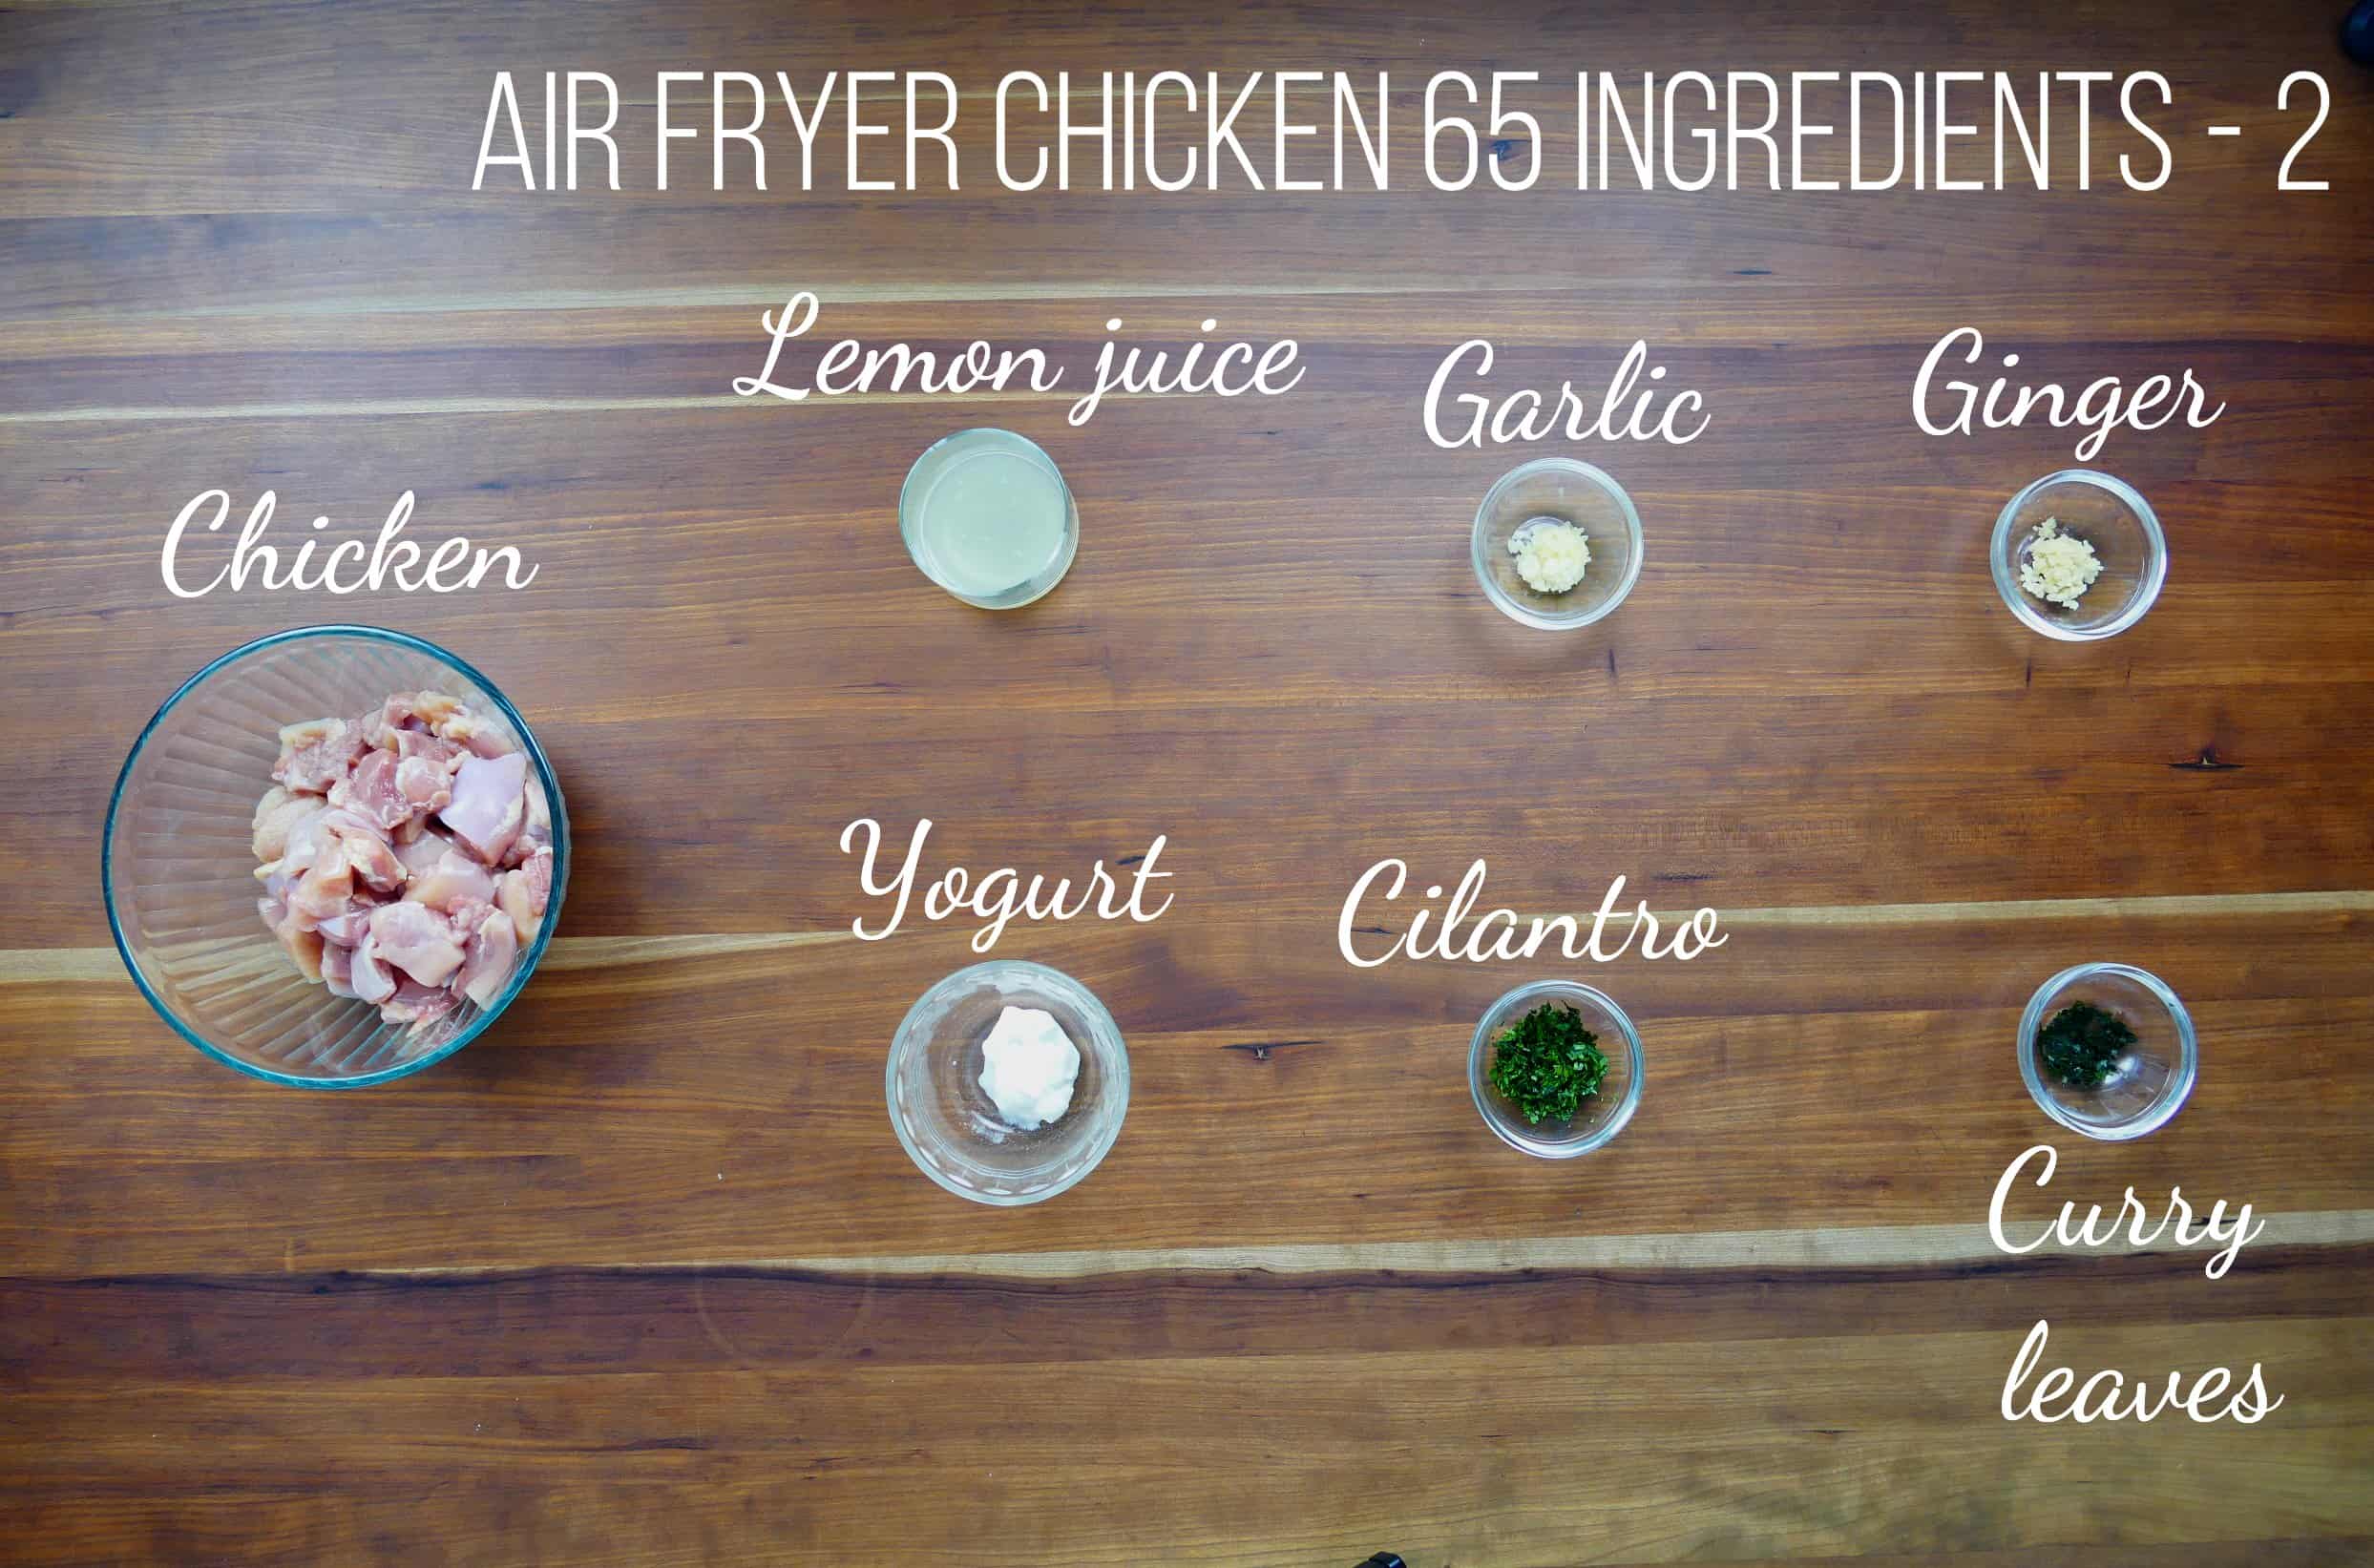
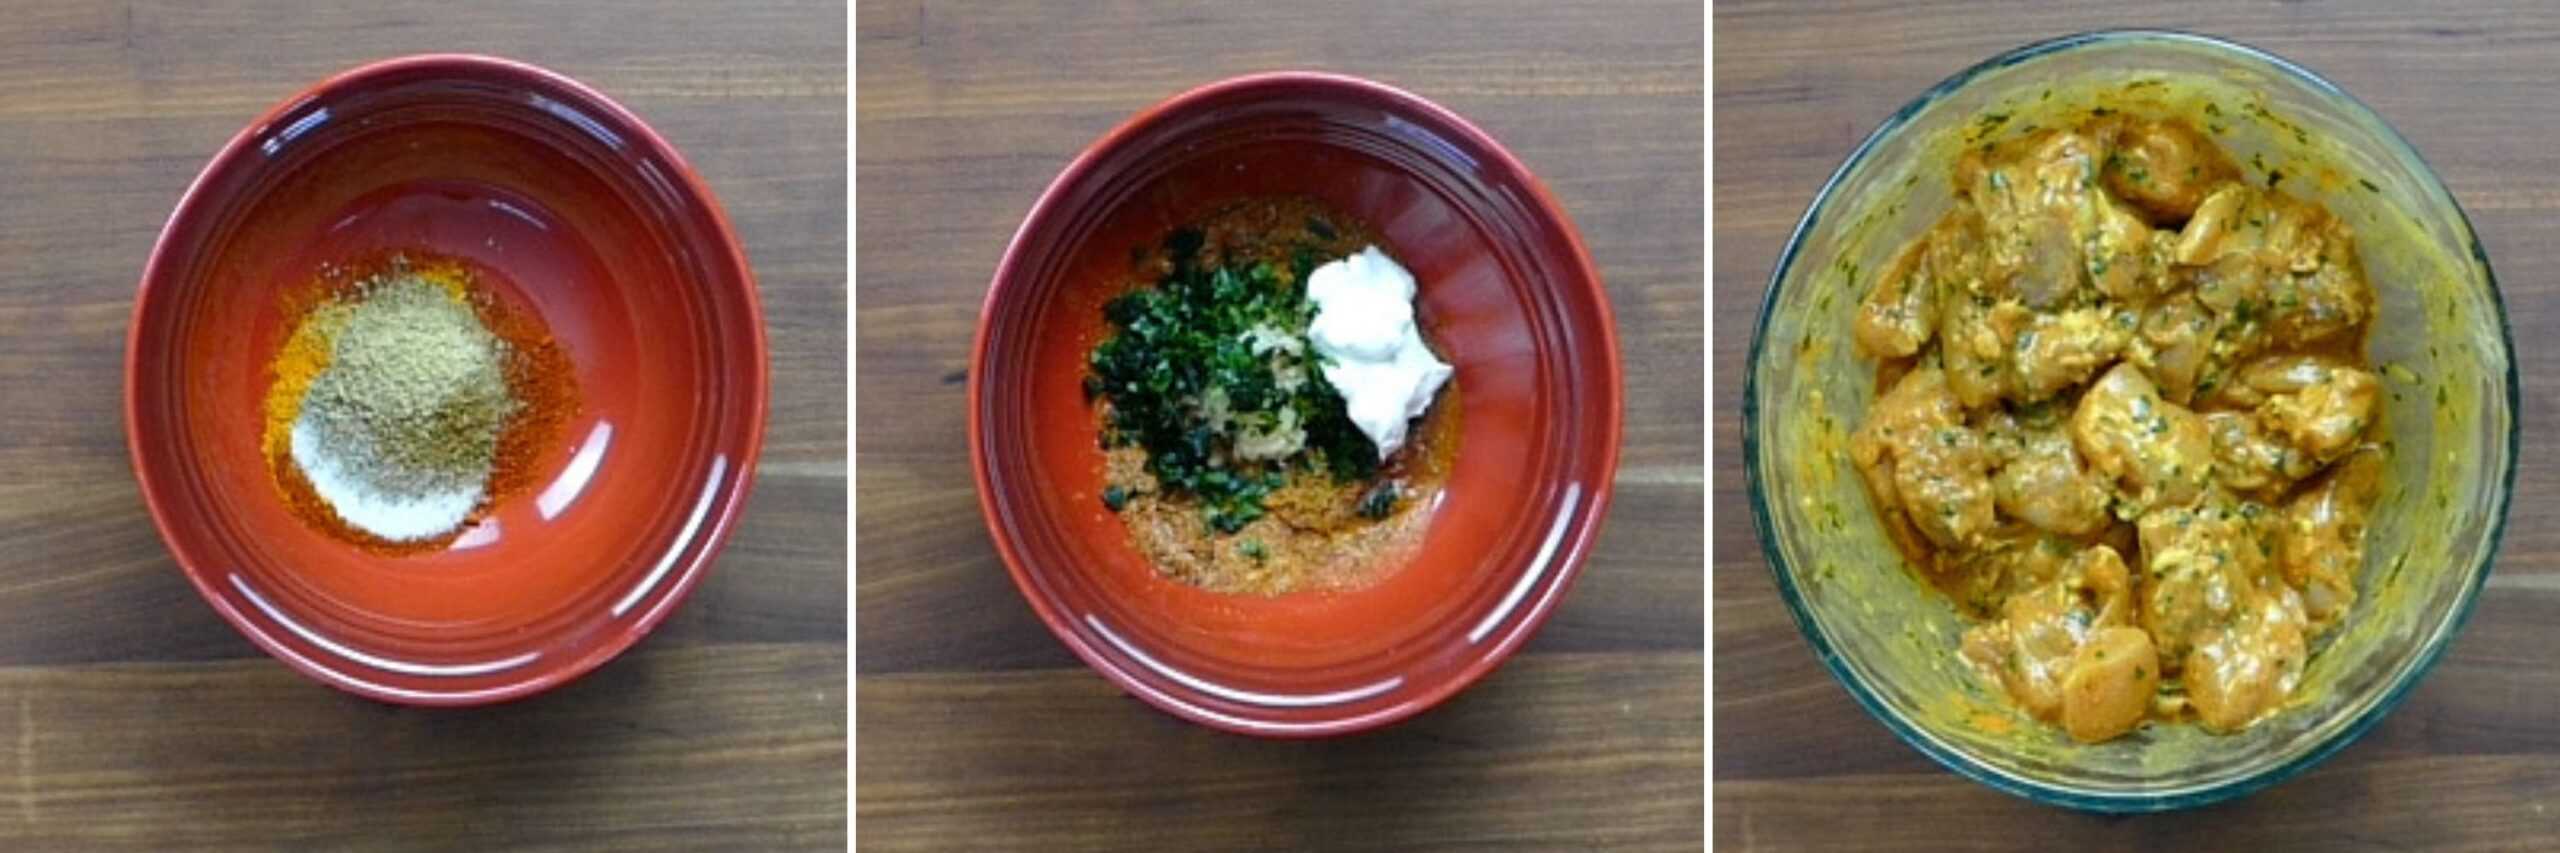
Or check out some of my other flavorful air fryer recipes like chicken 65, cauliflower, brussel sprouts, and pork chops.
Tips for Success
For this frozen falafel air fryer recipe, I definitely recommend that you preheat the air fryer. My Cosori has a preheat button that allows me to preheat the air fryer before putting in the food. The falafel becomes nice and crispy.
I do cook many premade foods at 400 degrees F but I like to use a lower temperature for the air fryer falafel because cooking them at higher temperatures can result in an overcooked exterior and undercooked interior.
Keep the falafel frozen until you’re ready to cook them.
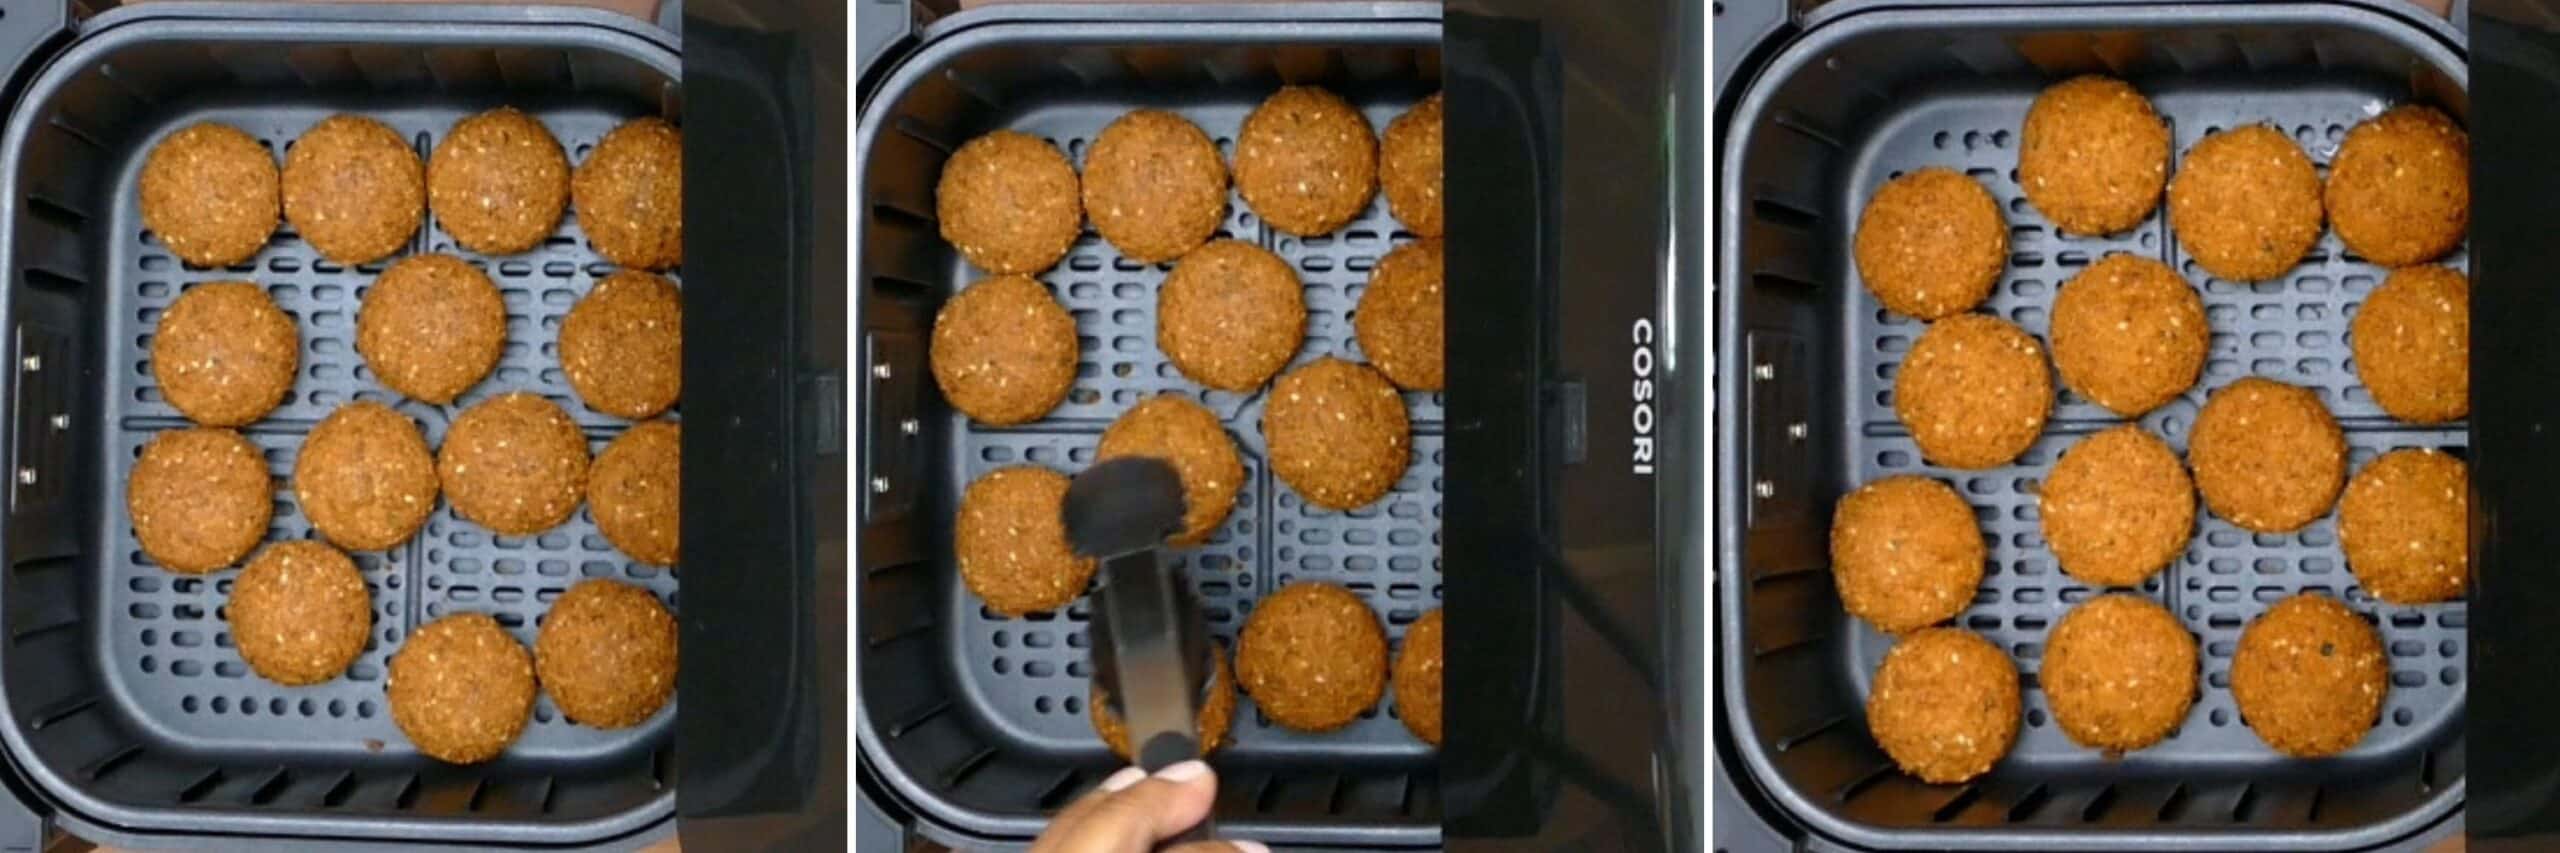
Don’t crowd the air fryer basket – place the falafel patties in a single layer and leave a little bit of space between the falafel to allow the hot air to circulate. If you need to make multiple bags, air fry the frozen falafel in multiple batches.
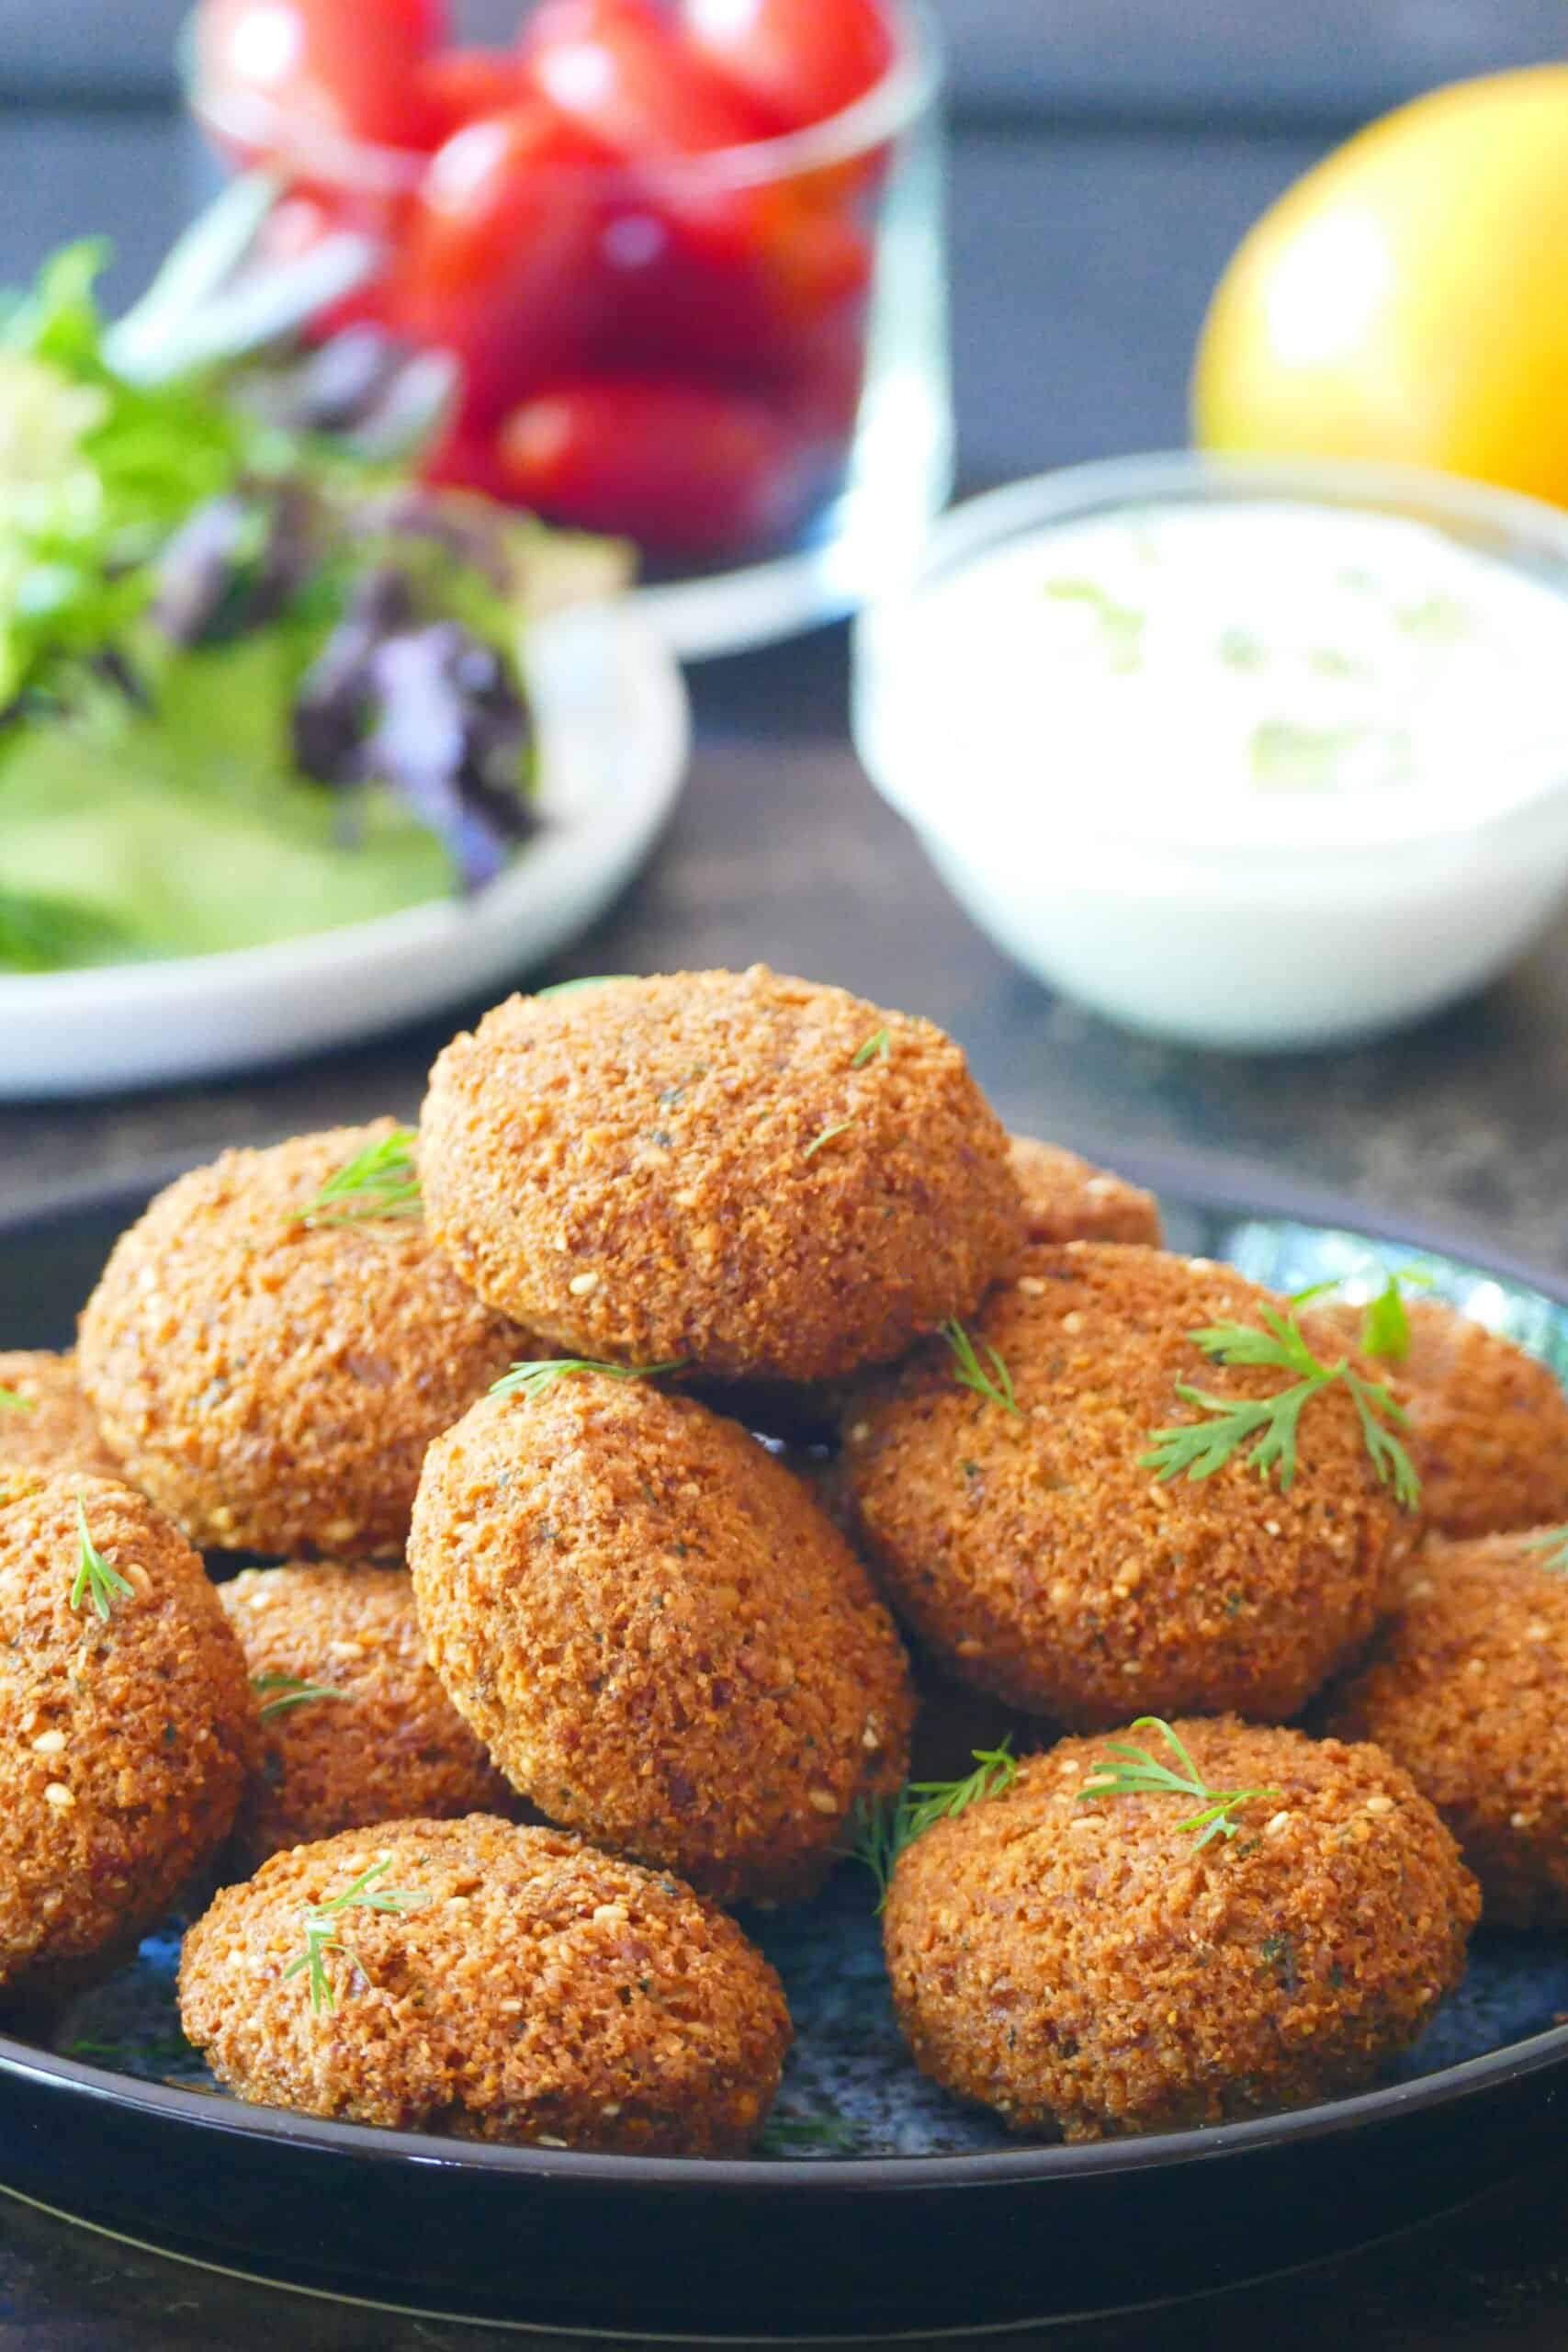
Serve on a salad, in a falafel bowl with grains (e.g. rice, quinoa, farro), or pita falafel sandwich with any or all of the following:
- Lettuce or mixed salad greens
- Cucumbers (thinly sliced)
- Tomatoes (sliced or diced)
- Pickled vegetables (e.g. red onion, turnip)
- Garlic tahini, lemon tahini (made from sesame seeds), or tzatziki sauce
- Fresh herbs (e.g. fresh cilantro, parsley, or dill)
- Harissa (though not authentic, I love this red pepper spread’s spicy zing!) or hot sauce
- Squeeze of fresh lemon juice
It’s a great idea for entertaining because you can set out the ingredients and let your guests assemble their own pita sandwiches.
Every air fryer will vary. The first time you make falafel in the air fryer, monitor and check on them 2 minutes before the cooking time is up. Adjust the recipe as needed in the future.
FAQS
I don’t oil the basket or the falafels and find they’re crispy and don’t stick, but if you want to spray a little oil you can. Use olive oil, avocado oil, or vegetable oil. I prefer to use avocado oil due to the high smoke point. And I avoid canned oil spray.
Yes, for best results you should turn the frozen falafel halfway through cooking.
Yes, you can use the same timing and temperature for air frying falafel with the Instant Pot air fryer lid, Duo Crisp or Pro Crisp. You can air fry the falafel in a Ninja Foodi too.
This recipe was tested using a basket air fryer (Cosori) and Instant Pot air fryer (Duo Crisp).
If the falafel is still raw, turn them over and add an additional 2 minutes to the cooking time.
If you want more crispy falafel, increase the temperature to 400 degrees at the end, and air fry with 2 minutes of cook time.
You can store leftover falafel in an airtight container. To reheat falafel in the air fryer, air fry them for 3 minutes at 350 degrees.
How to cook frozen falafel in air fryer
- Keep falafel frozen until ready to use
- Preheat air fryer
- Place falafel in the air fryer basket
- Air fry falafel till golden brown, turning halfway through
- Transfer the air fryer falafel to a serving platter
- Serve with your favorite dipping sauce
See the recipe card below on how to air fry falafel from frozen

Air Fryer Frozen Falafel
Ingredients
- 1 package falafel *
Instructions
Air Fryer Instructions (See Note!)
- Preheat the air fryer for 5 minutes at 350 degrees F.
- Add the frozen falafels to the air fryer basket and make sure they're evenly spread out and in one layer.
- Close the air fryer and air fry for 10 minutes at 350 degrees Fahrenheit.
- At the halfway mark, open the lid and use tongs to turn the falafels, or shake the basket. Close the lid and continue cooking.
- When the cooking time is up, open the air fryer and check to make sure the falafels are cooked to your liking. If they're not crisp enough, increase the temperature to 400 degrees and air fry for another 2 minutes, if desired.
- Falafel wraps: serve in a warm pita bread with any of the following: mixed greens, cucumbers, tomatoes, pickled vegetables, tahini sauce, tzatziki sauce, and fresh herbs.
Notes
- Note: Every air fryer’s cooking time will vary due to wattage, capacity, and other factors. Always check on the food 2 to 3 minutes before the time is up to make sure it’s not burning or overcooking!
- * Trader Joe’s brand of falafel were used in this recipe. Nutrition information is for Trader Joe falafel, without accompaniments.
- Every air fryer is different. Check on the falafel 2 minutes before time is up.
Nutrition
I am not a certified nutritionist. I provide my best estimate of nutritional information merely as a courtesy to my readers. If you depend on nutritional information for dietary or health reasons, I suggest using your favorite online nutrition calculator to confirm the nutritional value of this recipe based on the actual ingredients that you use.
Did you know that the best way to support your favorite bloggers is to comment and rate recipes, and share on social media? If you loved this recipe, please comment and give it a five ⭐ rating in the comment section below. If you’re a pinner, pin this post using the Pin buttons at the top and bottom of this post and in the recipe card above. Thank you for your support!