

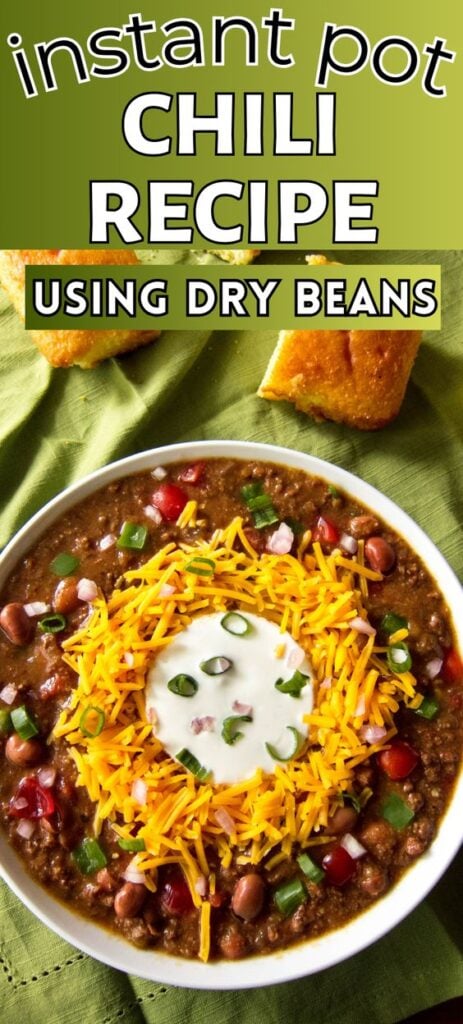
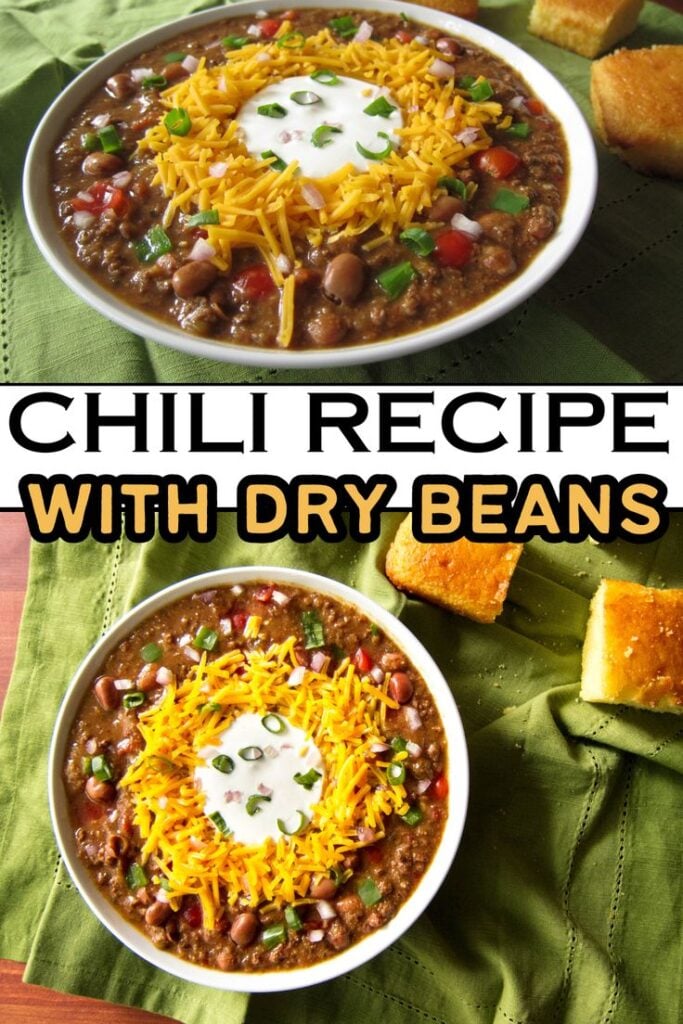
Homemade Instant Pot Chili with dry beans, made using ground beef and dried unsoaked beans, is the perfect comfort food for a fall or wintry evening. It’s also a great dish to feed a crowd, or for game day. The addition of Masa Harina (cornmeal) in this chili recipe thickens the chili and gives it a corn flavor. Add your choice of toppings to take this homemade Instant Pot chili recipe over the top!
This post contains affiliate links. As an Amazon Associate, I earn from qualifying purchases. Please read the disclosure.
Table of Contents
Introduction
Did you know that October is National Chili Month? It’s not yet October, but the leaves are changing color, the weather’s turning cooler and I’m starting to make soups, stews, and other comfort foods. I love the advent of fall and I thought it would be appropriate to post an Instant Pot Chili recipe to observe this occasion!
Chili is derived from Chili con Carne (translated as ‘chili with meat’ in Spanish), which originated in Texas. During the Chicago World’s Fair in 1893, the San Antonio Chili Stand helped popularize Texas chili to other parts of the United States. What’s Cooking America has a fascinating article about the origins of chili, in case you’d like to find out more!
Chili purists might say that chili should not include beans and/or tomatoes. Well, my recipe for Instant Pot Chili has both beans and tomatoes. Because I happen to like both in my chili.
You might be tempted to use canned beans because they’re convenient: no pre-soaking, no long cook times, just open the can and pour. But the Instant Pot allows you to use dried beans without the inconveniences.
The hands-on time for this Instant Pot Chili with dried beans recipe is about 10 minutes. For the rest of the time, the Instant Pot is doing the cooking while you get other important things done!
TIPS AND SUBSTITUTIONS
Beans
This recipe uses dried beans instead of canned beans. Dried beans are much more economical and don’t have added salt and preservatives.
The dried beans should be pre-soaked, but I’m going to show you a shortcut. I sometimes (always!) forget to soak my beans, so here’s a tip for you that works like a charm with any recipe that uses pre-soaked dried beans. Do a quick Instant Pot pre-soak while you’re cutting up the vegetables and preparing your ingredients.
Masa Harina (Corn Flour)
This recipe calls for masa harina (pronounced ‘maasa areena’) which is a finely ground Mexican corn flour used to make tortillas. Added to the chili after pressure cooking, the masa harina will thicken the Instant Pot chili and give it a slight corn flavor.
Please keep in mind that the recipe needs a certain amount of liquid to avoid sealing issues and the burn message. If you choose not to use the masa harina, the chili may be runny or thinner than you want.
Masa Harina can be found in the Latin/Mexican section of your grocery store or at a Latin grocery store. If you can’t find it, you can either substitute corn meal or take a few corn tortillas and powder them in a mini food processor.
Chili Powder
If you’ve never cooked homemade chili before, it’s important to note that the chili powder called for in this Instant Pot Chili recipe is Mexican chili powder commonly available in American grocery stores which is a mixture of different spices including cumin and garlic.
Please don’t use cayenne pepper or ground chili pepper that you get from Asian, Indian, Mexican, and ethnic markets – you won’t be able to eat this chili; it’ll be too spicy! So be sure to check the ingredient list. I like to use McCormick chili powder.
Toppings
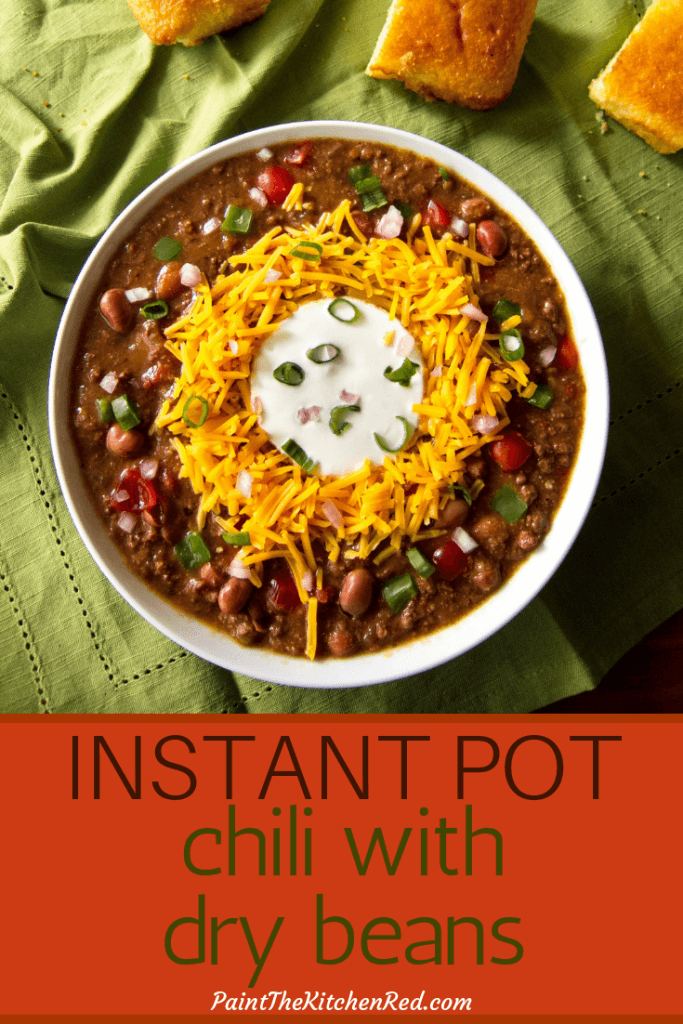
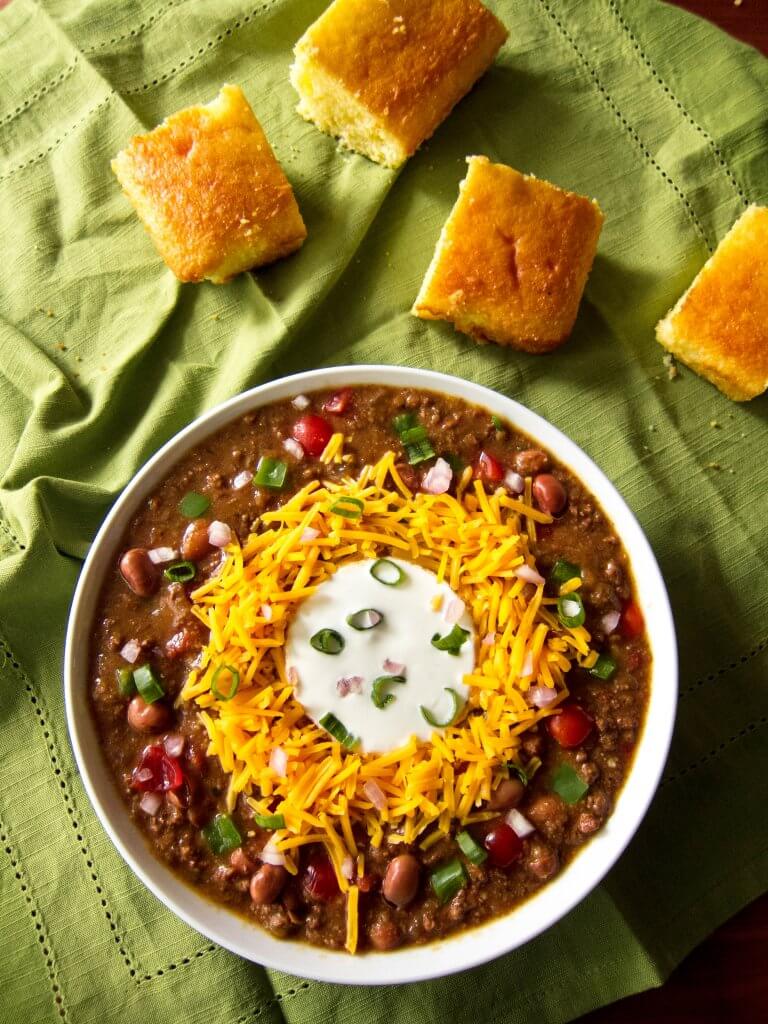
Ladle the cooked Instant Pot Chili into bowls and serve with your choice of the following toppings:
- sour cream
- shredded cheddar cheese
- diced shallots or red onions or green onions
- sliced jalapenos
- hot sauce
- cilantro
- cornbread to crumble over the top
- my personal favorite: Fritos corn chips!
If you’re new to the Instant Pot and aren’t familiar with how to use it, you might find it helpful to first read one of the following guides and then come back here to learn how to make this recipe.
- General Instant Pot Instructions for Beginners
- Instant Pot ULTRA Beginner’s Manual
- Instant Pot DUO EVO PLUS Beginner’s Manual
- Instant Pot DUO NOVA Beginner’s Manual
- Instant Pot DUO GOURMET Beginner’s Manual
- Instant Pot DUO CRISP Beginner’s Manual
- Instant Pot PRO Beginner’s Manual
- Instant Pot PRO CRISP Beginner’s Manual
Instant Pot Chili with Dried Beans – Ingredients
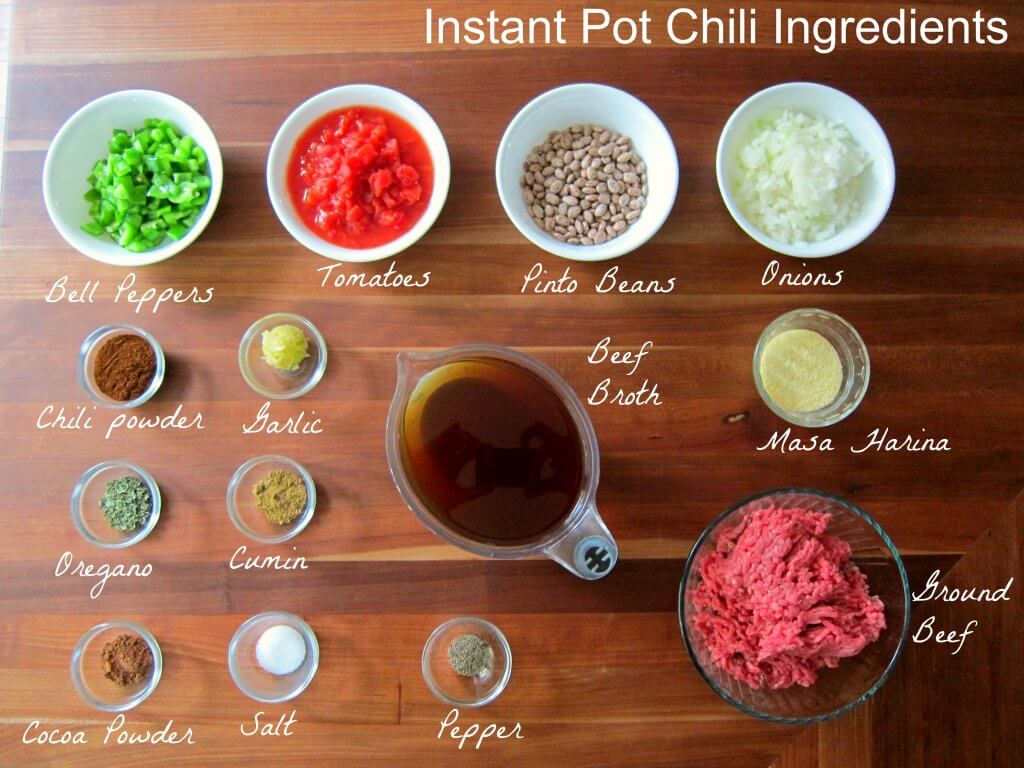
- Bell peppers
- Tomatoes
- Pinto beans
- Onions
- Chili powder
- Garlic
- Beef broth
- Masa harina
- Oregano
- Cumin
- Cocoa powder
- Salt
- Pepper
- Ground beef
How to Make Chili using Dried Beans in the Instant Pot (Step by Step Instructions)
- Soak Beans
- Turn on Saute Mode
- Saute beef
- Saute vegetables
- Add spices, broth
- Pressure cook
- Do a natural release of pressure
- Stir in masa harina
- Serve with your choice of toppings
Soak Beans
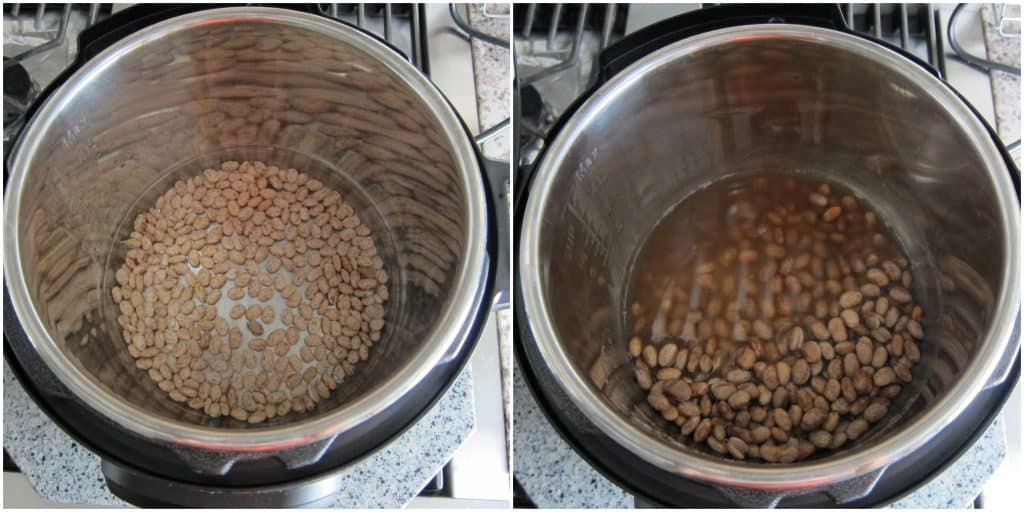
- Soak dried beans for 4 to 8 hours or use my preferred method: Instant Pot Quick Soak Beans.
How to Turn on Saute Mode
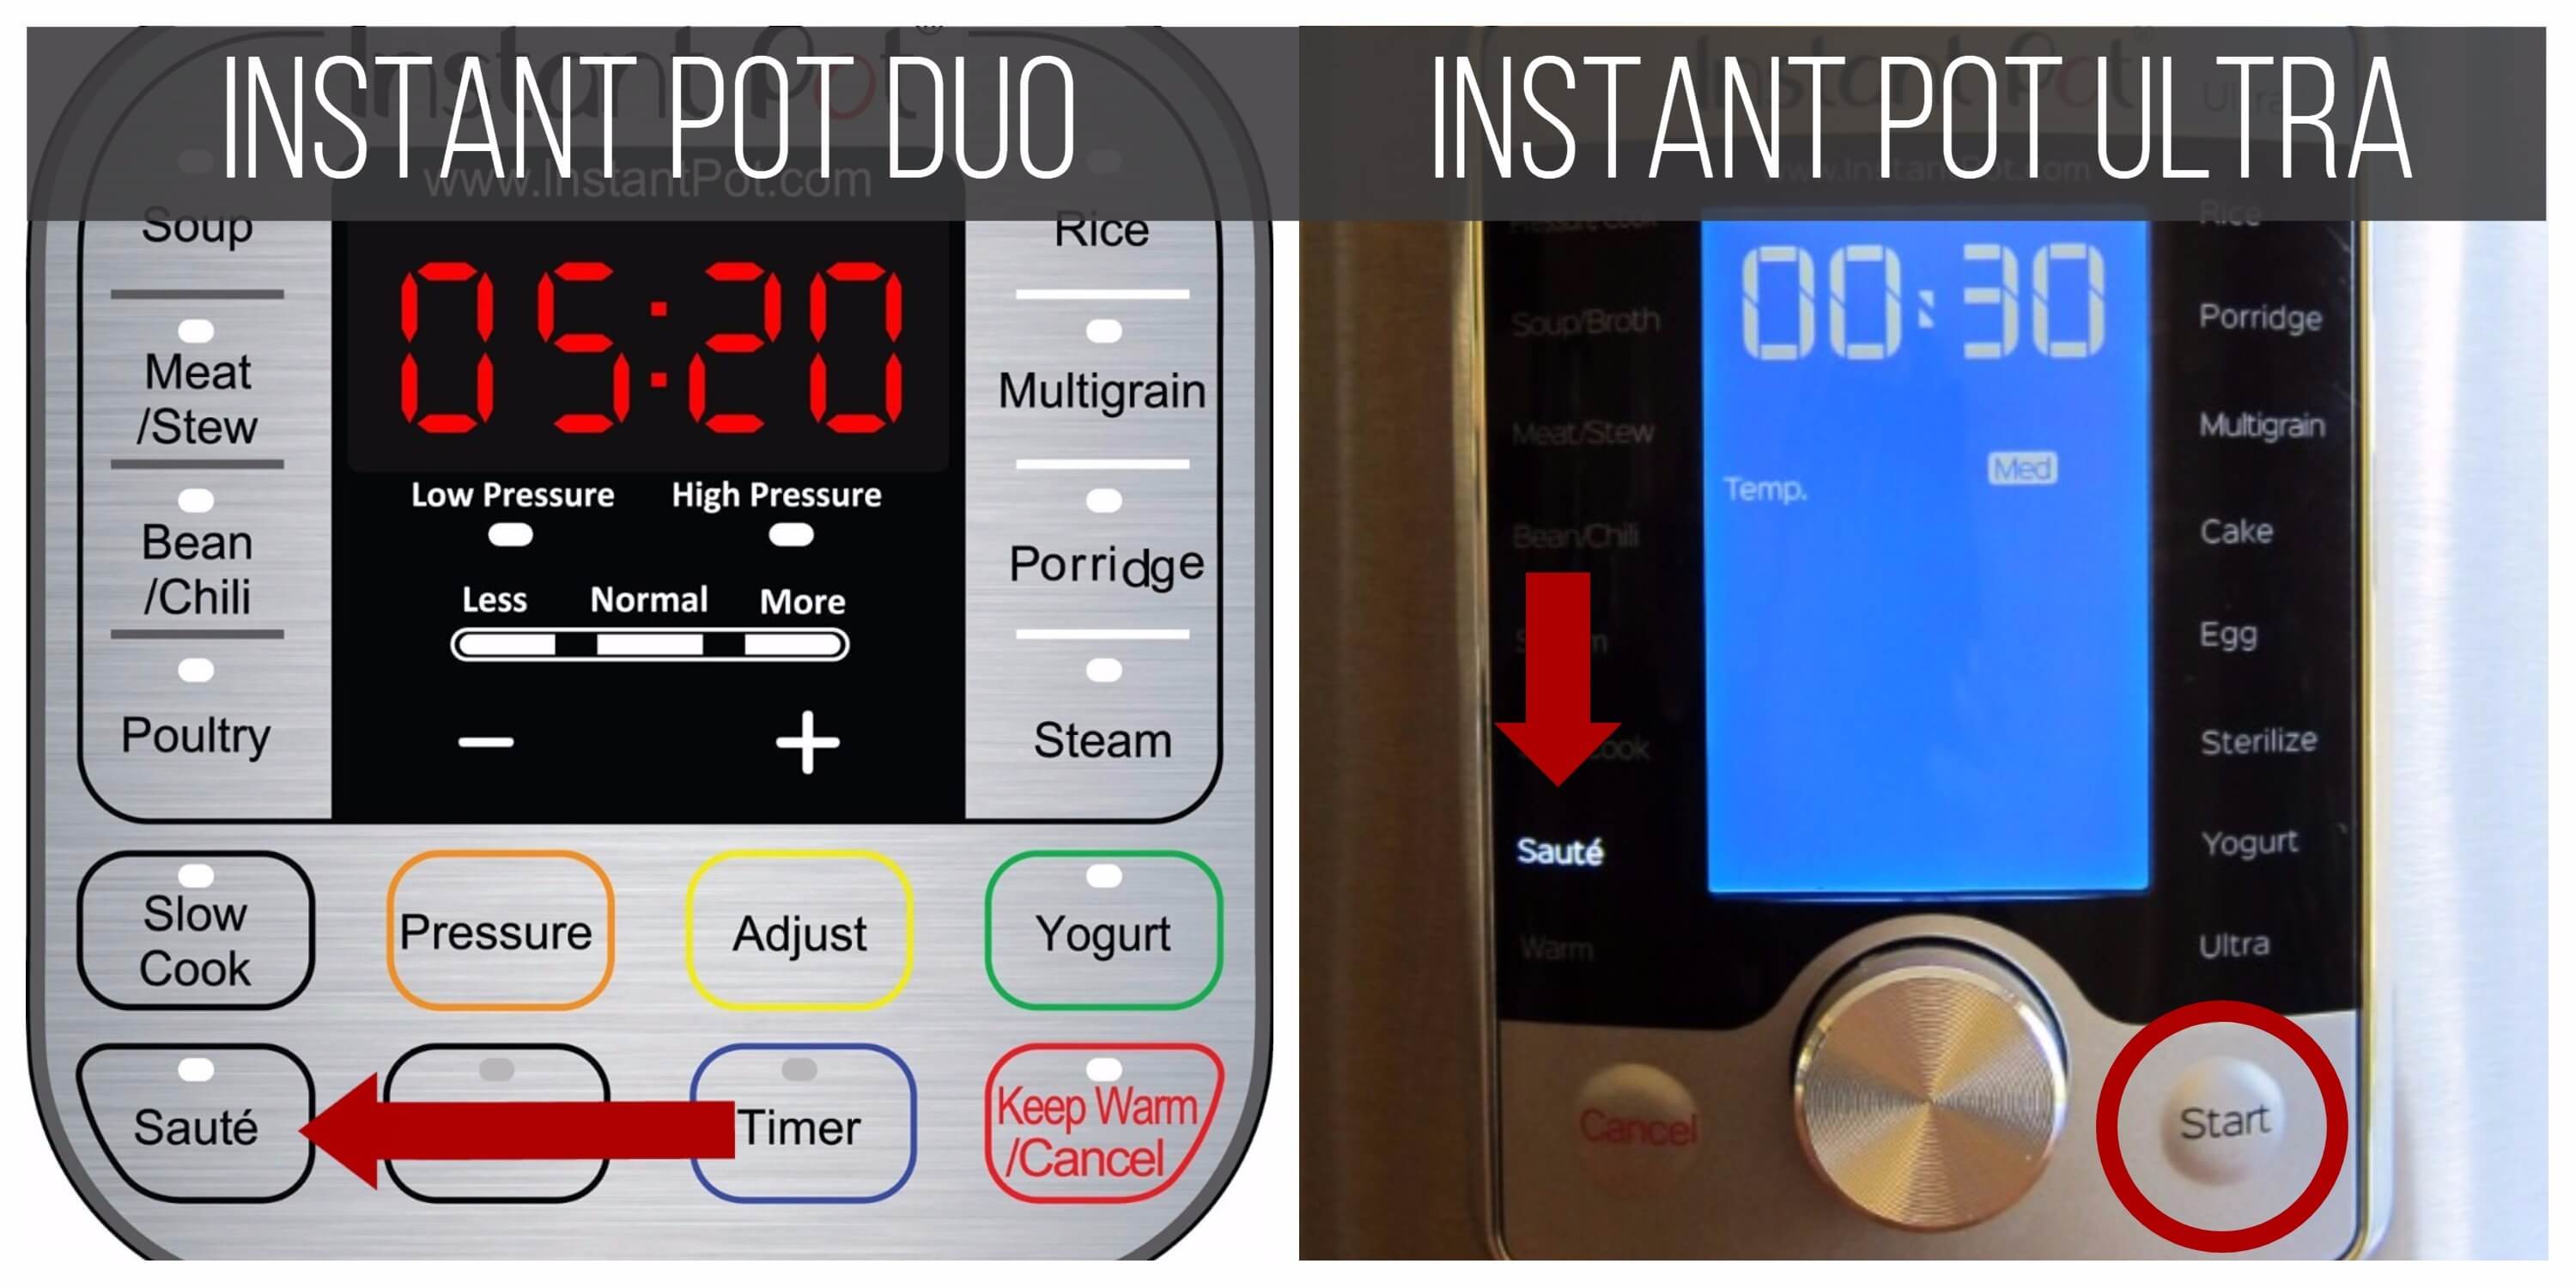
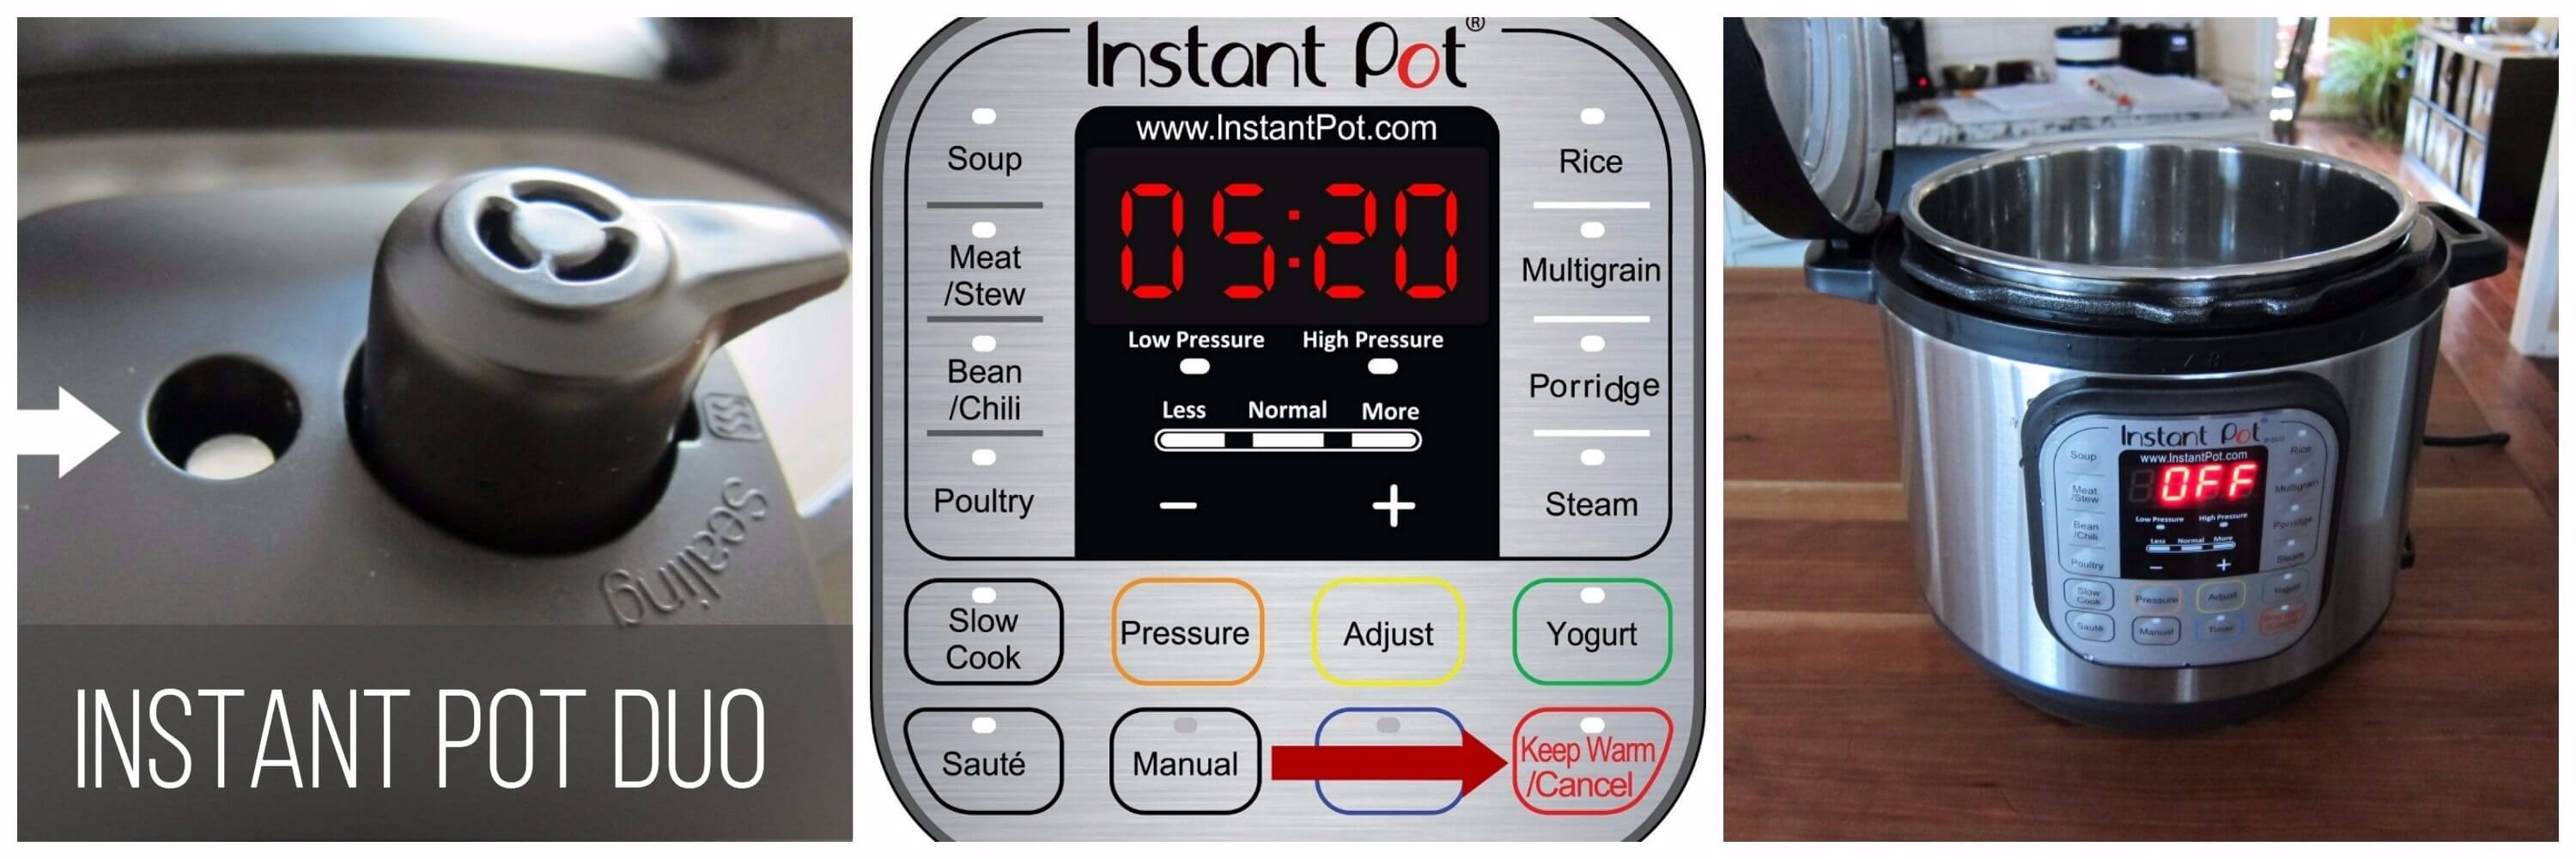
- Instant Pot DUO: Select the Saute function.
- Instant Pot ULTRA: Select the Saute function and press Start.
Saute Beef
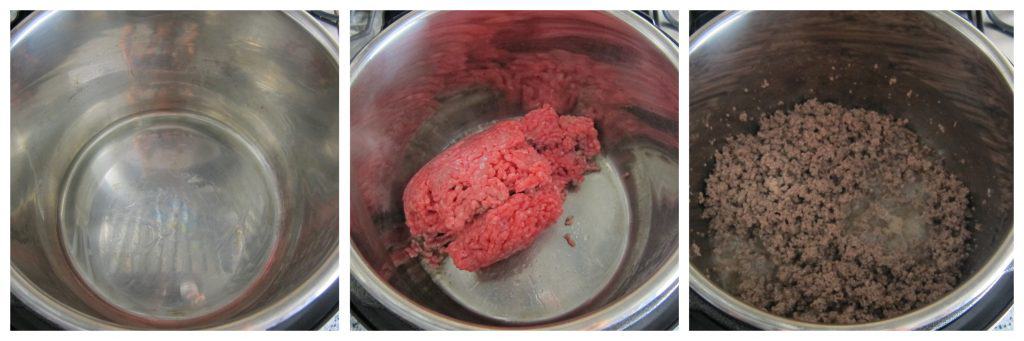
- Once Instant Pot is hot, add vegetable oil to the inner pot.
- Add ground beef to the inner pot.
- Stir with a wooden spoon to break up the meat into smaller pieces and saute until meat is browned, about 3 minutes.
Saute Vegetables
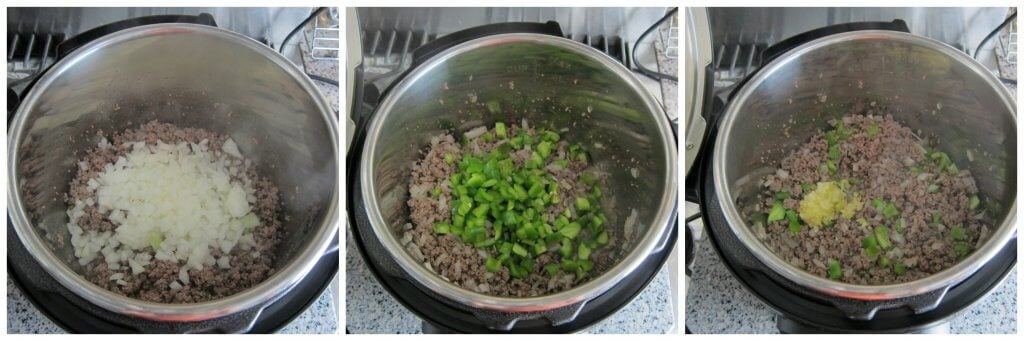
- Add onions to beef and saute until soft, about 2 minutes.
- Stir in bell peppers.
- Stir in garlic.
Add Spices, Broth
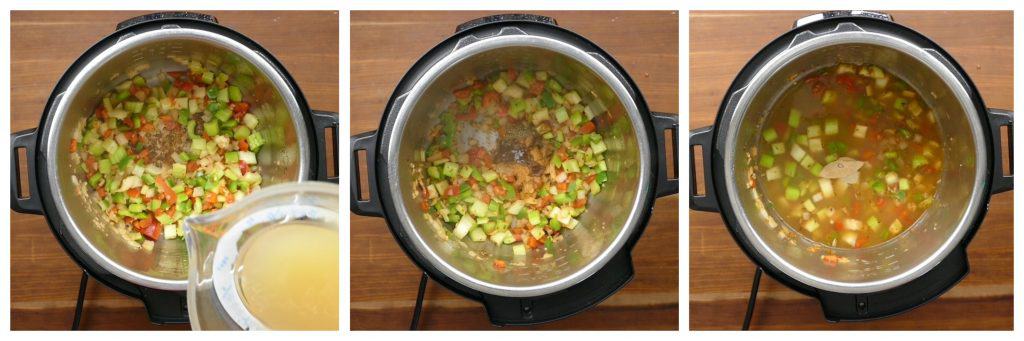
- Add chili powder, oregano, cumin powder, cocoa powder, salt, black pepper and cayenne pepper.
- Stir well and cook until fragrant, about 1 minute.
- Add beef broth, tomatoes and pre-soaked dried beans (whether using quick Instant Pot pre-soak or countertop pre-soak).
Instant Pot Duo Pressure Cook 20 minutes
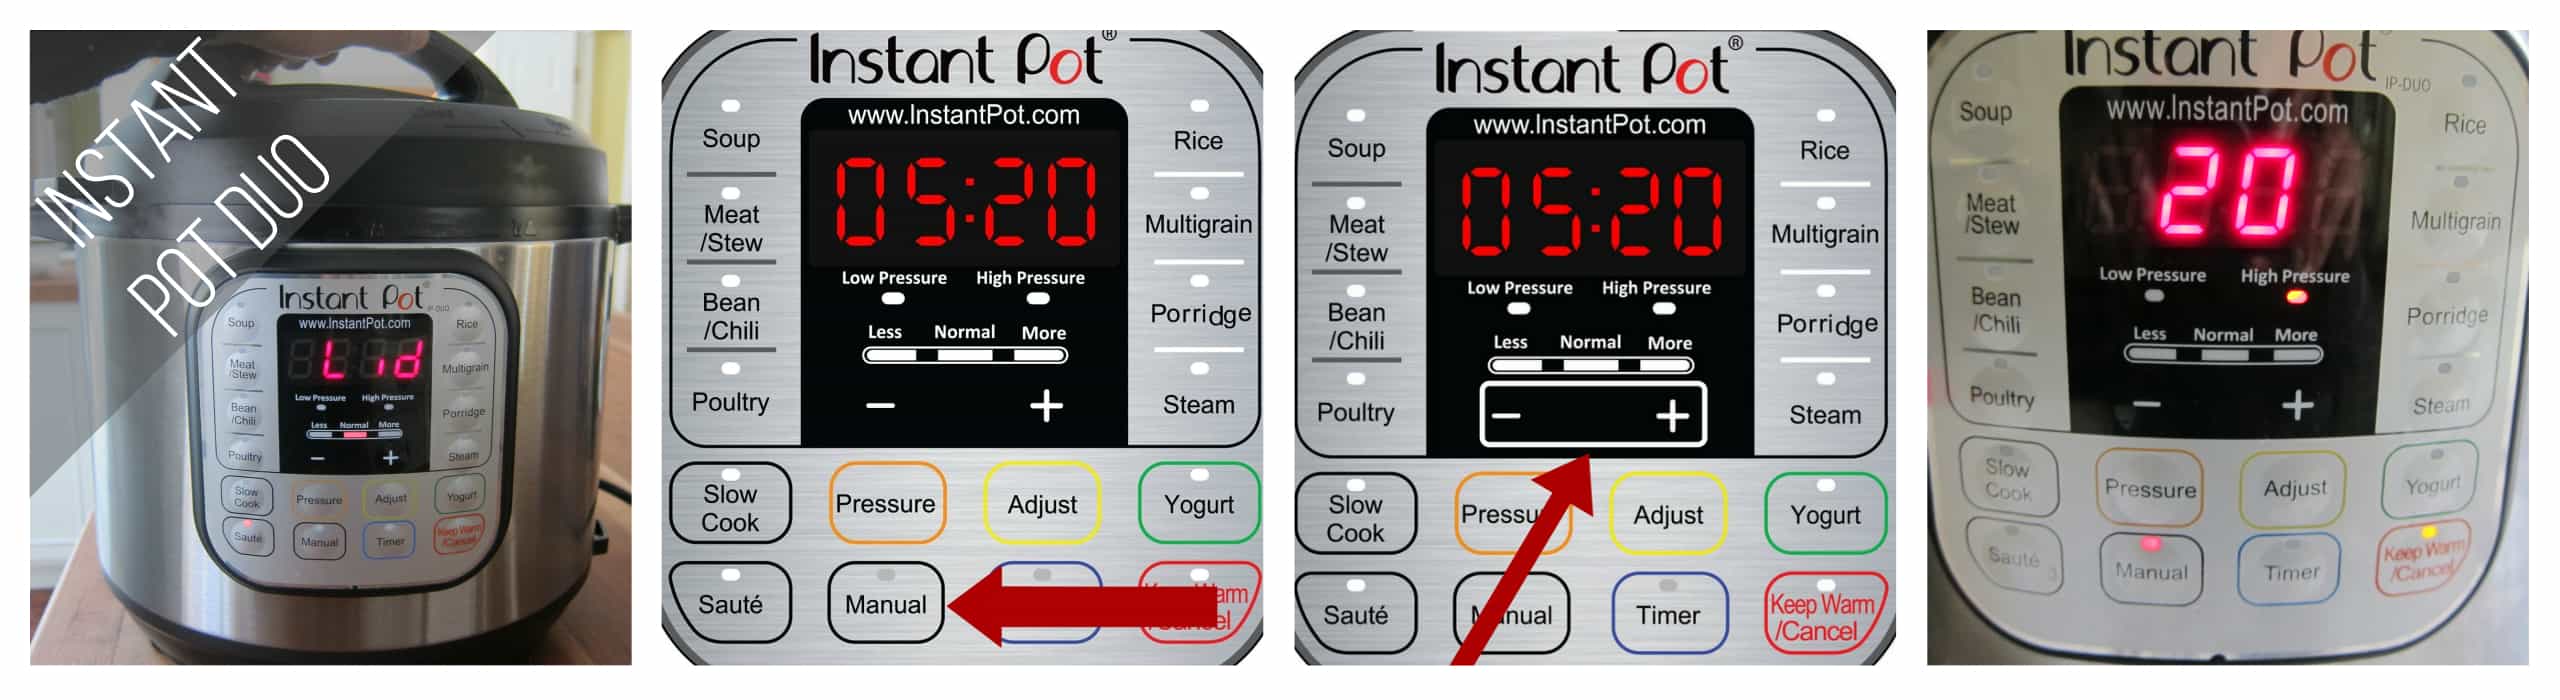
- Close the lid and make sure steam release handle is in ‘Sealing’ position
- Press Manual (or Pressure Cook) and ‘+’ or ‘-‘ until the display reads ‘20′ (20 minutes).
Instant Pot Ultra Pressure Cook 20 minutes
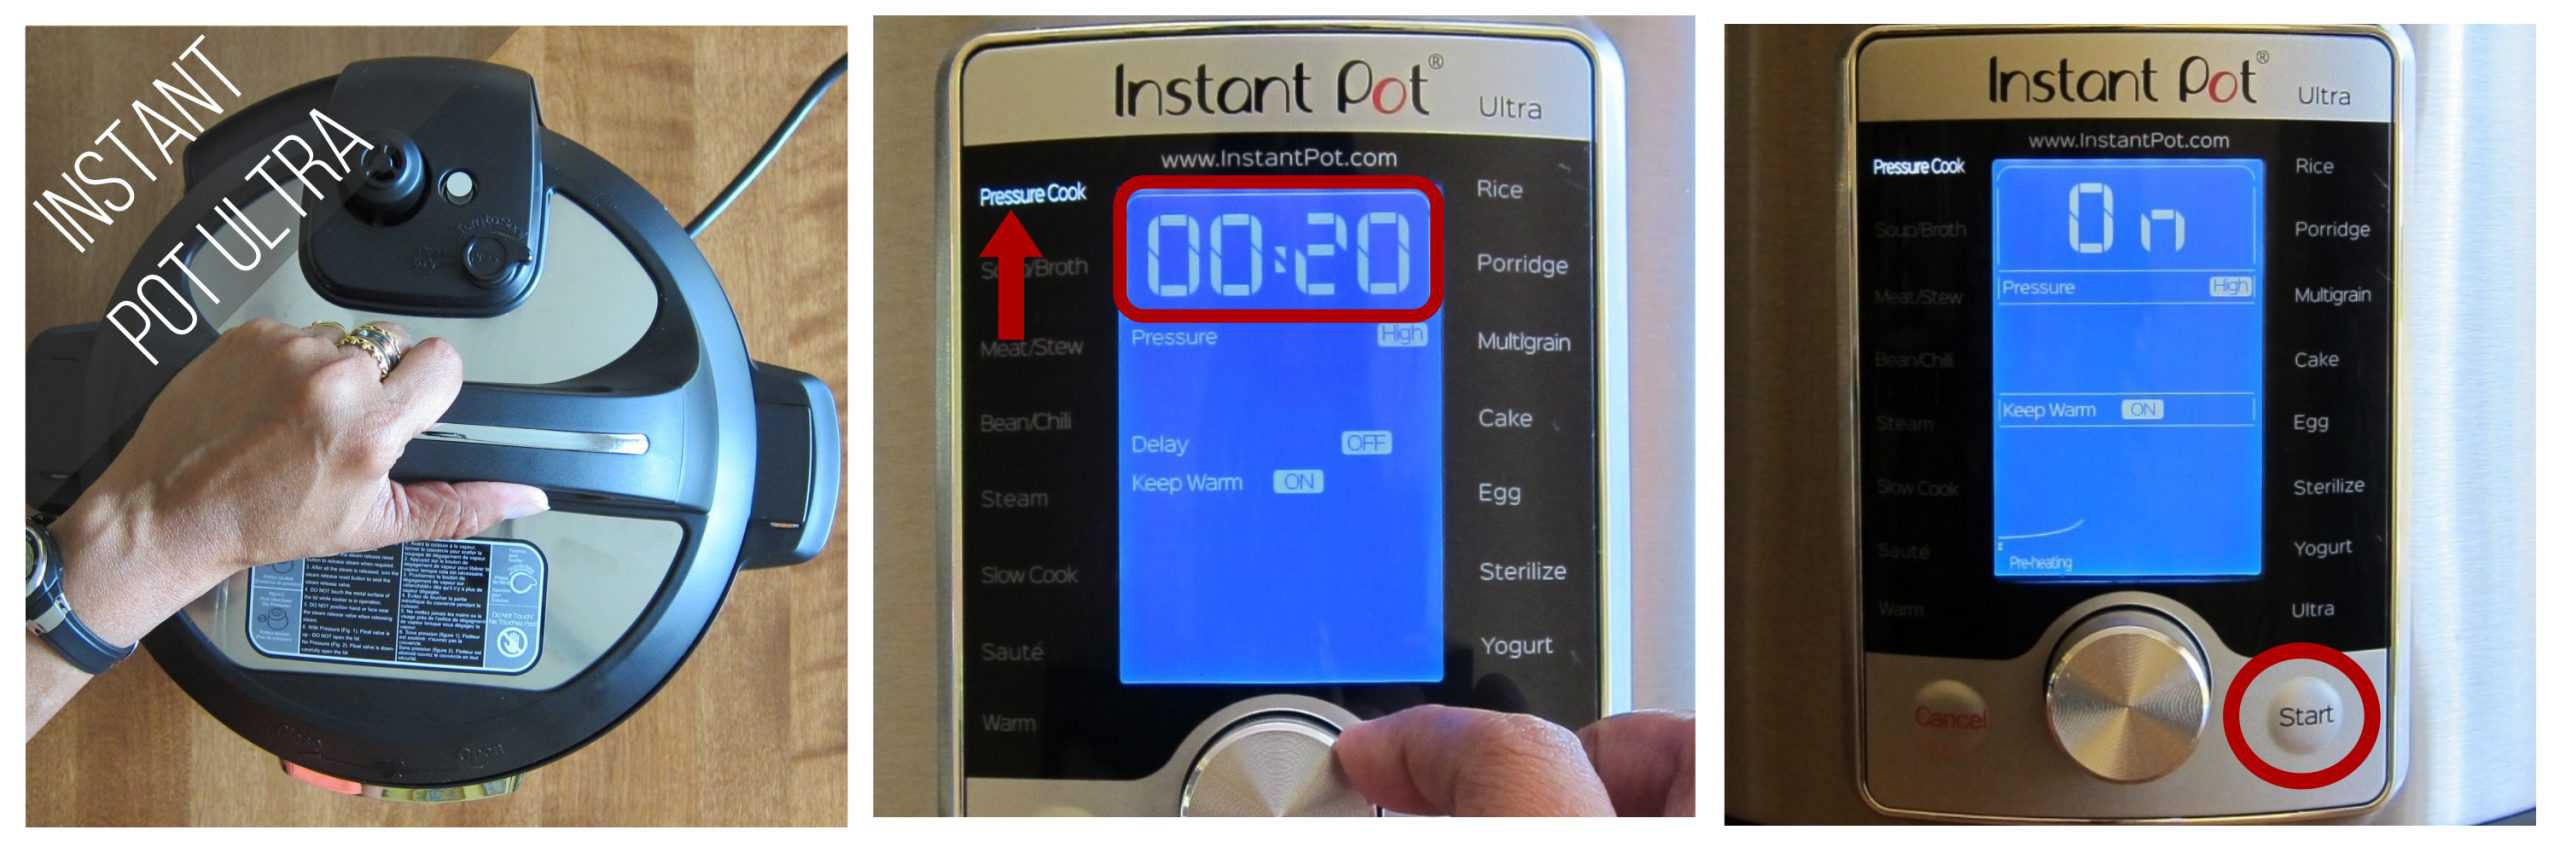
- Close the lid.
- Select Pressure Cook mode and adjust the time to 20 minutes (00:20).
- Press Start.
Pressure Cooking Process (Duo and Ultra)

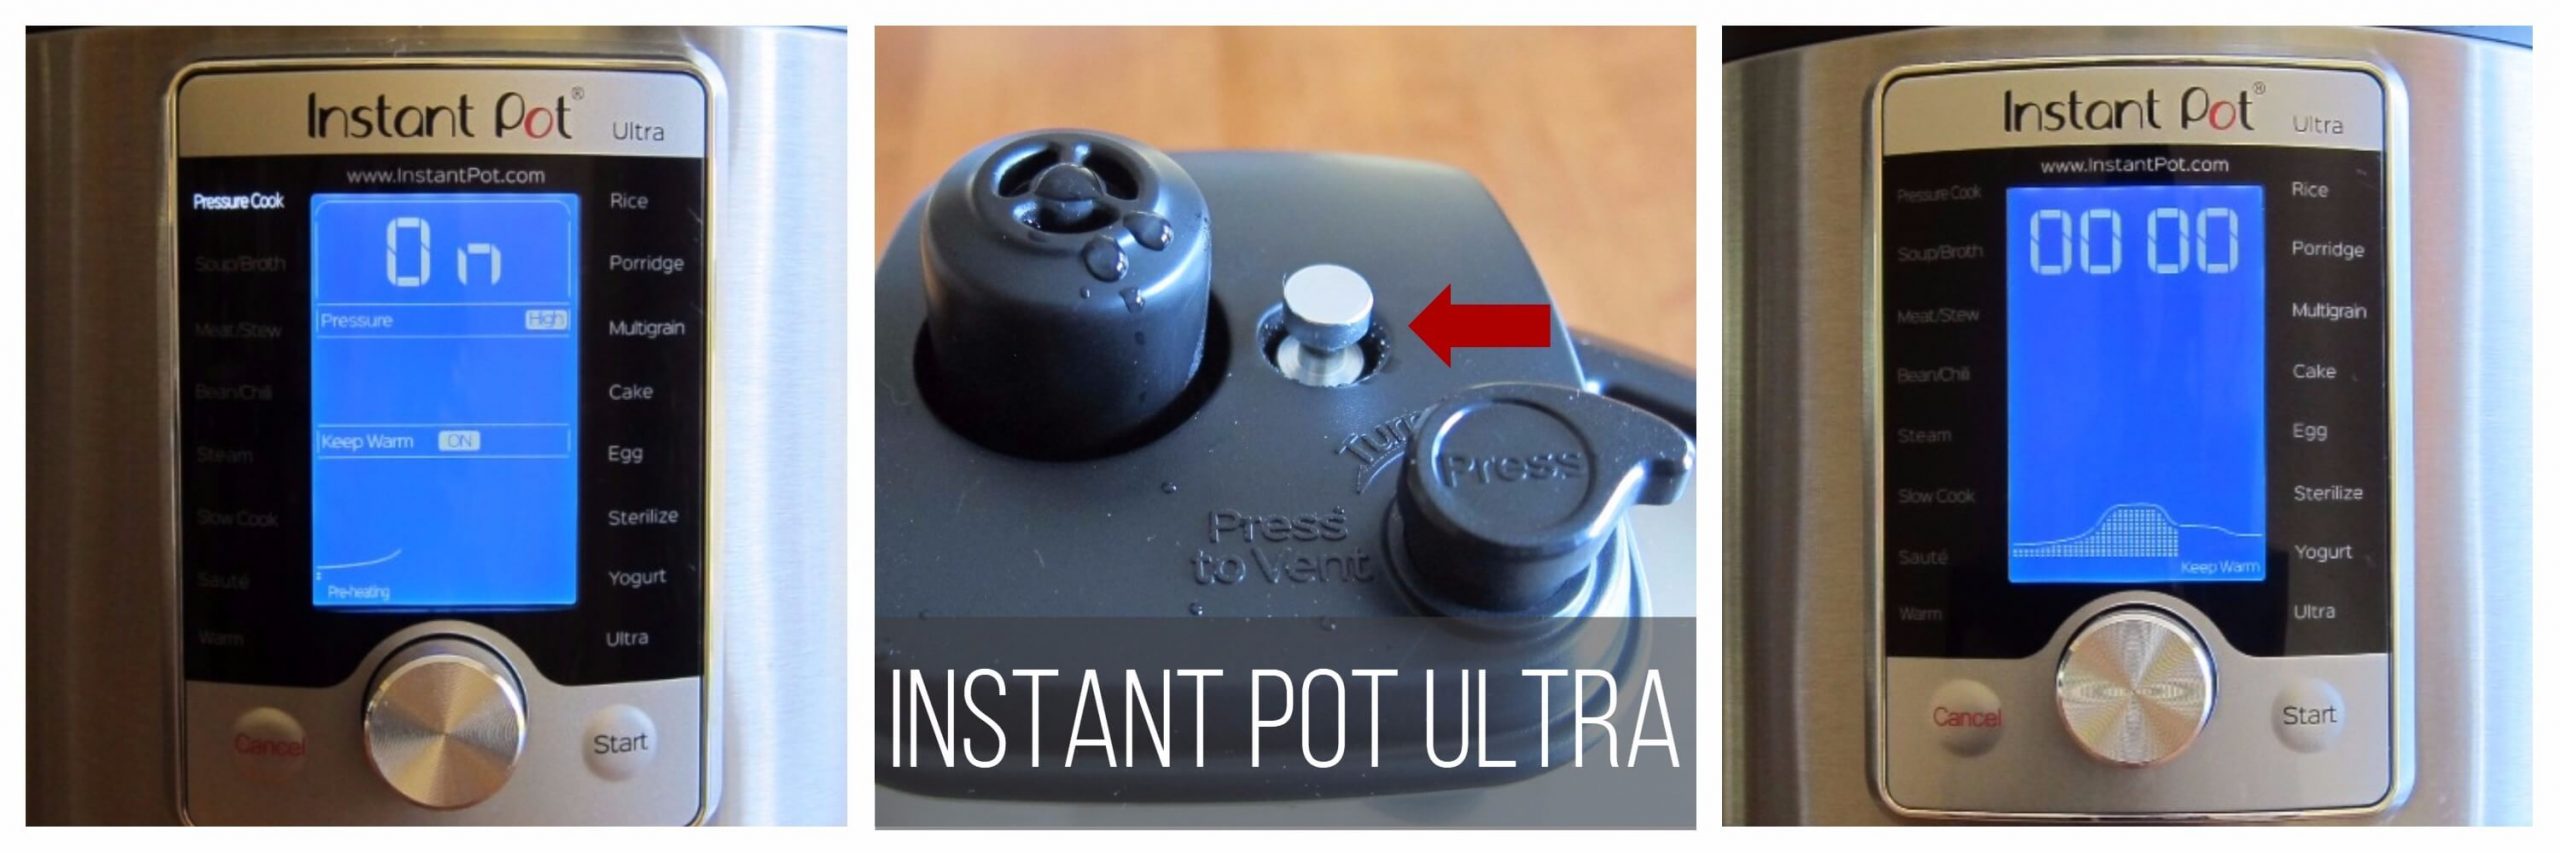
- Instant Pot display will change to On.
- Once the Instant Pot is pressurized, the float valve will go up.
- The display will count down to 0; it will then switch to Keep Warm mode and display L0:00 or 00 00 and begin to count up the number of minutes since pressure cooking completed.
How to Naturally Release Pressure (NPR) on the DUO and ULTRA
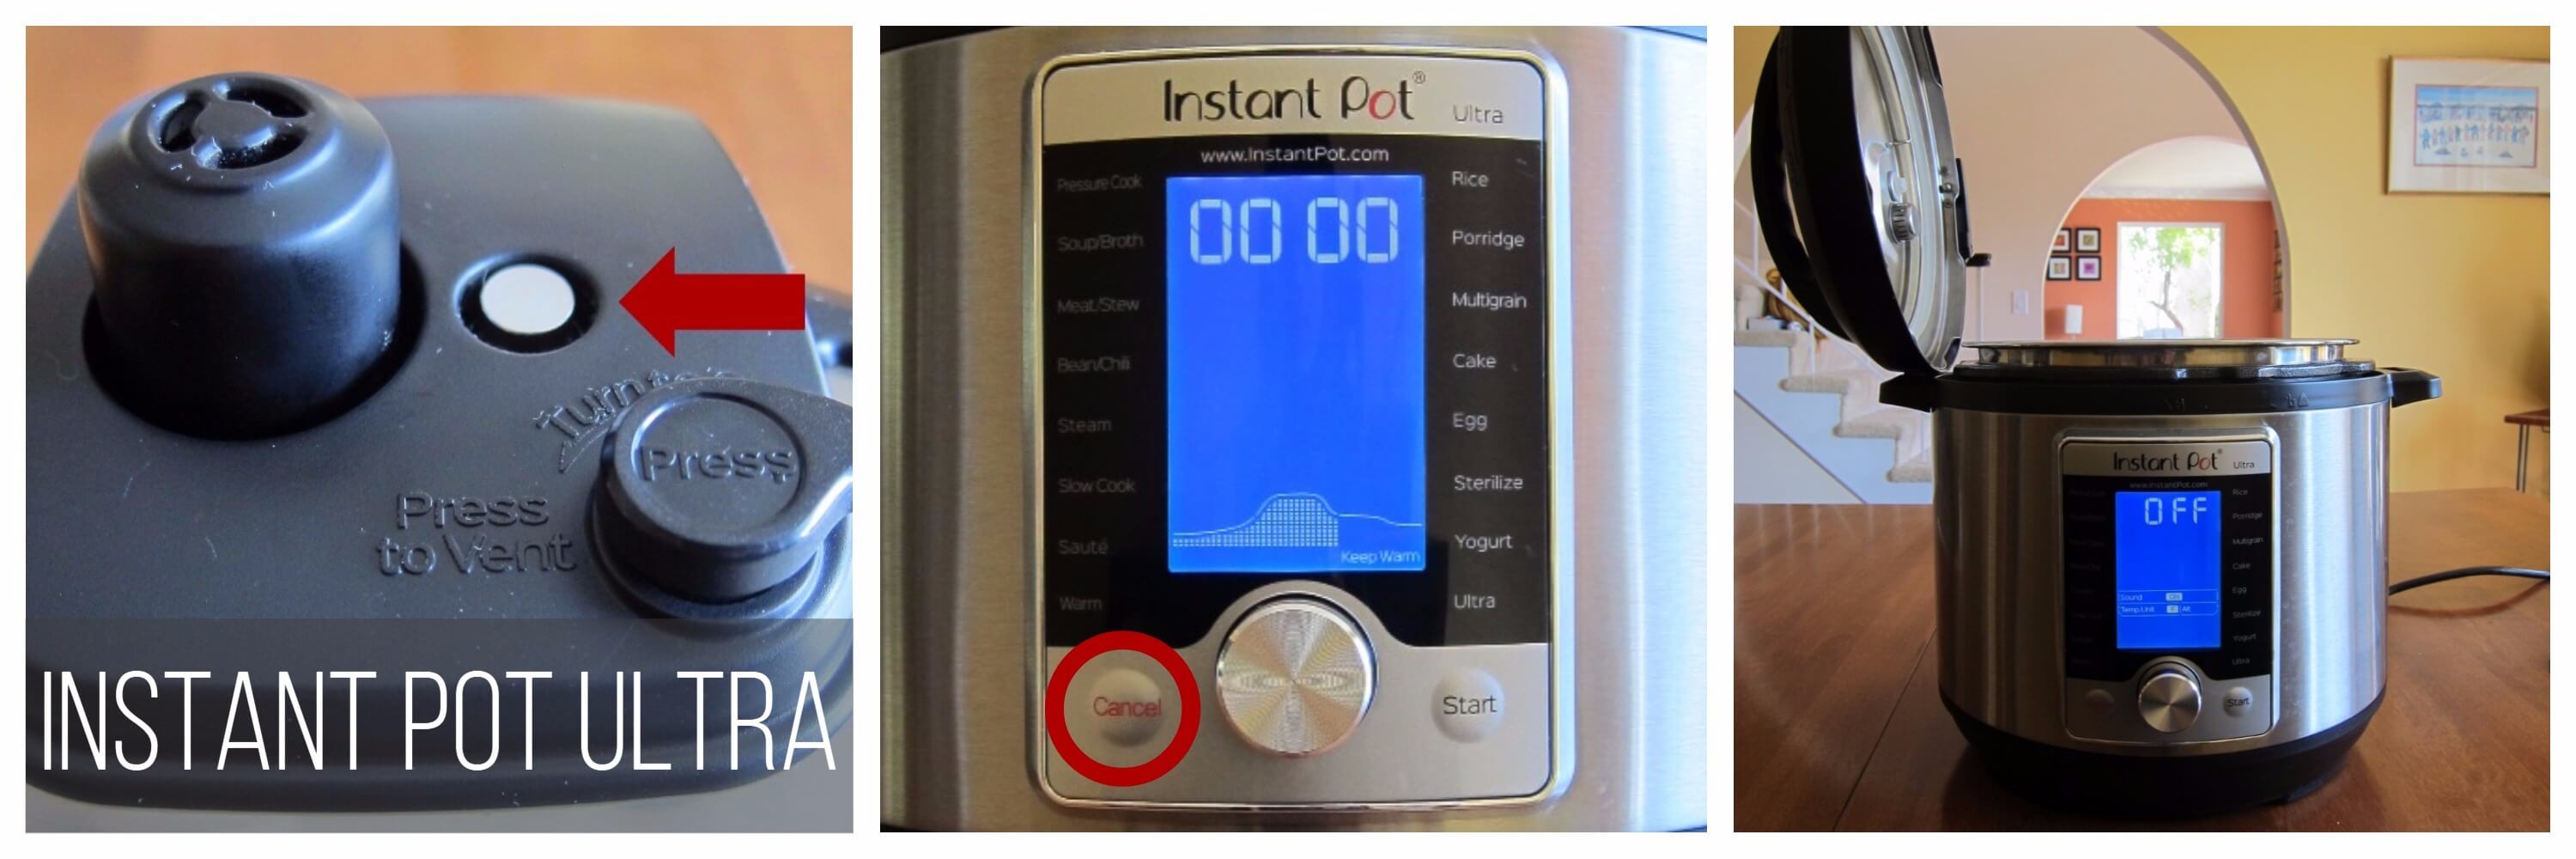
- Allow the pressure to release naturally (NPR). The float valve will be in the down position. This may take 15 to 30 minutes. [Find out more about the pressure release methods and how and when to use them. ]
- Press Cancel and open the Instant Pot.
* After 15 minutes, if you wish to, you can release the remaining pressure by moving the pressure release to the venting position.
Stir in Masa Harina and Add Toppings
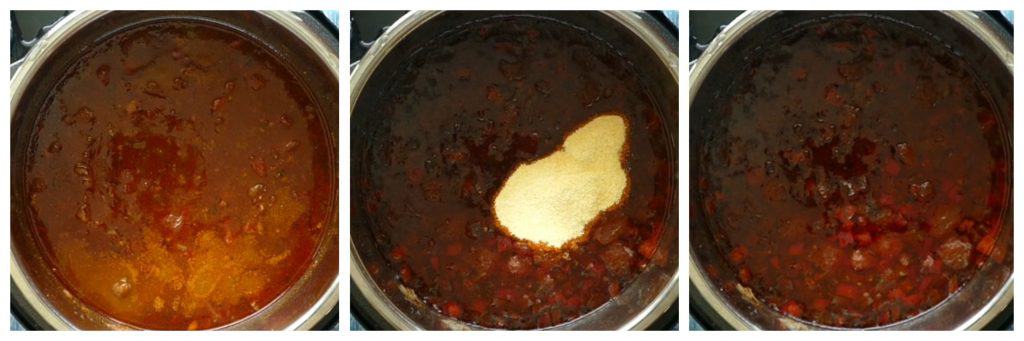
- Select Saute mode.
- Stir in masa harina.
- Cook until chili is thickened, about 5 minutes.
- Press Cancel.
- Allow the Instant Pot chili to rest for 5 more minutes before serving; it will thicken some more.
- Ladle chili into serving bowls and serve with your choice of toppings: sour cream, shredded cheddar cheese, chopped red onions, shallots or green onions, sliced jalapenos, hot sauce, diced avocado, or Fritos chips (not the healthiest, but my favorite!)

Homemade Instant Pot Chili (with dried beans)
Ingredients
- 1 ½ cups dried pinto beans
- 2 tablespoon vegetable oil
- 1 ½ lbs ground beef (⅔ kg)
- 2 cups onion chopped
- 1 cup bell pepper chopped
- 2 tablespoon garlic minced
- 3 tablespoon Mexican chili powder
- 1 tablespoon dried oregano
- 2 teaspoon cumin powder
- 2 teaspoon cocoa powder
- 1 teaspoon salt or to taste
- ½ teaspoon black pepper powder
- ¼ teaspoon cayenne pepper or to taste
- 4 cups beef broth
- 14.5 oz diced tomatoes (1 can or 411 grams) or 2 cups fresh tomatoes, chopped
- ¼ cup masa harina e.g. Bob’s Red Mill brand
- Your choice of toppings sour cream, shredded cheddar cheese, chopped red onions, shallots or green onions, sliced jalapenos, hot sauce, diced avocado, or Fritos chips
Instructions
To pre-soak pinto beans in the traditional way in a bowl:
- Rinse pinto beans and drain.
- Place beans in a medium bowl and add enough water to be 1 inch above the level of the beans.
- Let bowl sit on countertop for 4 to 8 hours.
- Drain and set aside.
To do a quick pre-soak of pinto beans in Instant Pot:
- Rinse pinto beans and drain.
- Add pinto beans to inner pot of Instant Pot and pour in enough water to be 1 inch above the level of the beans.
- Close the lid and pressure cook on High Pressure for 5 minutes.
- Do a Natural Pressure Release (NPR), about 12 minutes. [Read More: The Different Pressure Release Methods]
- Press Cancel and open the Instant Pot; drain the beans and set aside.
Instant Pot Chili Instructions:
- Select Saute mode.
- Once the Instant Pot is hot, add oil to inner pot.
- Add ground beef to inner pot.
- Stir with a wooden spatula to break up the meat into smaller pieces and saute until meat is browned, about 3 minutes.
- Stir in onions and saute until soft, about 2 minutes.
- Stir in bell peppers and garlic.
- Add chili powder, dried oregano, cumin powder, cocoa powder, salt, black pepper, cayenne pepper and stir until fragrant, about 1 minute.
- Stir in beef broth, tomatoes and pre-soaked pinto beans (use either countertop or Instant Pot quick pre-soak method from above).
- Close Instant Pot lid and pressure cook on High Pressure for 20 minutes.
- Do a Natural Pressure Release (NPR), about 15 to 18 minutes. ** [Read More: The Different Pressure Release Methods]
- Press Cancel and open the Instant Pot.
- Select Saute mode
- Stir in masa harina.
- Cook until chili has thickened, stirring frequently, about 5 minutes.
- Press ‘Cancel’.
- Allow the Instant Pot Chili to rest for 5 more minutes before serving, it will thicken some more.
- Ladle chili into serving bowls and serve with your choice of toppings: sour cream, shredded cheddar cheese, chopped red onions, shallots or green onions, sliced jalapenos, hot sauce, diced avocado, or Fritos chips (my favorite!)
Notes
- Prep time does not include steps that are already accounted for in the ingredient list, e.g. chopped onions, minced garlic, cut vegetables, etc.
- If you choose not to thicken the chili with masa harina, your chili will be soupy. Please keep that in mind before you omit the ingredient.
- * The chili powder called for in this dish is Mexican chili powder which is a mixture of spices including cayenne and garlic. Don’t use ground chili pepper!
- ** After 15 minutes, if you wish to, you can release the remaining pressure by moving the pressure release handle to venting position.
Nutrition
Thank you for visiting Paint the Kitchen Red. All photos and content are copyright protected. Please don’t use any content without prior written permission. If you’ve made this recipe and would like to share it with your friends, please link back to this recipe. Thank you!
I am not a certified nutritionist. I provide my best estimate of nutritional information merely as a courtesy to my readers. If you depend on nutritional information for dietary or health reasons, I suggest using your favorite online nutrition calculator to confirm the nutritional value of this recipe based on the actual ingredients that you use.
Did you know that the best way to support your favorite bloggers is to comment and rate recipes, and share on social media? If you loved this recipe, please comment and give it a five ⭐ rating in the comment section below. If you’re a pinner, pin this post using the Pin buttons at the top and bottom of this post and in the recipe card above. Thank you for your support!
Recipes you Might Also Like!


Pat Dunham says
5 adults loved it! Easy to follow, no exotic ingredients.
Neena Panicker says
Hi Pat, thank you for trying out the chili with dry beans recipe!
Azure Campbell says
My entire family lives this recipe for chili. I make it every week, no variations. I serve it loaded on baked potatoes, on a tray of nachos or on it’s own.
Neena Panicker says
Azure, thank you for taking the time to comment. Yum – putting the chili on baked potatoes sounds amazing!
Keith Hekman says
This is a good basis for Chili. I use a can of tomato paste to thicken it. I also used a couple of Jalapeños instead of the green peppers.
Neena Panicker says
Hi Keith, thank you for taking the time to comment! Your modifications sound great!
Diana says
This chili is my go to recipe. I’ve tried many other recipes and this by far is the best. It is a little spicy so there are times I will only use half the amount of cayenne. I love that. It’s all natural ingredients and the spices don’t come from a packet. I also love that I use dried beans, not canned beans loaded of a sodium.
Neena Panicker says
Hi Diana, I’m so happy to hear you love the chili with dry beans recipe! Thank you so much for commenting.
Annette S says
Can’t wait to try this! I did the quick pressure on beans, do I reduce liquid at all? Can I double the recipe if beans are already cooked?
Neena Panicker says
Hi Annette, great questions. So if you’re doing the quick soak, you drain the liquid and proceed with the recipe. If you’re fully cooking the beans or using canned beans, you can reduce the cook time to 5 minutes. And yes, with fully cooked beans, you can double the recipe without worrying about expansion. I hope that helps.
Gilbert says
WOW, you never seen to let any of your fans down. Awesome “CHILE” I will have to try more of your recipes next week! Thank you again.
Neena Panicker says
Hi Gilbert, thank you so much! That means a lot to me.
Billy Stevens says
I did the quick soak as suggested l doubled the recipe and found l couldn’t fit everything in the pot. I finished the chili on the stove. I am glad it tasted great probably the best chili l have made so far. I am looking forward to trying your other recipes.
Neena Panicker says
Hi Billy, glad you liked the recipe. The 1/2 full mark is where you need to be when pressure cooking foods that expand such as rice and beans. Otherwise you can go to 2/3 full or even 3/4.
G says
Is it possible to link to the older version of the recipe with dried chilis? Nothing against your new version but I’ve been cooking that one for years. I liked its unique flavor profile with different dried chilis.
Neena Panicker says
Hi G, I’m sorry but I think you may be confusing my recipe with someone else’s. I’ve not made any changes to this recipe.
Lisa says
Soooo good! Thank you.
Neena Panicker says
Lisa, you’re so welcome!
Kate says
Hey there!
Just a quick note (bc I didn’t think of it 🫠) . The recipe cannot be doubled because of the instant pot size. Totally should have thought of that before, whoops! 😆 hopefully this note finds another reader and saves them some trouble 😋
Thank you for sharing this lovely recipe, it was a hit!
Neena Panicker says
Thank you for sharing! I’m glad you enjoyed it. Yes, if the ingredients with dry beans go over the 1/2 full mark, it could cause issues due to expansion.
TL says
Finally a good recipe for the Instant Pot using dried beans, which is kind of the point of having one. Thanks!
Neena Panicker says
Hi, thank you for trying the recipe and I appreciate the comment!
Azure Campbell says
Totally agree! I make it once a week. I serve it with nachos, on fully loaded baked spuds or with mexican rice. My entire family loves it.
Neena Panicker says
Wow, thank you for sharing. I truly never thought about putting it on nachos or potatoes – what great ideas!
Brad says
delicious and simple!
Neena Panicker says
Hi Brad, thanks for commenting and I’m happy to hear you enjoyed the Instant Pot chili recipe!