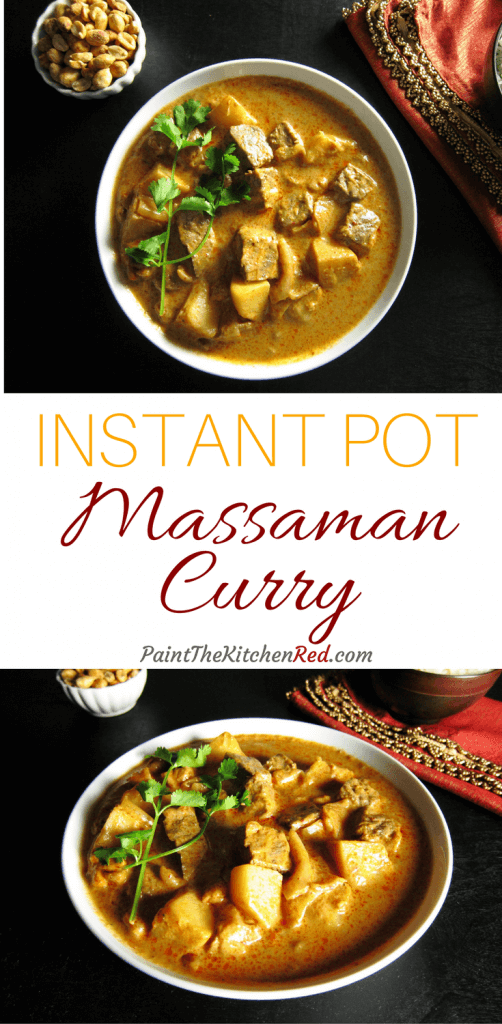
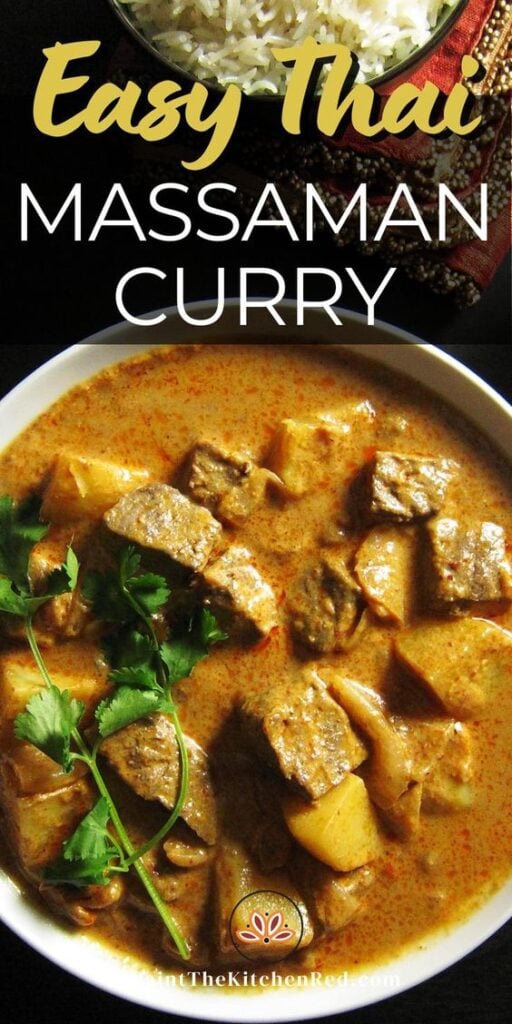
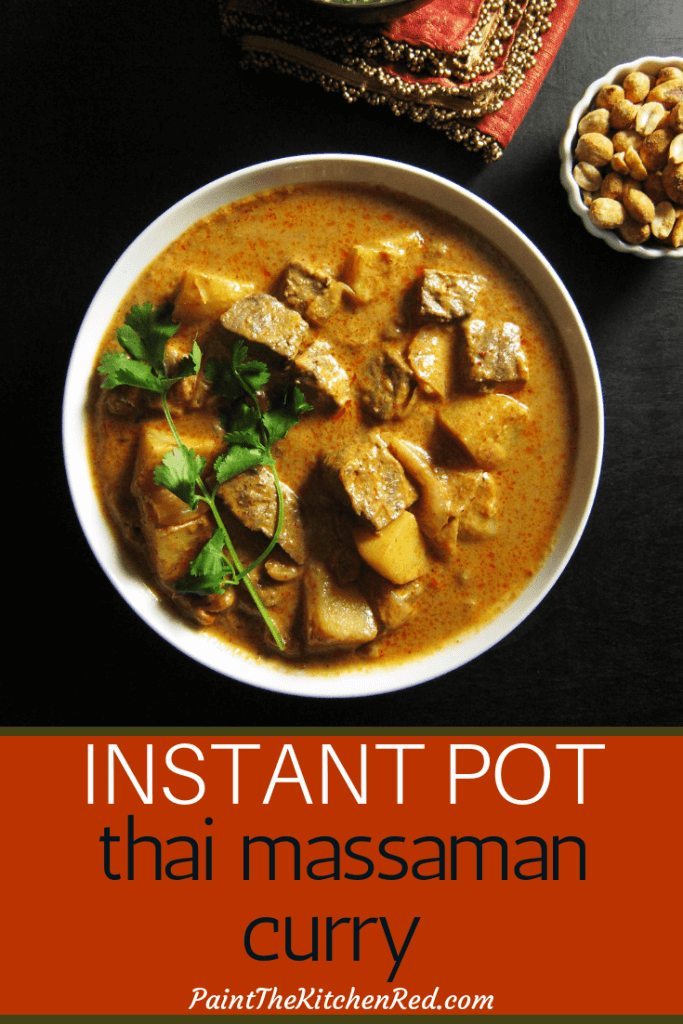
This fragrant and flavorful Thai Instant Pot Massaman Curry recipe has creamy coconut, tender beef, potatoes, and crunchy peanuts that combine to make this a highly satisfying dish that can be put together quickly for a delicious weeknight meal.

This post contains affiliate links. As an Amazon Associate, I earn from qualifying purchases. Please read the disclosure.
I love Thai coconut curries! One of my favorite Thai curries is Massaman (pronounced muss-uh-maan) curry, which is a mild curry and doesn’t taste as spicy as Instant Pot red curry, green curry, panang curry, or yellow curry.
This curry is typically made with beef or chicken in Thai restaurants. The taste reminds me so much of Indian coconut-based curries because the curry paste has cumin, coriander, and some of the essential ingredients of the Indian spice garam masala: cardamom, cinnamon, cloves.
Find out the difference between panang curry vs massaman curry.
I only eat this pressure cooker beef massaman curry with Instant Pot Jasmine Rice!
For another delicious coconut-based beef curry, try Indian Instant Pot beef curry.
Ingredients and Tips
🧂 Ingredients You’ll Need for Instant Pot Massaman Beef Curry
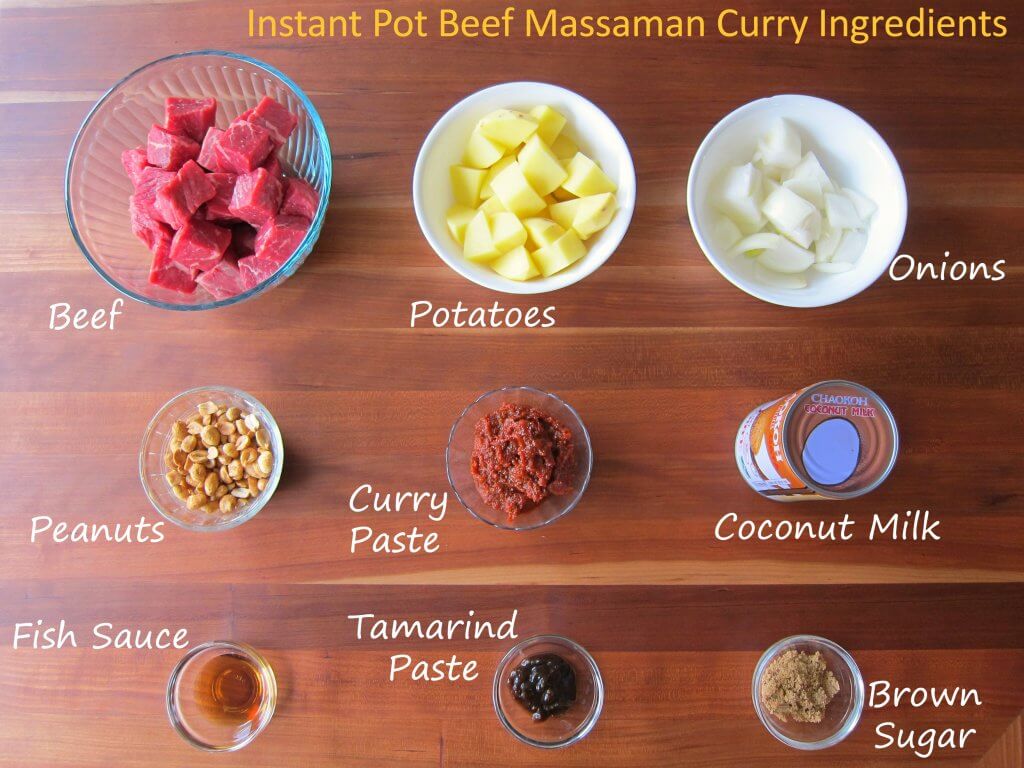
💡 Recipe and Ingredient Tips
Here are some tips for getting the best results when making this pressure cooker massaman curry:
🍋 Tamarind Paste: Make fresh tamarind paste from slabs of tamarind pulp, available at East or South Asian stores. If using store-bought, start with one teaspoon mixed with hot water for Indian brands like Tamicon. For Thai concentrate, begin with one tablespoon and adjust to taste.
🌶️ Thai Curry Paste: I recommend Maesri or Mae Ploy for massaman curry paste. Maesri is great because you can use the whole can. If using Mae Ploy, reduce the amount of fish sauce since it’s saltier.
🍶 Fish Sauce: Red Boat fish sauce is my favorite for its rich flavor, but it’s pricier. Tiparos is a more affordable option. There’s no substitute for fish sauce, but soy sauce can work in a pinch—expect a different flavor. Vegetarian readers have recommended the Fysh brand of sauce
🥥 Coconut Milk: Use full-fat coconut milk for creaminess. Aroy-D and Chaokoh are my top brands, and some readers like Trader Joe’s coconut milk. For a thicker gravy, omit the water.
🍬 Palm Sugar: Palm sugar is more authentic than brown sugar, but brown sugar works well.
🥩 Beef: Use beef chuck or stew meat for the Instant Pot. Beef stew meat is convenient since it’s already cut into bite-sized pieces. Beef short ribs are also an option.
🍗 Chicken Variation: Substitute chicken for beef by cutting thighs or breasts into bite-sized pieces. Pressure cook everything together for 4 minutes on high pressure and do a quick release—no need to cook in stages!
🌱 Tofu Massaman Curry: For a vegetarian version, use extra-firm tofu, cubed, and pressure cook it with vegetables for just 2 minutes before a quick release.
🥔 Potatoes: Yukon Gold potatoes work well. For softer potatoes, use the 5-minute pressure cook time; reduce it to 3 minutes for firmer ones.
💦 Splatter Screen: To avoid splatters while sautéing in the Instant Pot, use a splatter screen to cover the inner pot.
❓ FAQS
Yes, you can double the recipe. Keep the cooking time the same.
Slow cook the curry for 4 to 6 hours on high or 6 to 8 hours on low.
If you want to use a leaner cut of beef, I suggest making the curry on the stovetop. The pressure cooker will make the beef tough.
Thai Massaman curry is not a spicy dish, so people who don’t like spicy foods will probably be okay with using a whole can of Thai Massaman curry paste.
If you’re concerned about spice, reduce the quantity of the curry paste. Start with just 3 or 4 tablespoons of the massaman curry paste; next time, you can adjust the heat as needed.
How to Make Thai Massaman Curry
⏲️ Instant Pot Method
- Saute spices, add coconut milk, beef or chicken.
- Pressure cook
- Release pressure, add vegetables, pressure cook again.
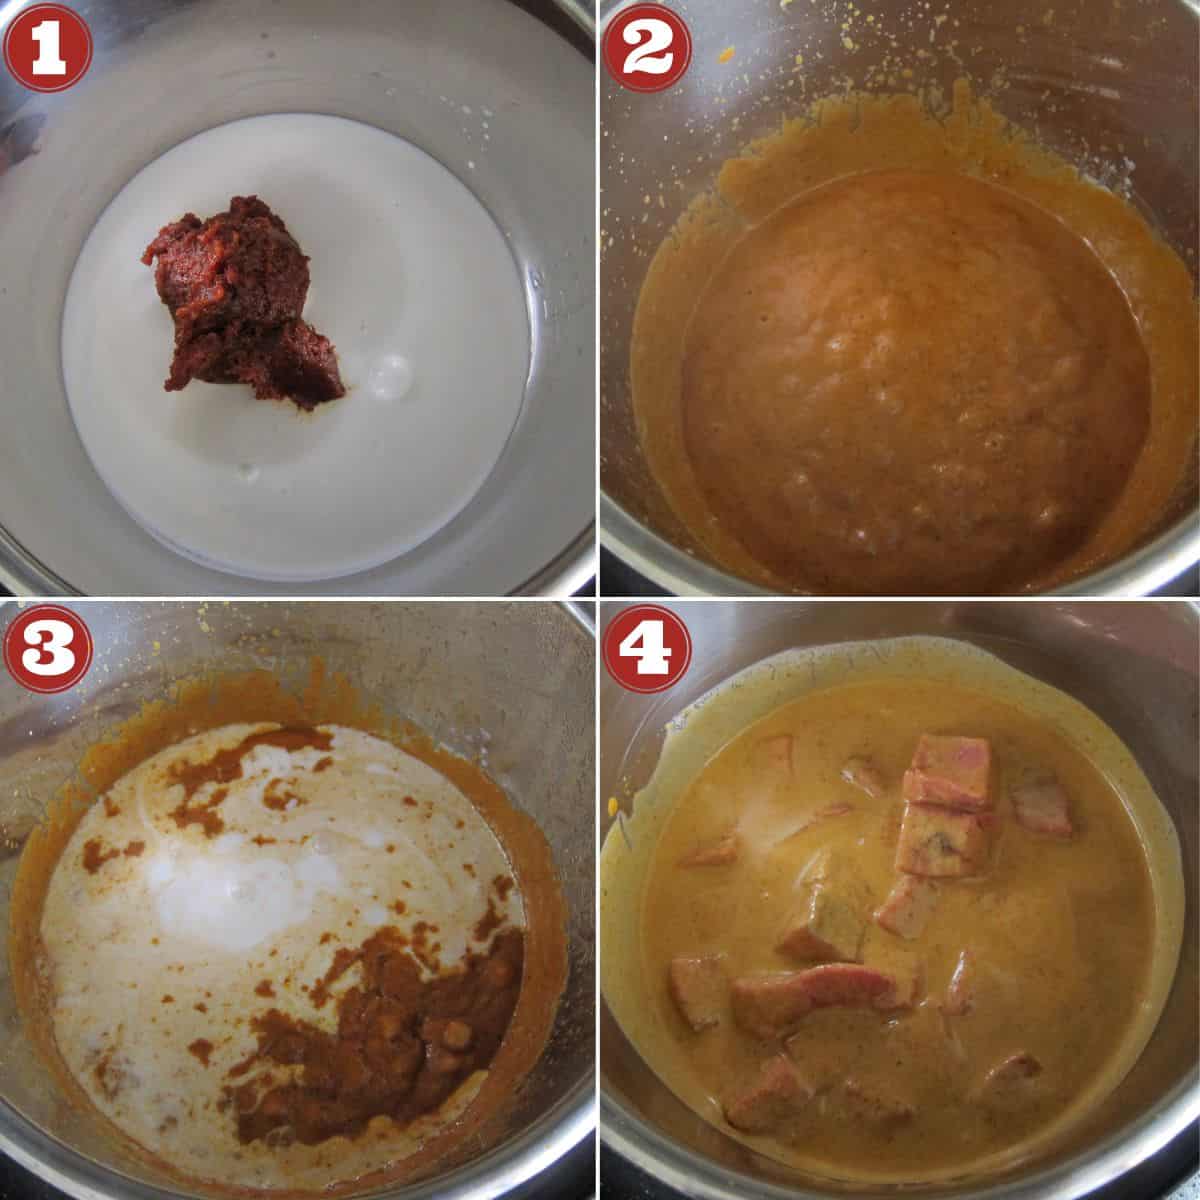
- Set the Instant Pot to Saute mode. Add curry paste and ½ can of coconut milk. Saute until mixture is bubbly, a minute or two.
- Press Cancel to turn off Instant Pot.
- Stir in remaining coconut milk, water, tamarind paste, fish sauce, and brown sugar.
- Add the beef, give it a quick stir, close the lid. *
* If using bite-size chicken, add the vegetables with the chicken.
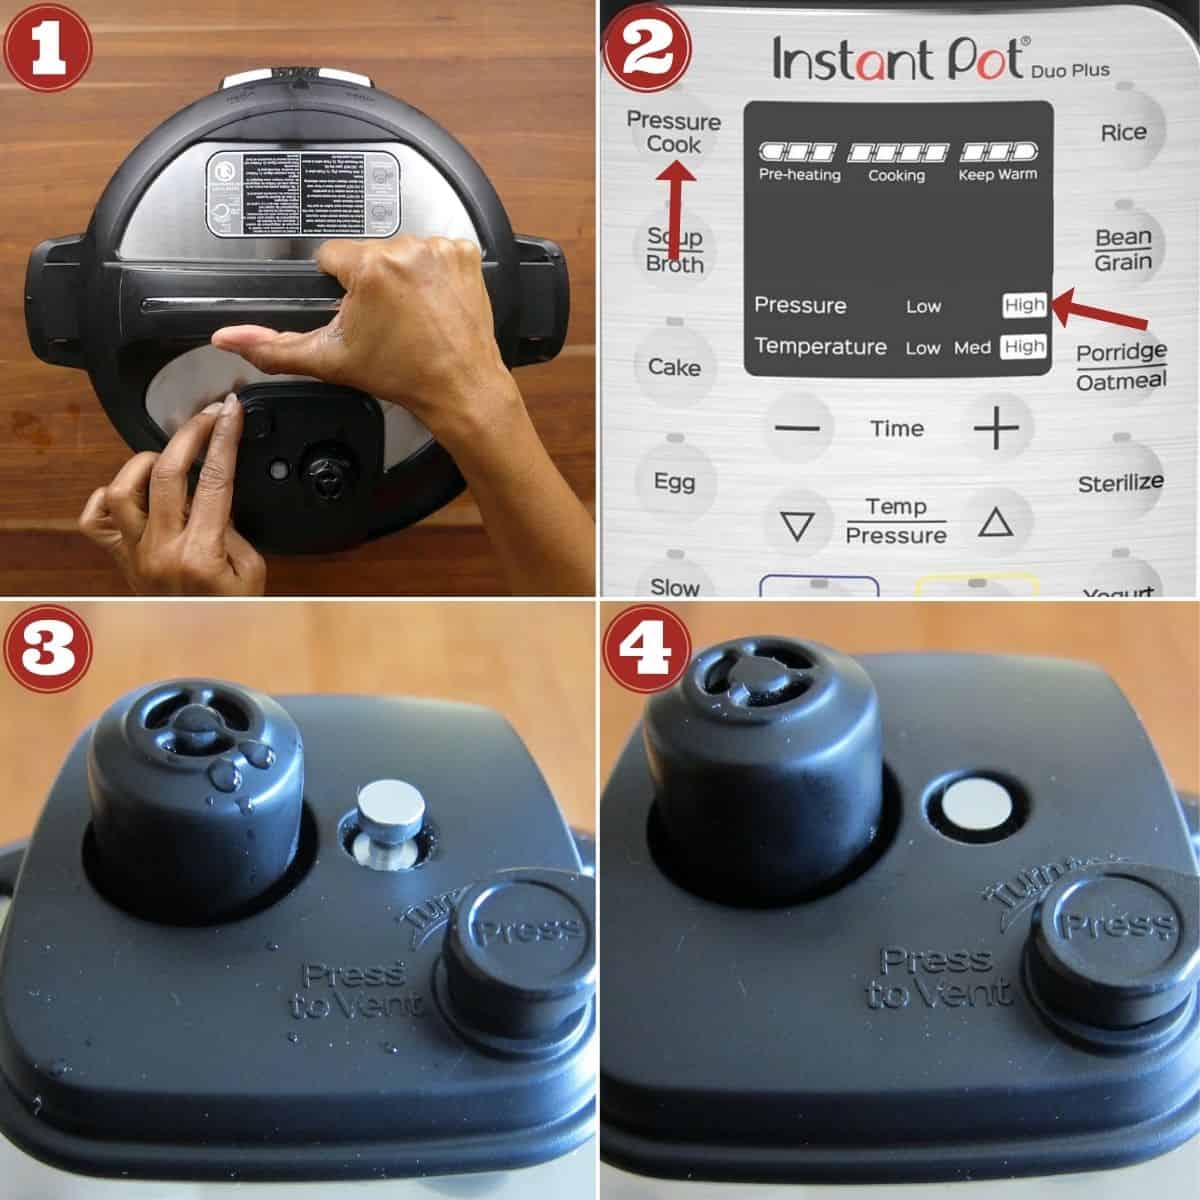
- Close the lid.
- Select Pressure Cook mode and pressure cook on high pressure for 15 minutes. *
- The display will go from On to 15:00. The float valve will go up after a few minutes. The display will count down to 00:00.
- Do a quick pressure release.
* If using bite-size chicken, pressure cook chicken and vegetables for 4 minutes.
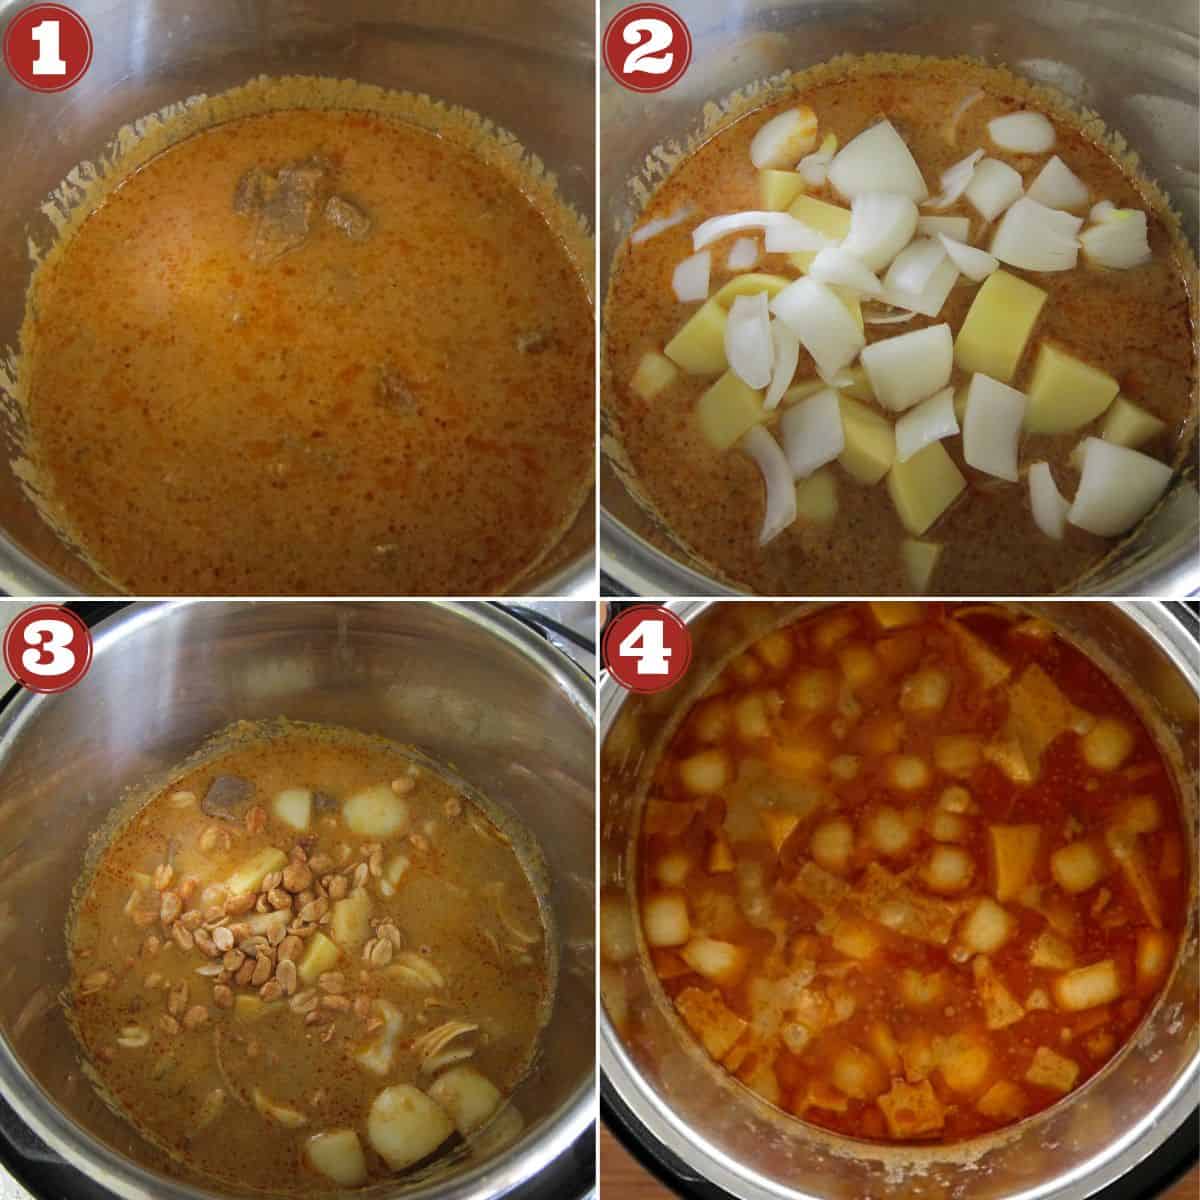
- Once the float valve goes down, you can open the pot.
- Stir in potatoes and onions.
- Stir in roasted peanuts and close the lid.
- Pressure cook for 5 minutes at high pressure and release the pressure using the quick release method. Serve with white rice.
Note: If using chicken pieces, the second cooking stage is unnecessary.
Learn more about your Instant Pot…
- Start Cooking Later: If you want to have dinner piping hot, set your Instant Pot Delay Start.
- Deglaze and avoid food burn message: Learn how to deglaze Instant Pot and avoid the burn message.
- Symbols on Display: What do all those Instant Pot symbols mean on your Instant Pot display panel?
- Elevate Your Food: What is a trivet and why should you use it?
- Cook Two Dishes at Once: The Instant Pot Pot in Pot method allows you to cook multiple dishes at once, make cheesecakes, casseroles, lasagna, and hard boiled eggs in your Instant Pot.
- Soak Dry Beans Hack: If you forget to soak dry beans ahead of time, this Instant Pot hack allows you to quick soak beans in no time!
♨️ Stovetop Method
- Heat beef and broth or water in a large pot over high heat. There should be enough liquid to cover the beef.
- Bring to a boil, reduce heat, and simmer for 2 hours until beef is tender.
- Remove beef. Set aside 1.5 cups of liquid.
- Heat ½ can of coconut milk and curry paste over medium heat in a large pot.
- Let the mixture bubble and thicken until the oil separates from the mixture, stirring frequently.
- Stir in the remaining coconut milk, tamarind paste, fish sauce, and brown sugar.
- Add the reserved liquid, beef, potatoes, onions, and peanuts. If there’s not enough liquid to cover the potatoes, add some more coconut milk.
- Cook the curry sauce over medium-low heat for 15 minutes or until the potatoes are cooked through.
- Taste and adjust seasonings if needed.
Detailed instructions are in the recipe card below.

Thai Instant Pot Massaman Curry with Beef
Ingredients
- 4 oz. Thai massaman curry paste (114 grams) preferably Maesri or Mae Ploy brand
- 13.5 oz. coconut milk (1 can), preferably Aroy D or Chaokoh brand – 400 ml
- 2 lb beef stew meat (1 kg) 1-inch cubes
- ¼ cup water or beef broth (about 2 cups for stovetop version)
- 1 tablespoon tamarind paste or Thai tamarind concentrate [See Note 1]
- 1 tablespoon fish sauce or to taste
- 1 Tbsp brown sugar or palm sugar, to taste
- 2 cups potatoes 1-inch cubes [See Note 2]
- ½ cup onion 1-inch cubes
- ½ cup roasted peanuts
Instructions
Instant Pot Instructions
- Stir together massaman curry paste and ½ can of coconut milk and cook in Saute mode until mixture is bubbly, about two minutes.
- Press Cancel to turn off Instant Pot. Stir in beef, remaining coconut milk, water, tamarind paste, fish sauce, and brown sugar. [See Note 3].
- Close Instant Pot and pressure cook on High Pressure for 15 minutes.
- Do a quick release of pressure (You can also choose to do a natural release). [Read More: The Different Pressure Release Methods].
- Open Instant Pot and stir in potatoes, onions, and peanuts.
- Close Instant Pot and pressure cook on high pressure for 5 minutes.
- Do a quick release of pressure.
- Open the Instant Pot and carefully stir Instant Pot Massaman Curry.
- Taste, and adjust seasonings as needed.
- Transfer Instant Pot Beef Massaman Curry to a serving dish. Serve with Instant Pot Jasmine Rice.
Stovetop Instructions
- Heat beef and broth or water in a large pot over high heat. There should be enough liquid to cover the beef. [See Note 3].
- Bring to a boil, reduce heat, cover and simmer for 2 hours or until beef is very tender.
- Transfer beef pieces to a dish, and set aside 1½ cups of liquid.
- Heat ½ can of coconut milk and curry paste over medium heat in a large pot. Let the mixture bubble and thicken until the oil separates from the mixture, stirring frequently.
- Stir in the remaining coconut milk, tamarind paste, fish sauce, and brown sugar.
- Add the reserved liquid, beef, potatoes, onions, and peanuts. If there’s not enough liquid to cover the beef and potatoes, add some more coconut milk or broth.
- Cook the curry over medium-low heat for 15 minutes or until the potatoes are cooked through.
- Taste and adjust seasonings if needed.
Notes
- Prep time does not include steps that are already accounted for in the ingredient list, e.g. minced garlic, cut vegetables, etc.
- Use a splatter screen if necessary, in the first step, to guard against coconut milk bubbling up.
- Thai curries are generally eaten with rice. If you’re not planning on eating the curry with rice, you might need to adjust the salt by reducing the quantity of fish sauce.
- You may substitute chicken for the beef. Be sure to adjust the cooking time.
- Note 1: If using purchased tamarind paste, the quantity required may vary. If using Tamicon brand, start with 1 tsp; if using Thai tamarind concentrate, start with 1 Tbsp. Adjust for more at the end.
- Note 2: I prefer to use Yukon Gold potatoes.
- Note 3: Browning the beef first in some oil adds even more flavor to the curry. Brown it in batches to keep the meat from steaming.
Nutrition
Thank you for visiting Paint the Kitchen Red. All photos and content are copyright protected. Please don’t use any content without prior written permission. If you’ve made this recipe and would like to share it with your friends, please link back to this recipe. Thank you!
I am not a certified nutritionist. I provide my best estimate of nutritional information merely as a courtesy to my readers. If you depend on nutritional information for dietary or health reasons, I suggest using your favorite online nutrition calculator to confirm the nutritional value of this recipe based on the actual ingredients that you use.
Did you know that the best way to support your favorite bloggers is to comment and rate recipes, and share on social media? If you loved this recipe, please comment and give it a five ⭐ rating in the comment section below. If you’re a pinner, pin this post using the Pin buttons at the top and bottom of this post and in the recipe card above. Thank you for your support!
Recipes you Might Also Like!



John M (inthe UK) says
Twice in this recipe you use quick release. Any instructions about cooking meat in a pressure cooker will state do not use quick release. The sudden change in pressure causes the fibres in the meat to contract and makes it tough. You use it twice in this recipe. I should be natural release. It looks a tasty recipe though. Thanks.
Neena Panicker says
Hi John, thank you for your input. I’ve been cooking this recipe for over 7 years, with no issues, as have many readers. Yes, in general, you should do a full natural release for meats. However, there are times when it’s okay to do a quick release e.g. when you need to add quick-cooking vegetables and when you want to cook the dish in a reasonable amount of time. Having the meat in liquid when you do a quick release helps alleviate the issue of losing moisture. Give the recipe a try and let me know what you think!
John M (in the UK) says
Thanks Neena