
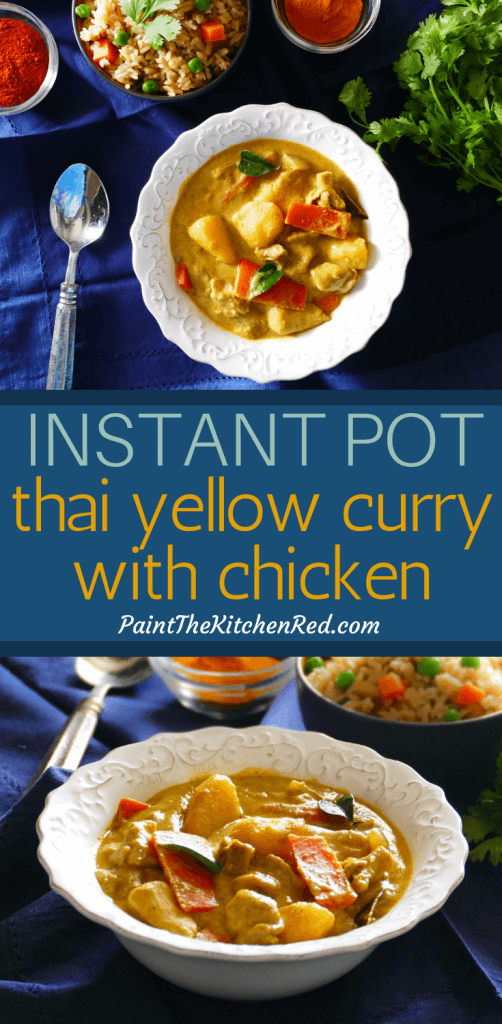
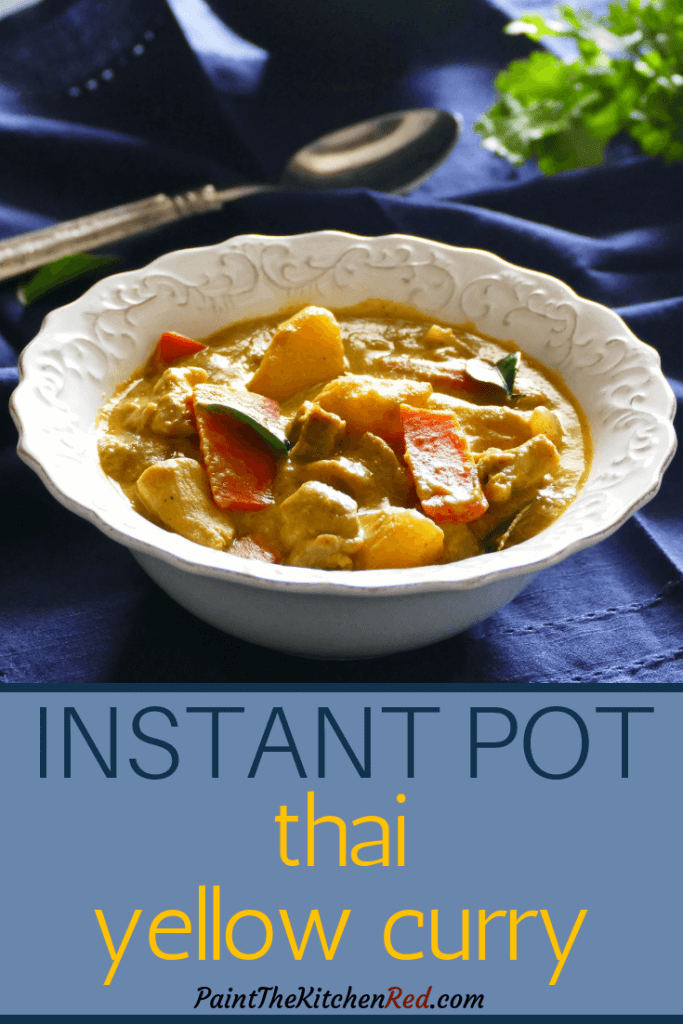

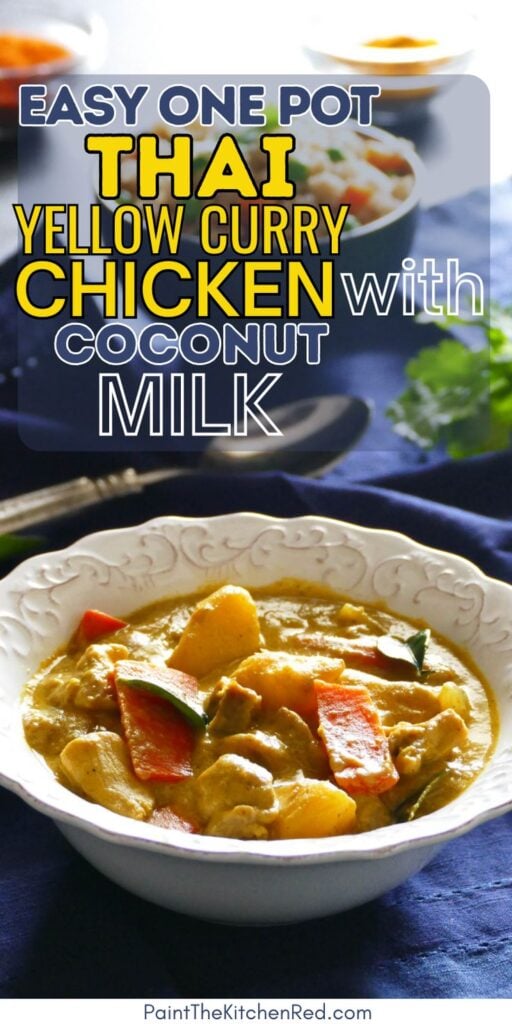
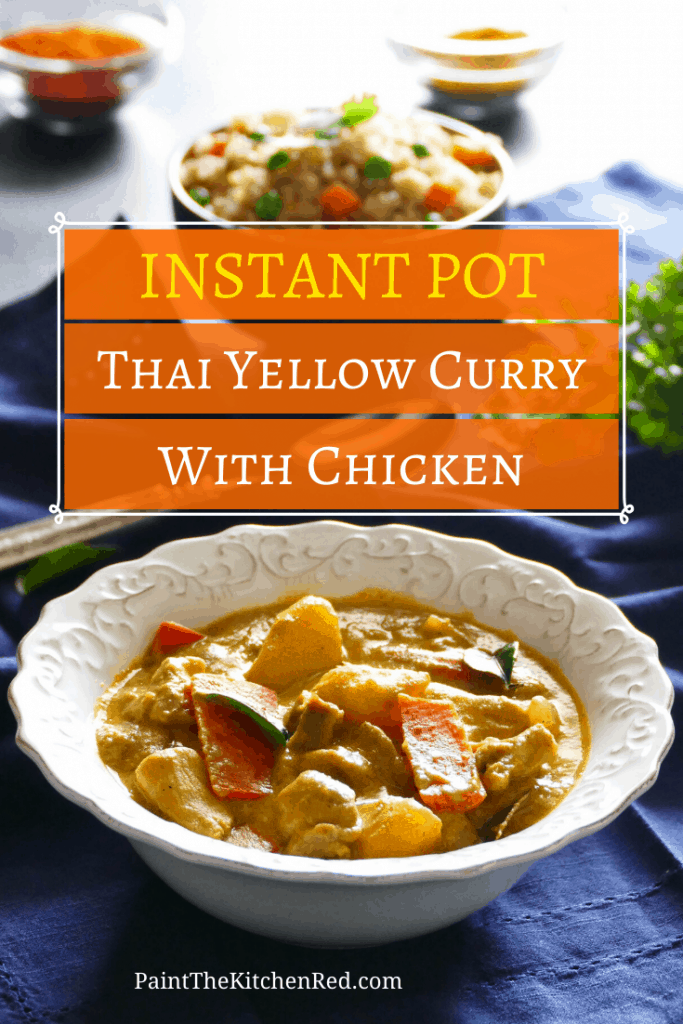
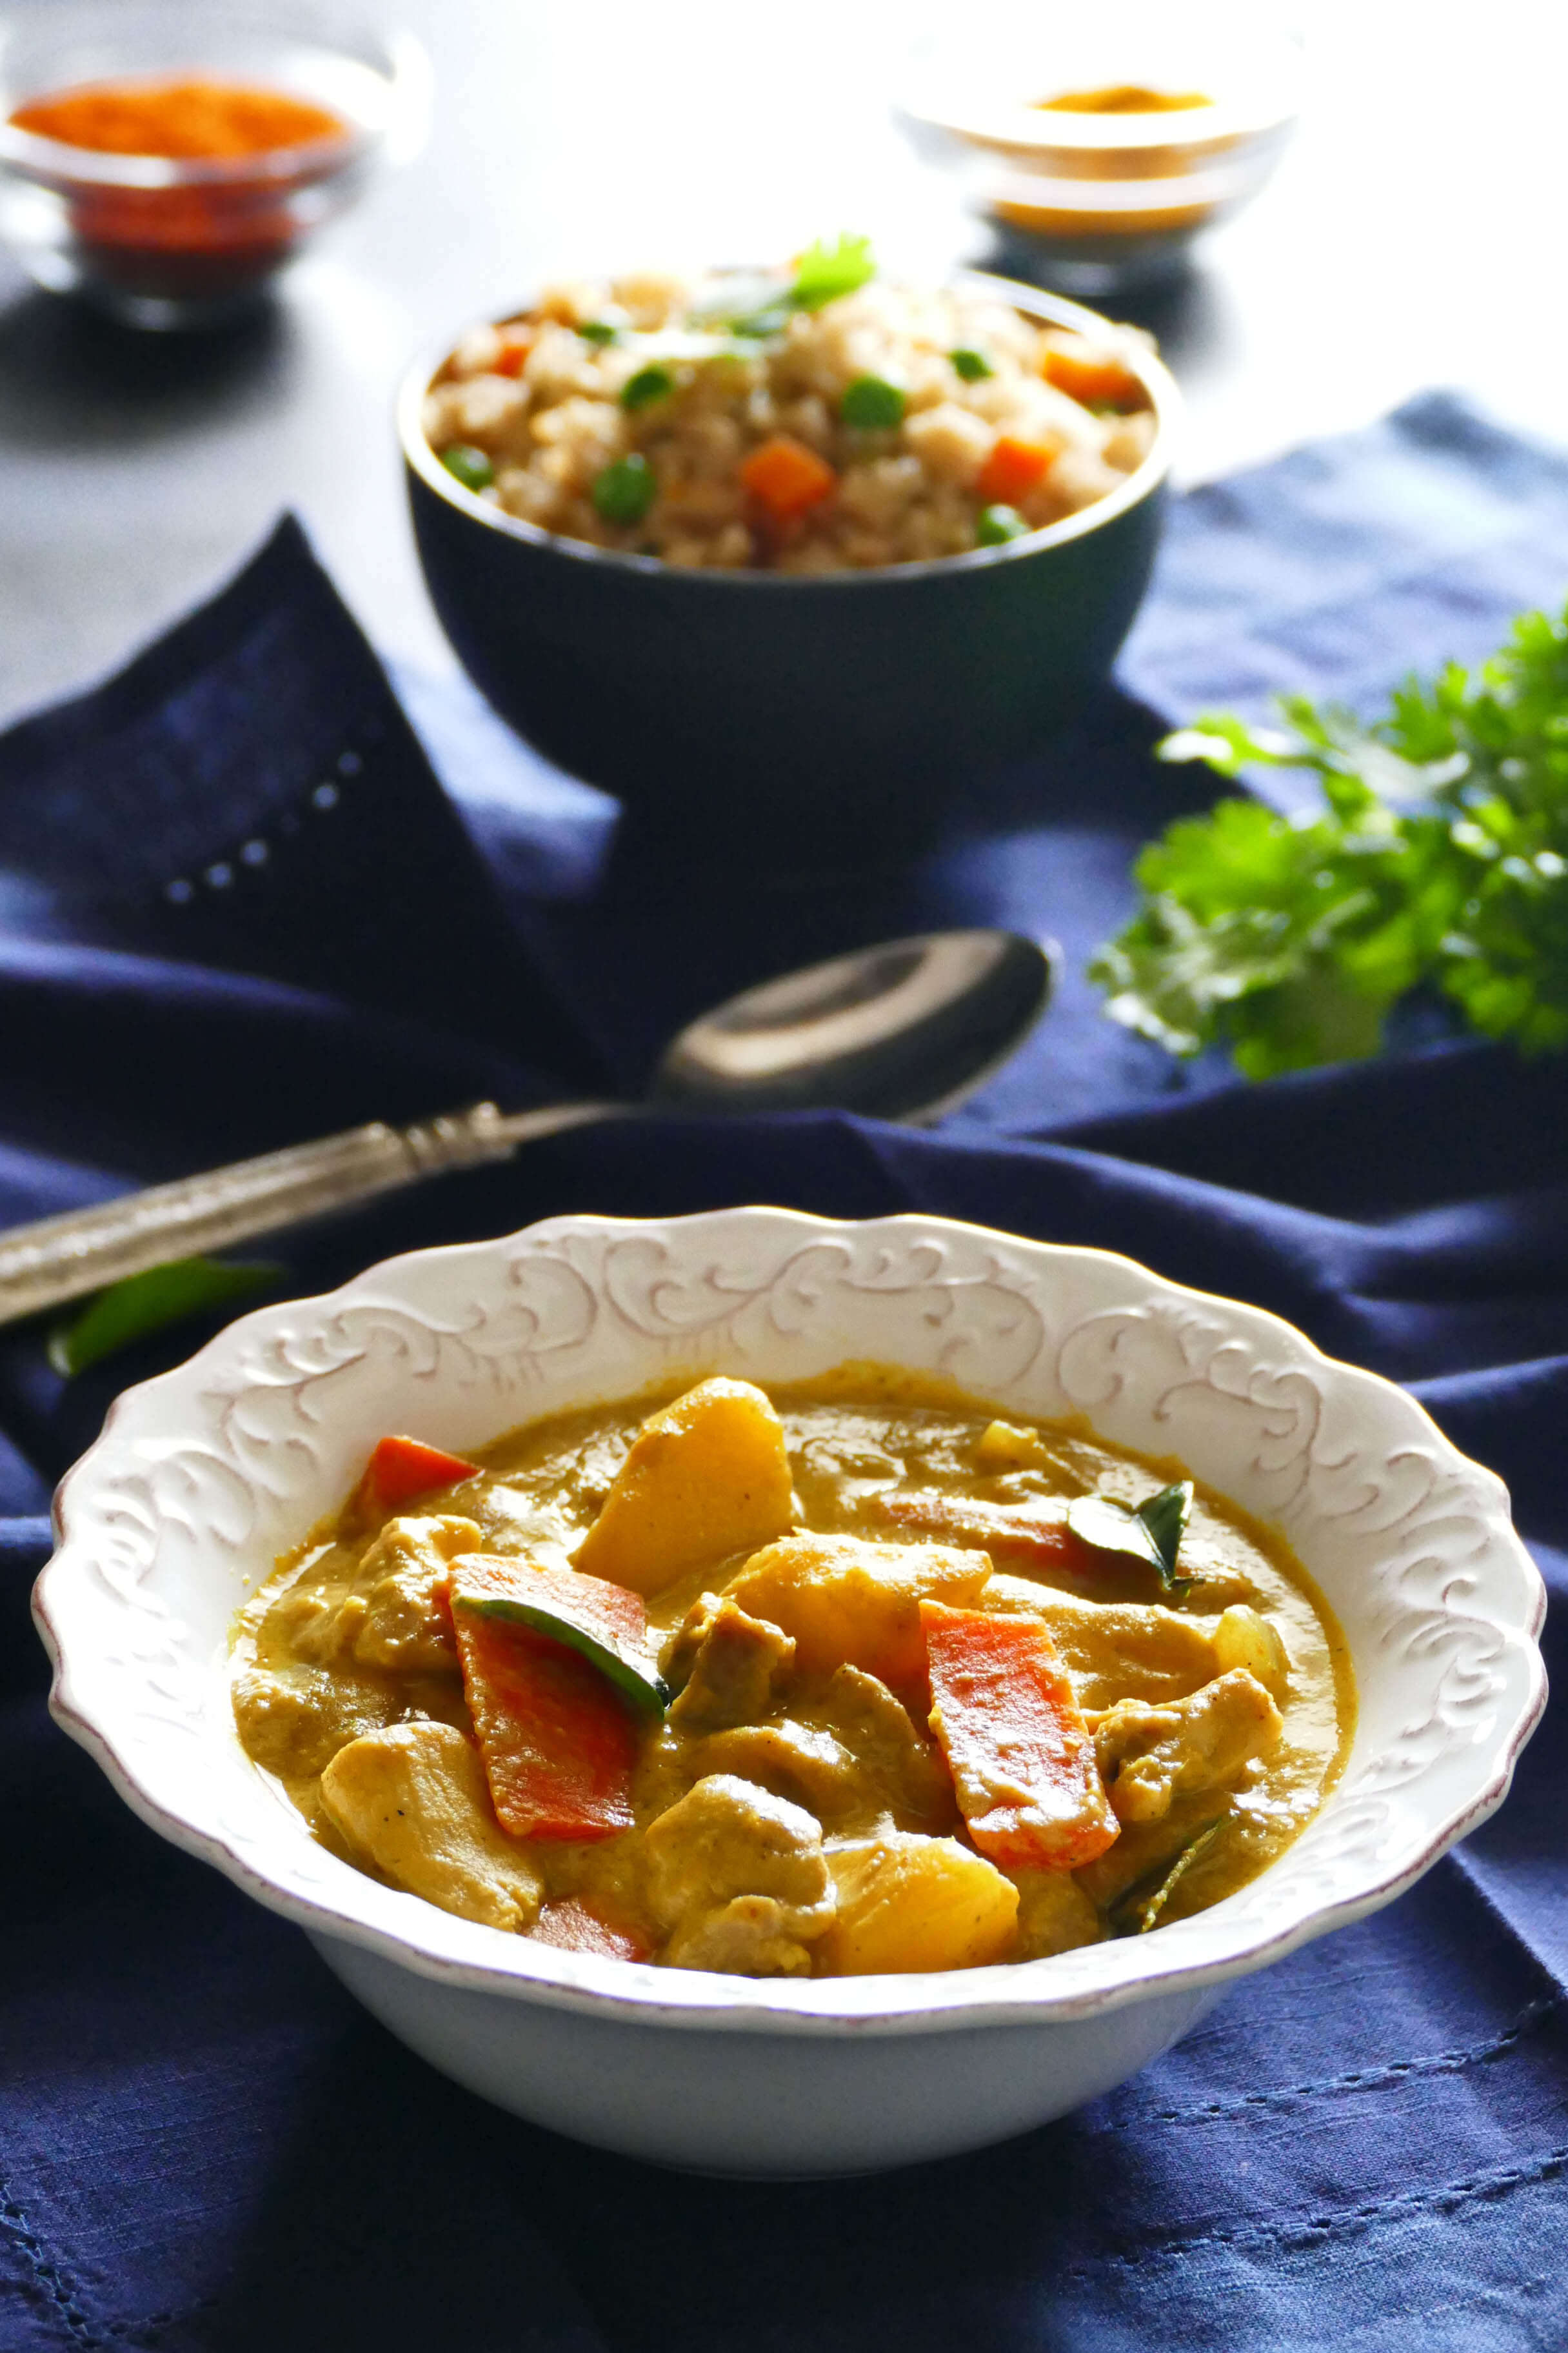
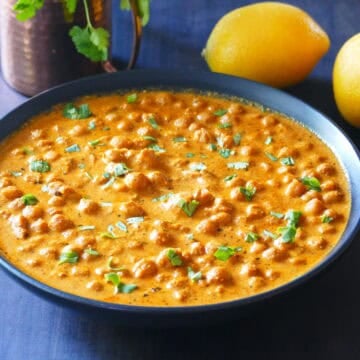
Thai Instant Pot Yellow Curry with Chicken has the perfect combination of flavors: creamy coconut milk, Thai yellow curry paste, chicken, potatoes, and carrots. To top it off, curry powder gives this Thai yellow curry its unique taste. This Thai yellow curry recipe is soul-nourishing comfort food perfect for any time of year.
This post contains affiliate links. As an Amazon Associate, I earn from qualifying purchases. Please read the disclosure.
I’ve had many requests for an Instant Pot Yellow Curry recipe but I just didn’t get a chance to share one until now. I think you’re going to love this Instant Pot chicken curry with potatoes and carrots.
It’s very important that you get good quality and authentic ingredients if you want to replicate the flavors of your favorite Thai restaurant.
Please read my Instant Pot Thai Red Curry recipe post to find out more about my quest to create a recipe for the perfect Thai Red Curry, first on the stovetop and then the pressure cooker!
Celestina says ⭐️⭐️⭐️⭐️⭐️
I don’t think I’ve ever left a review for a recipe before but this was SO good! … Doubled the recipe but I’m definitely going to be making this again, next week actually lol thank you so much!!!!
I love to serve Thai curries with Jasmine rice rather than long grain, basmati, or even brown rice. I feel that Jasmine rice is best for soaking up the curry – it tastes so good!!
This pressure cooker Thai yellow curry recipe can be made quickly and easily, even on a busy weeknight. I always keep coconut milk and curry paste in my pantry and I use whatever meat and vegetables I have on hand.
[Read More: Instant Pot Pot-in-Pot Cooking Method to cook rice and curry together!]
➡ All my Thai recipes are as delicious and easy as this curry, but with different flavors! Massaman curry is milder, and Green Curry is the spiciest, with Red Curry somewhere in the middle.
Thai fish curry (choo chee curry) is a change from the ordinary. Or try my stovetop recipes for Thai Basil Chicken and Drunken Noodles too!
Ingredients and Tips
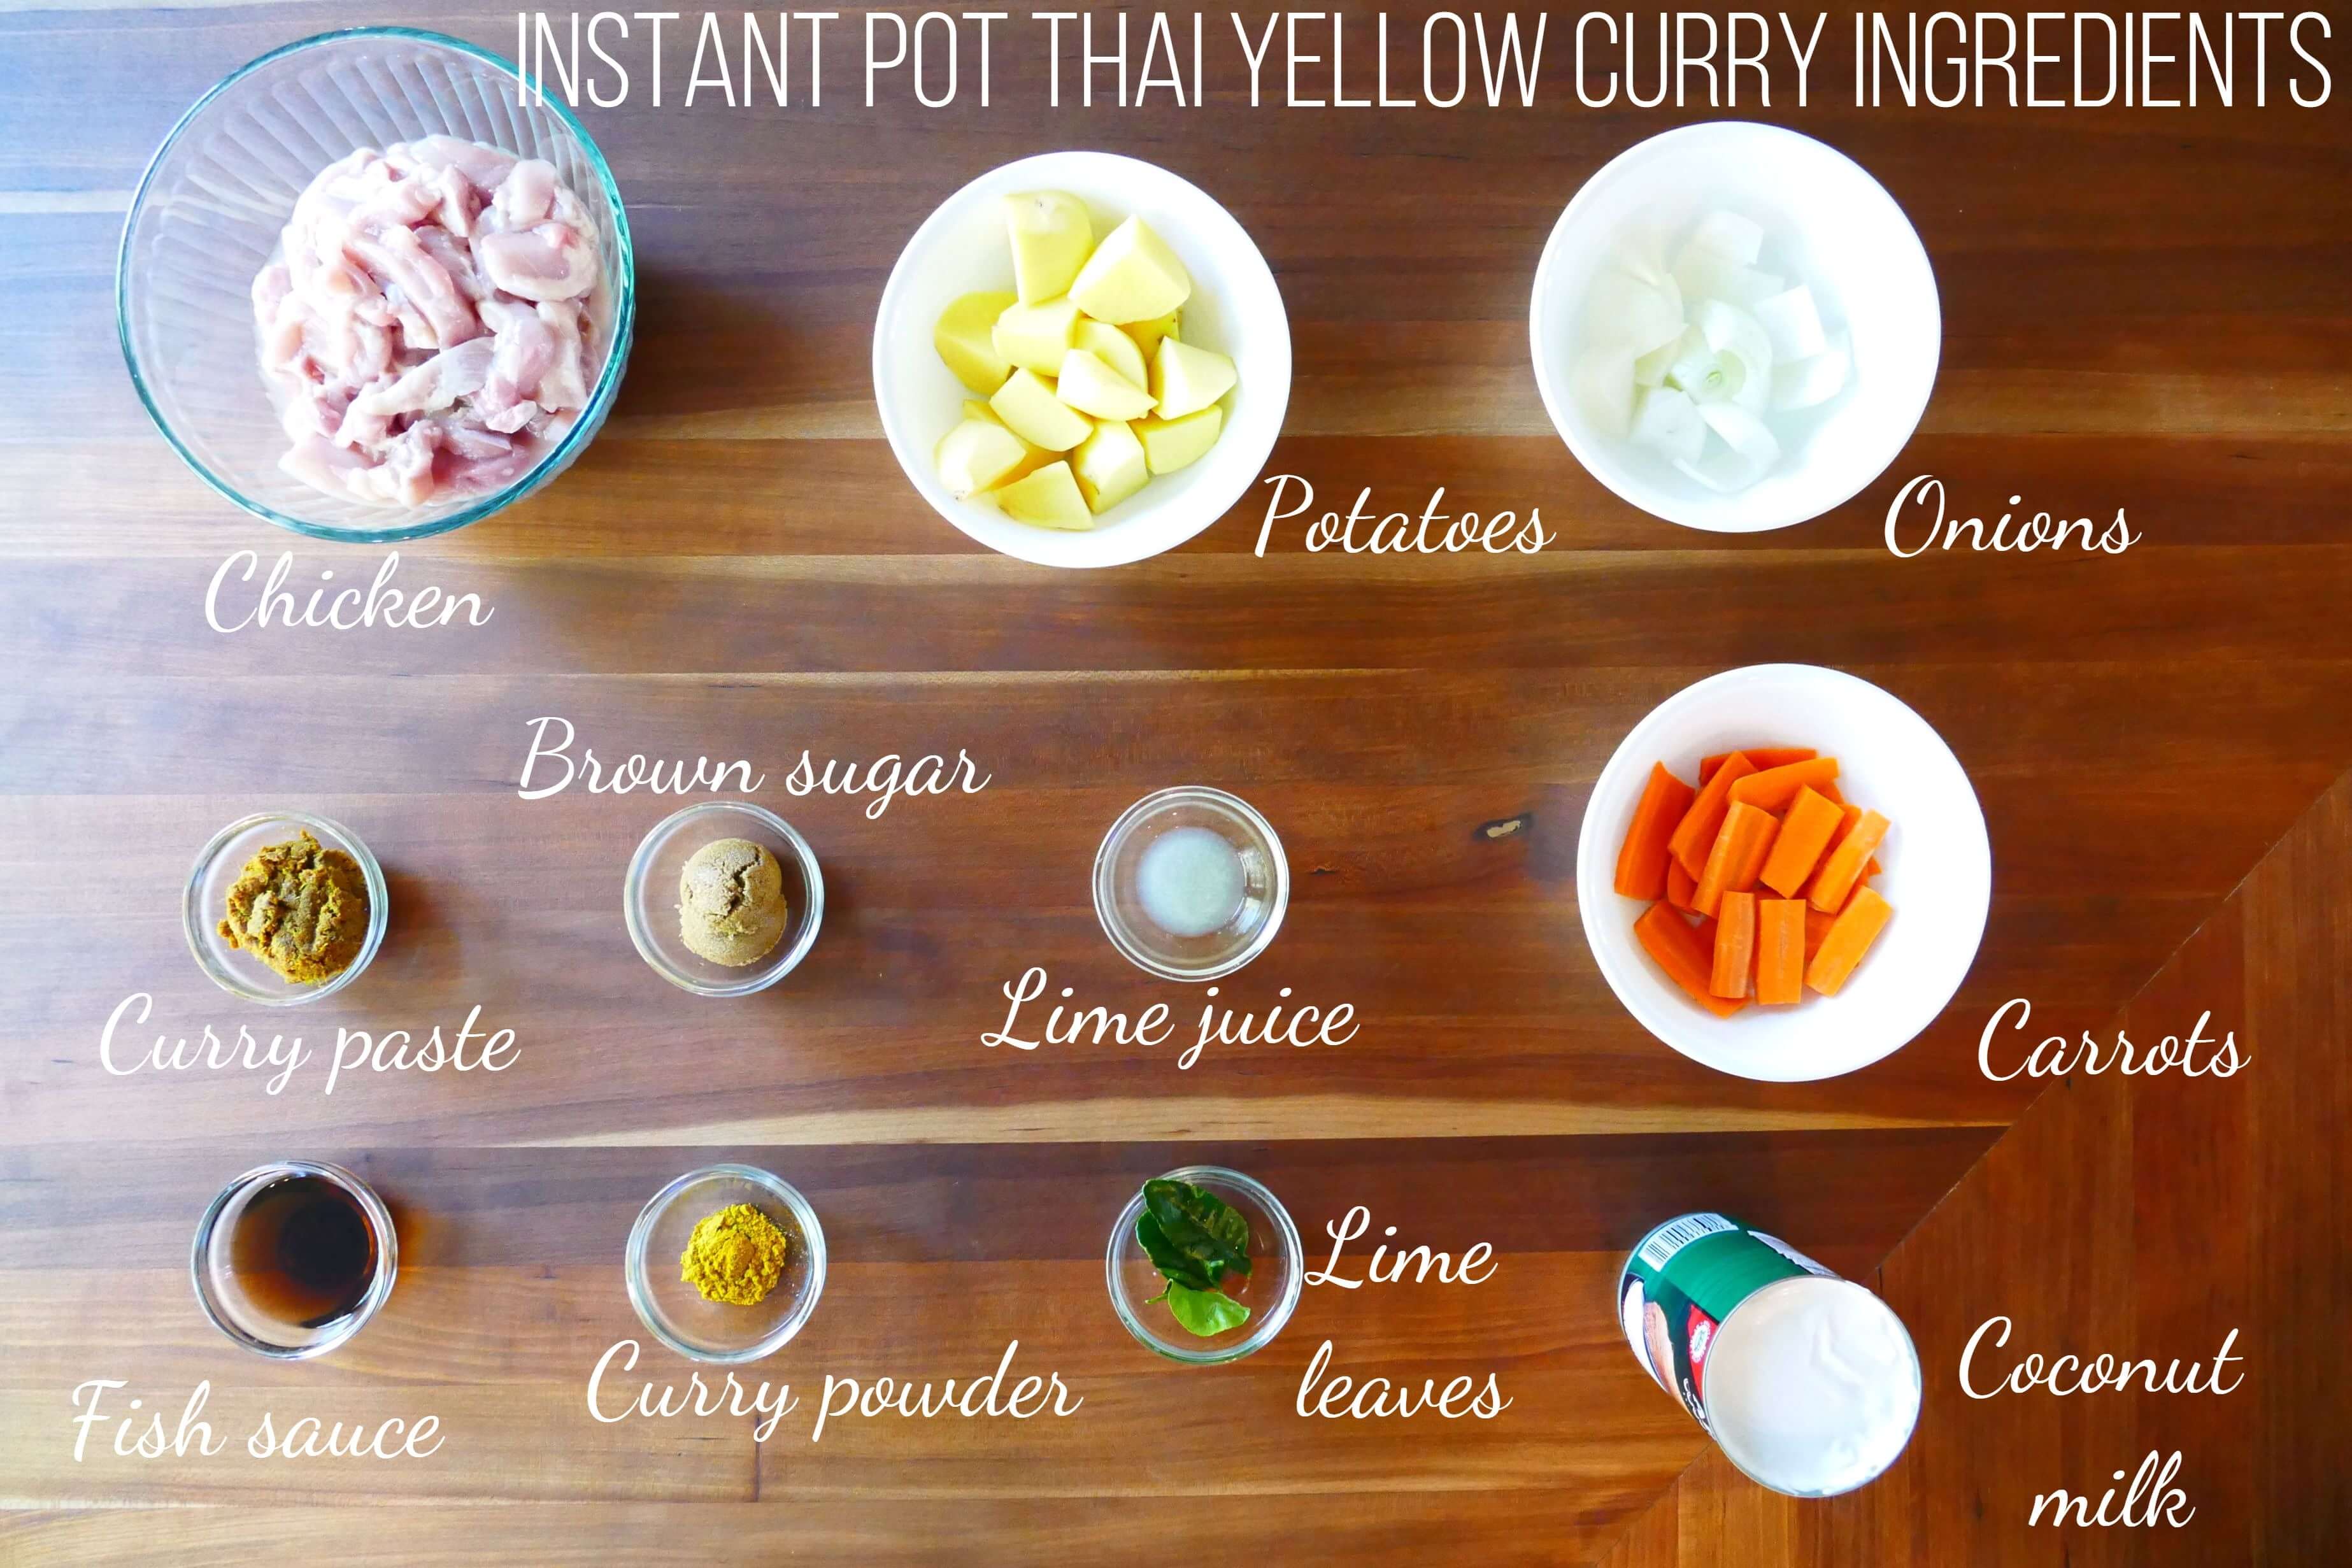
🧂 Ingredients for Instant Pot Yellow Curry
🌶️ Spice Level: The recipe, as written, is medium spicy. If you find it too spicy, add more coconut milk when cooking the vegetables.
🫙 Curry Powder: If you have old curry powder that’s been sitting in your cabinet, replace it – freshness really matters!
🍃 Lime Leaves: Also called k-lime, makrut, or kaffir lime leaves, these add a unique, authentic flavor. Find them at Asian grocery stores and freeze for later use. Scrunch and bruise the leaves before adding, to release oils and intensify the flavor. If unavailable, add an extra 1-2 teaspoons lime juice and taste as you go.
🌿 Thai Basil: Yellow curry recipes vary – I don’t use Thai basil in mine, but feel free to add some after pressure cooking if you like the flavor.
🐟 Fish Sauce: I use Red Boat brand (it’s pricier but excellent quality). There’s no substitute for the umami depth that fish sauce provides! Vegetarian readers recommend Fysh brand sauce, although I’ve not tried it.
🍬 Palm Sugar: Sweetness levels vary at Thai restaurants, so adjust to taste. Palm sugar is more authentic than brown sugar, but I frequently use brown sugar without sacrificing any flavor.
🥥 Coconut Milk: Use full-fat, good-quality coconut milk – my favorites are Aroy-D and Chaokoh. It can look curdled after pressure cooking, but stir it up to make it smooth again. Try and avoid light coconut milk or lower-quality brands.
🍖 Meats and Tofu: Substitute easily with adjusted cook times (for bite-size strips) trimmed of fat:
– Pork shoulder 8 minutes NPR
– Beef chuck 12 minutes NPR
– Extra-firm tofu cubes 2 minutes QR.
🥕 Vegetables: I sometimes reduce chicken and double the vegetables for a healthier ratio.
🧂 Salt Adjustment: Thai curries are traditionally eaten with rice. If skipping rice, reduce fish sauce to adjust the salt level.
✖️ Doubling Recipe: Double all ingredients and use the same cook time. Keep ingredients below the ⅔-full mark.
🛡️ Splatter Screen: Mixture can bubble and splatter when sautéing coconut milk with curry paste. Use a splatter screen to cover the inner pot.
🔥 Burn Message: If your Instant Pot is prone to the burn message, add ¼ cup broth when pressure cooking. (I often do this anyway to scrape out coconut milk remnants from the can—add broth to empty can, swirl, and scrape with a spatula!)
❓ FAQS
To make the Thai yellow curry in a slow cooker, slow cook 4 hours on low heat.
Yes, you can add cubed frozen chicken and pressure cook for the same amount of time.
You can add the fish sauce earlier in the process. I like to add it later so the flavors are fresh.
You can freeze it.
Instructions
⏲️ How to Make Instant Pot Thai Yellow Curry

- Turn on Saute mode. Stir together the yellow curry paste and ½ can of coconut milk, and saute for about a minute. Use a splatter screen, if necessary, to guard against splatters from the coconut milk.
- Add curry powder and stir until the mixture is bubbly and the oil begins to separate, about two to three minutes.
- Press Cancel and stir in the remaining coconut milk. Add the chicken and potatoes.
- Stir everything until combined, and make sure there’s nothing stuck to the bottom of the Instant Pot.
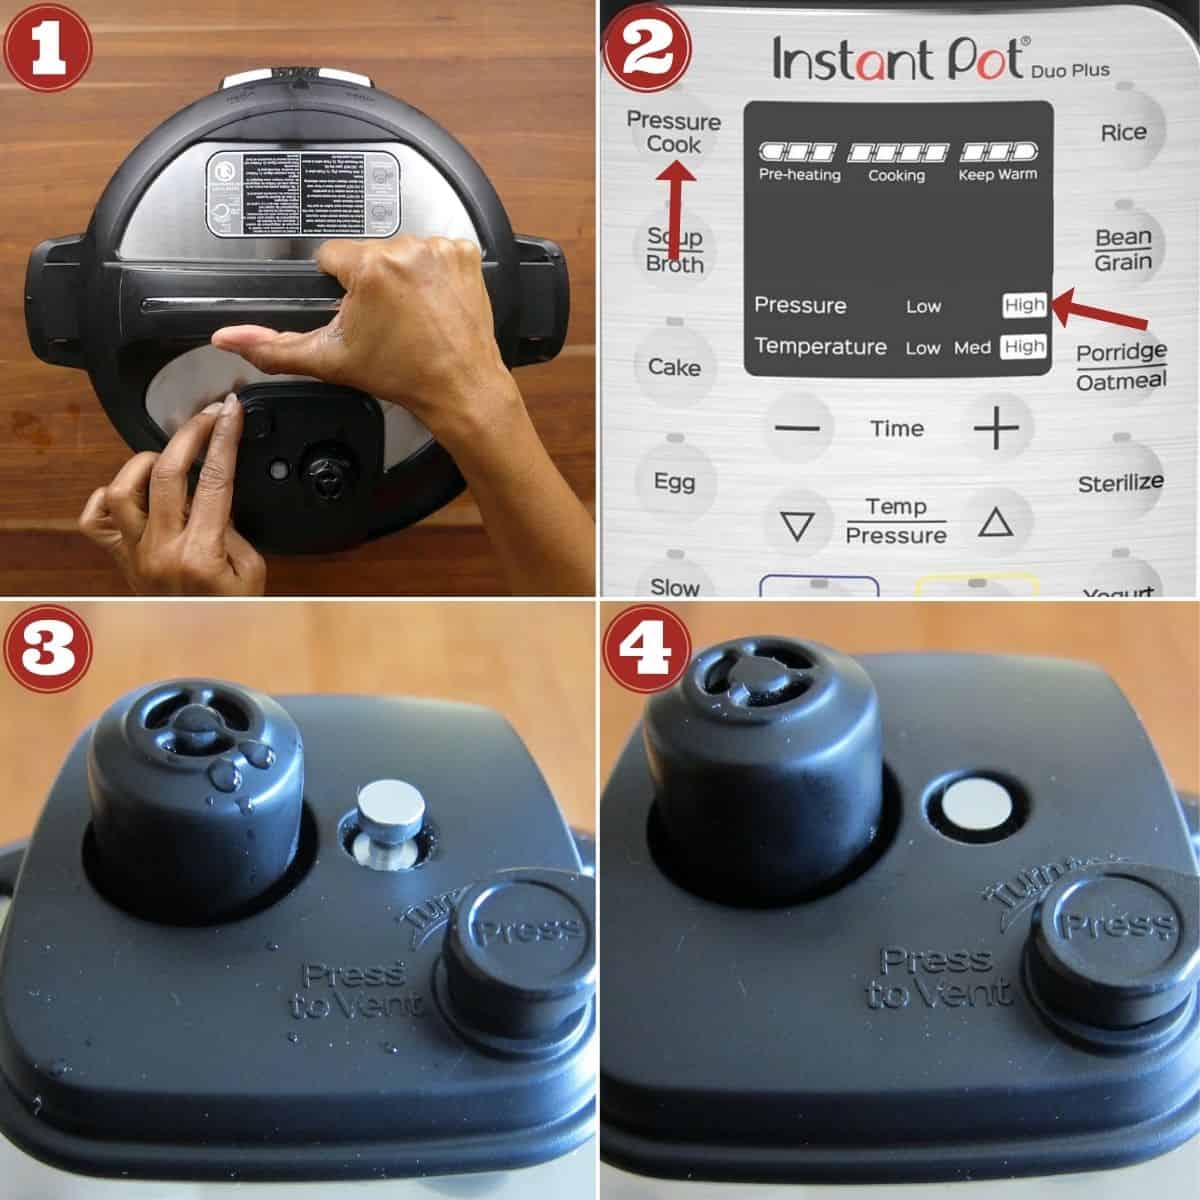
- Close the lid.
- Select Pressure Cook mode and cook on high pressure for 3 minutes.
- The display will go from On to 3:00. The float valve will go up after a few minutes. The display will count down to 00:00.
- Do a natural release of pressure or a 15-minute natural release. Once the float valve goes down, the lid can be opened.

- Turn on the Saute function.
- Stir in fish sauce, brown sugar, lime juice, onions, carrots, and lime leaves. Cook until vegetables are crisp-tender, about 3 to 5 minutes. Don’t overcook, as the vegetables will continue to cook in the residual heat. Taste and adjust with more fish sauce, brown sugar, or lime juice.
♨️ Stovetop Instructions
- Sauté curry paste and coconut milk till bubbly.
- Add the curry powder and saute briefly.
- Add the remaining coconut milk and chicken.
- Cook till the chicken is almost cooked through.
- Stir in flavorings and lime leaves.
- Add vegetables and cook through until crisp-tender.
See the recipe card below for detailed instructions.
Thai Instant Pot Yellow Curry with Chicken
Ingredients
- 2 to 3 tablespoon Thai yellow curry paste preferably Maesri or Mae Ploy brand [See Note 1]
- 13.5 oz. coconut milk (1 can), preferably Aroy D or Chaokoh brand – 411 ml
- 1 teaspoon curry powder
- 1 ½ lb boneless skinless chicken breasts or thighs (⅔ kg) cut into bite-size pieces
- 1 ½ cups Yukon gold potatoes about 2 medium, cut into 1 ½-inch cubes
- 2 Tbsp fish sauce more to taste [See Note 2]
- 2 Tbsp brown sugar or to taste
- 1 teaspoon lime juice
- ½ cup onion cut into 1-inch cubes
- 1 cup carrots sliced
- 4 lime leaves slightly bruised [See Note 3]
- ¼ cup chicken broth stovetop version only
Instructions
Instant Pot
- Select Saute and stir together 2 to 3 tablespoon Thai yellow curry paste and ½ can of coconut milk in the inner pot for about a minute.
- Add 1 teaspoon curry powder and stir constantly until mixture is bubbly, about 2 to 3 minutes. [See Note 4]
- Press Cancel.
- Stir in remaining coconut milk, 1 ½ lb boneless skinless chicken breasts or thighs and 1 ½ cups Yukon gold potatoes.
- Close the lid and pressure cook on High Pressure for 3 minutes.
- Do a Quick Release of pressure (QR) and open the Instant Pot. [Read More: The Different Pressure Release Methods]
- Stir in 2 Tbsp fish sauce, 2 Tbsp brown sugar, 1 teaspoon lime juice, ½ cup onion, 1 cup carrots, and 4 lime leaves.
- Select Saute and cook until vegetables are crisp-tender, 3 to 5 minutes. (Be sure not to overcook. Vegetables will continue to cook in the residual heat.)
- Taste and adjust with more fish sauce, brown sugar, or lime juice.
- Serve with Instant Pot Jasmine Rice.
Stovetop
- Heat yellow curry paste and ½ can of coconut milk in a medium saucepan for a minute.
- Add curry powder and stir constantly until mixture is bubbly, about 2 to 3 minutes.
- Stir in the remaining coconut milk, chicken, and potatoes.
- Cover and cook until the potatoes are soft, stirring occasionally. If the curry is too thick, add some more broth.
- Stir in fish sauce, brown sugar, lime leaves and lime juice.
- Add carrots, onions, and lime leaves. Cook for another 3 minutes or until crisp tender.
- Taste and adjust with more fish sauce, brown sugar or lime juice.
- Heat through and serve with Jasmine rice.
Notes
- Note 1: I use 3 tablespoons of Maesri brand or 2 tablespoons of Mae Ploy brand.
- Note 2: Thai curries are generally eaten with rice. If you’re not eating with rice, reduce the quantity of fish sauce.
- Note 3: Lime leaves also referred to as k-lime, makrut, or kaffir lime leaves.
- Note 4: Use a
splatter screen, if necessary, to guard against the coconut milk bubbling up.
Nutrition
Thank you for visiting Paint the Kitchen Red. All photos and content are copyright protected. Please don’t use any content without prior written permission. If you’ve made this recipe and would like to share it with your friends, please link back to this recipe. Thank you!
I am not a certified nutritionist. I provide my best estimate of nutritional information merely as a courtesy to my readers. If you depend on nutritional information for dietary or health reasons, I suggest using your favorite online nutrition calculator to confirm the nutritional value of this recipe based on the actual ingredients that you use.
Did you know that the best way to support your favorite bloggers is to comment and rate recipes, and share on social media? If you loved this recipe, please comment and give it a five ⭐ rating in the comment section below. If you’re a pinner, pin this post using the Pin buttons at the top and bottom of this post and in the recipe card above. Thank you for your support!


Heike says
It was absolutely delicious, but I was left with no potato. The minimum time setting on my pressure cooker is five minutes and by that time the potato had totally integrated into the sauce. Any advice how to fix this?
Paint the Kitchen Red says
Heike, Thanks for your question. What you could do is to keep the potatoes as larger pieces and then cut them smaller pieces after cooking.
Christina says
I’d been working on perfecting my stovetop Thai yellow curry and you dropped this simple perfection in my lap! Thank you. Delicious!
Paint the Kitchen Red says
Oh good! I’m working on updating (most of) my posts and add stovetop instructions too. Slow going, but hopefully will get through them one day! I’m glad you like the recipe.
April says
This recipe looks amazing! I love how you are so detailed with the instapot operation. Thank you!
I have a question, if I want to put this together really quick but all I have is a bottle of Trader Joe’s yellow curry sauce (and maybe some coconut milk too) can I still make it decent?
Thank you!:)
Paint the Kitchen Red says
April, I’m not sure about the sauce, but if it has fillers like flour or cornstarch you might have sealing issues. If the sauce is a self-standing sauce i.e. you don’t need to add coconut milk, then it would become watered down if you add coconut milk or water. I would suggest you cook it in Saute mode OR you can try it out, hoping there are no Burn Message issues.
Vic says
Your blog has finally helped me master my instant pot – appreciate your detail and graphic information. This recipe was much-need success.
Paint the Kitchen Red says
Thank you so much, Vic! I’m thrilled that I’ve been able to help out.
Lydia Ph says
So delicious, definitely going in our rotation (like all your other recipes I’ve tried so far!) This one is so quick and easy too! Love how convenient it is to chop the veggies while the chicken is in the pot! Thanks so much!
Paint the Kitchen Red says
Thank you Lydia! I am so pleased that you loved the recipe.
Jenny says
Thank you so much for this recipe!! I feel like you’ve just opened up a new world for me. Even though I love Thai curries, I rarely eat them – because when we get Thai food once or twice a month I’m always more tempted by the noodle dishes. I was searching on Pinterest for an instant pot Thai curry and found your site – which sent me down a rabbit hole of looking through all of your old posts! I started with the red curry (amazing!), and made this yellow curry this weekend – it was so good, and SO easy!!! I can’t wait to try all the others. Thank you for all the great tips of the best brands to buy, and other details like ways to store Iime leaves, ect. Your posts are so detailed and thought out, and really help with confidence. How long do you recommend storing open curry paste in the fridge after opening? Thanks again!
Paint the Kitchen Red says
Jenny -thank you so much for taking the time to comment and rate the recipe. All the Thai curries are different from each other and I think you’ll enjoy them all. The panang curry is especially popular amongst readers and my oldest daughter. The green curry is my youngest daughter’s favorite. The tom kha gai (coconut) soup is a hidden gem, waiting to be discovered 🙂 Re: storing the thai curry paste, I store the leftovers in a clean glass bottle and it stays for a long time in the fridge.
Michael says
If I don’t have curry paste, can I just add more curry powder?
Paint the Kitchen Red says
Michael, thank you for your question. Most likely you have Indian curry powder and the curry paste is Thai. So you could use more curry powder, but the taste will be completely different. It’ll probably taste good, though.
Karen Brown says
Where can I buy these curry pastes?
Paint the Kitchen Red says
Karen, they are available at Asian stores but you can also get them online on amazon.
Jane says
I plan to make this on the week end. I love Thai basil. Would it be appropriate to use in this recipe? And are the lime leaves what I am thinking are kaffir lime leaves (maybe that name is not pc but I don’t know if there are other varieties of lime leaves and these are what I am familiar with from travels in SE Asia). It looks delicious and I am sure it will be delicious!
Paint the Kitchen Red says
Hi Jane, thanks for your question. I don’t include basil in this recipe but I do in my red curry, green curry and panang curry recipes. But you can definitely add it to this recipe and it would taste great. Yes, lime leaves/makrut leaves/kaffir lime leaves are the same. I actually changed the name in my recipes because a reader alerted me to the fact that it was offensive.
Nicole says
This was only my second attempt at a really new cooking style using my Instant Pot. This dish was a hit with all four pallets in this very choosy household. I served it with Basmati Rice and everyone was pleased with this meal.
Paint the Kitchen Red says
Thank you, Nicole. I am so happy you liked the recipe.
Chris says
Fantastic! Took a few shortcuts and it still turned out great.
Paint the Kitchen Red says
Great, so nice to hear you liked the recipe. Thanks!
Martina says
This is the best yellow curry I’ve ever tasted! Soooo delicious! I will be making this over and over again. It’s meant to be a lunch for tomorrow but I’m eating it with a spoon right from the pot so I hope there will be something left! Really delicious, thank you!
Paint the Kitchen Red says
Hey Martina – thank you for that wonderful comment and rating. I’m so happy to hear you love the recipe. I’m certain you’ll love the other Thai curries I’ve posted too 🙂
Pauline N. says
Thank you so much for this wonderful recipe! My first time making curry & this will definitely be my go to recipe. My boyfriend & I loved how it turned out. I used pork shoulder instead of chicken. I will have to say that my carrots took longer than 5 minutes to be tender which was an easy fix, I just cooked them longer. Will definitely check out your other recipes!
Paint the Kitchen Red says
Hey Pauline, thank you so much for taking the time to comment. That’s great that the recipe worked for you with pork shoulder. You could pressure cook your veggies after the pork is done. Maybe 1 minute or so.
Elizabeth says
The recipe doesn’t say how many this serves so when you import recipe for nutrition info it could be helpful.
Paint the Kitchen Red says
Elizabeth, right at the top, in the red section of the recipe card, it tells you the servings. This serves 6.
Caren says
The dish tastes great! I made the curry with extra firm tofu, which I added at the time the chicken would’ve been added. I twice got burn notices – I believe from the tofu sticking – so I recommend waiting to add the tofu along with the vegetables. I used carrots and green beans, and left out the onion (family members are sensitive to onion). The curry was super flavorful and delicious.
Paint the Kitchen Red says
Caren, thanks for sharing your experience. I have a feeling you needed to thin out the coconut milk to pressure cook the tofu. But tofu cooks so quickly that I think cooking it afterwards is s a perfect option.
Carole McCracken says
I made this recipe last evening and really enjoyed it. I put leftovers in fridge but noticed today the curry dish is very thick with little liquid left. I like more “sauce” for the rice so think I will add more coconut milk next time. Would I add the milk before pressure cooking it, or just near the end before putting it on saute?
Paint the Kitchen Red says
Carole, the curry does thicken upon refrigeration but when you heat it, it should thin out a bit. What I would suggest is that you add the extra coconut milk after pressure cooking, as needed. You can also add 1/4 cup of chicken broth.
Carole says
Thanks for the suggestions – I just finished the left overs so nothing went to waste, haha. I will add the extra coconut milk next time though.
Jessica says
This was absolutely delicious! My whole family loved it!!!
Paint the Kitchen Red says
Jessica, thank you for letting me know – I’m so glad to hear you liked the recipe 🙂
Jeef says
You changed my life.
Paint the Kitchen Red says
Wow, thank you – that’s quite an endorsement!
Carly Newsam says
First time I made this dish. Was a bit too spicy, so I know to add more coconut milk next time. Thanks for the recipe!!! It’s very delicious.
Paint the Kitchen Red says
Thanks for your comment, Carly! I’m glad you liked the recipe 🙂
Denise says
Fantastic recipe! I did add an extra can of coconut milk, along with a bit more of the curry paste because my husband loves to have a lot of sauce for his rice. Turned out perfect!
Paint the Kitchen Red says
Denise, I’m really happy to hear that you liked the recipe. For some folks, extra coconut milk also works to make the curry less spicy 🙂