Instant Pot oat groats is a recipe packed with fiber and protein, making it super healthy. This versatile Instant Pot oat groats recipe comes out perfect every time and is perfect for meal prepping! And it’s so much faster than on the stovetop.

This post contains affiliate links. As an Amazon Associate, I earn from qualifying purchases. Please read the disclosure.
What are Oat Groats?
Groats are whole grains, such as oats, barley, or wheat, that have only the outer husk removed. Because they are minimally processed, they have more fiber and protein, making them more nutritious.
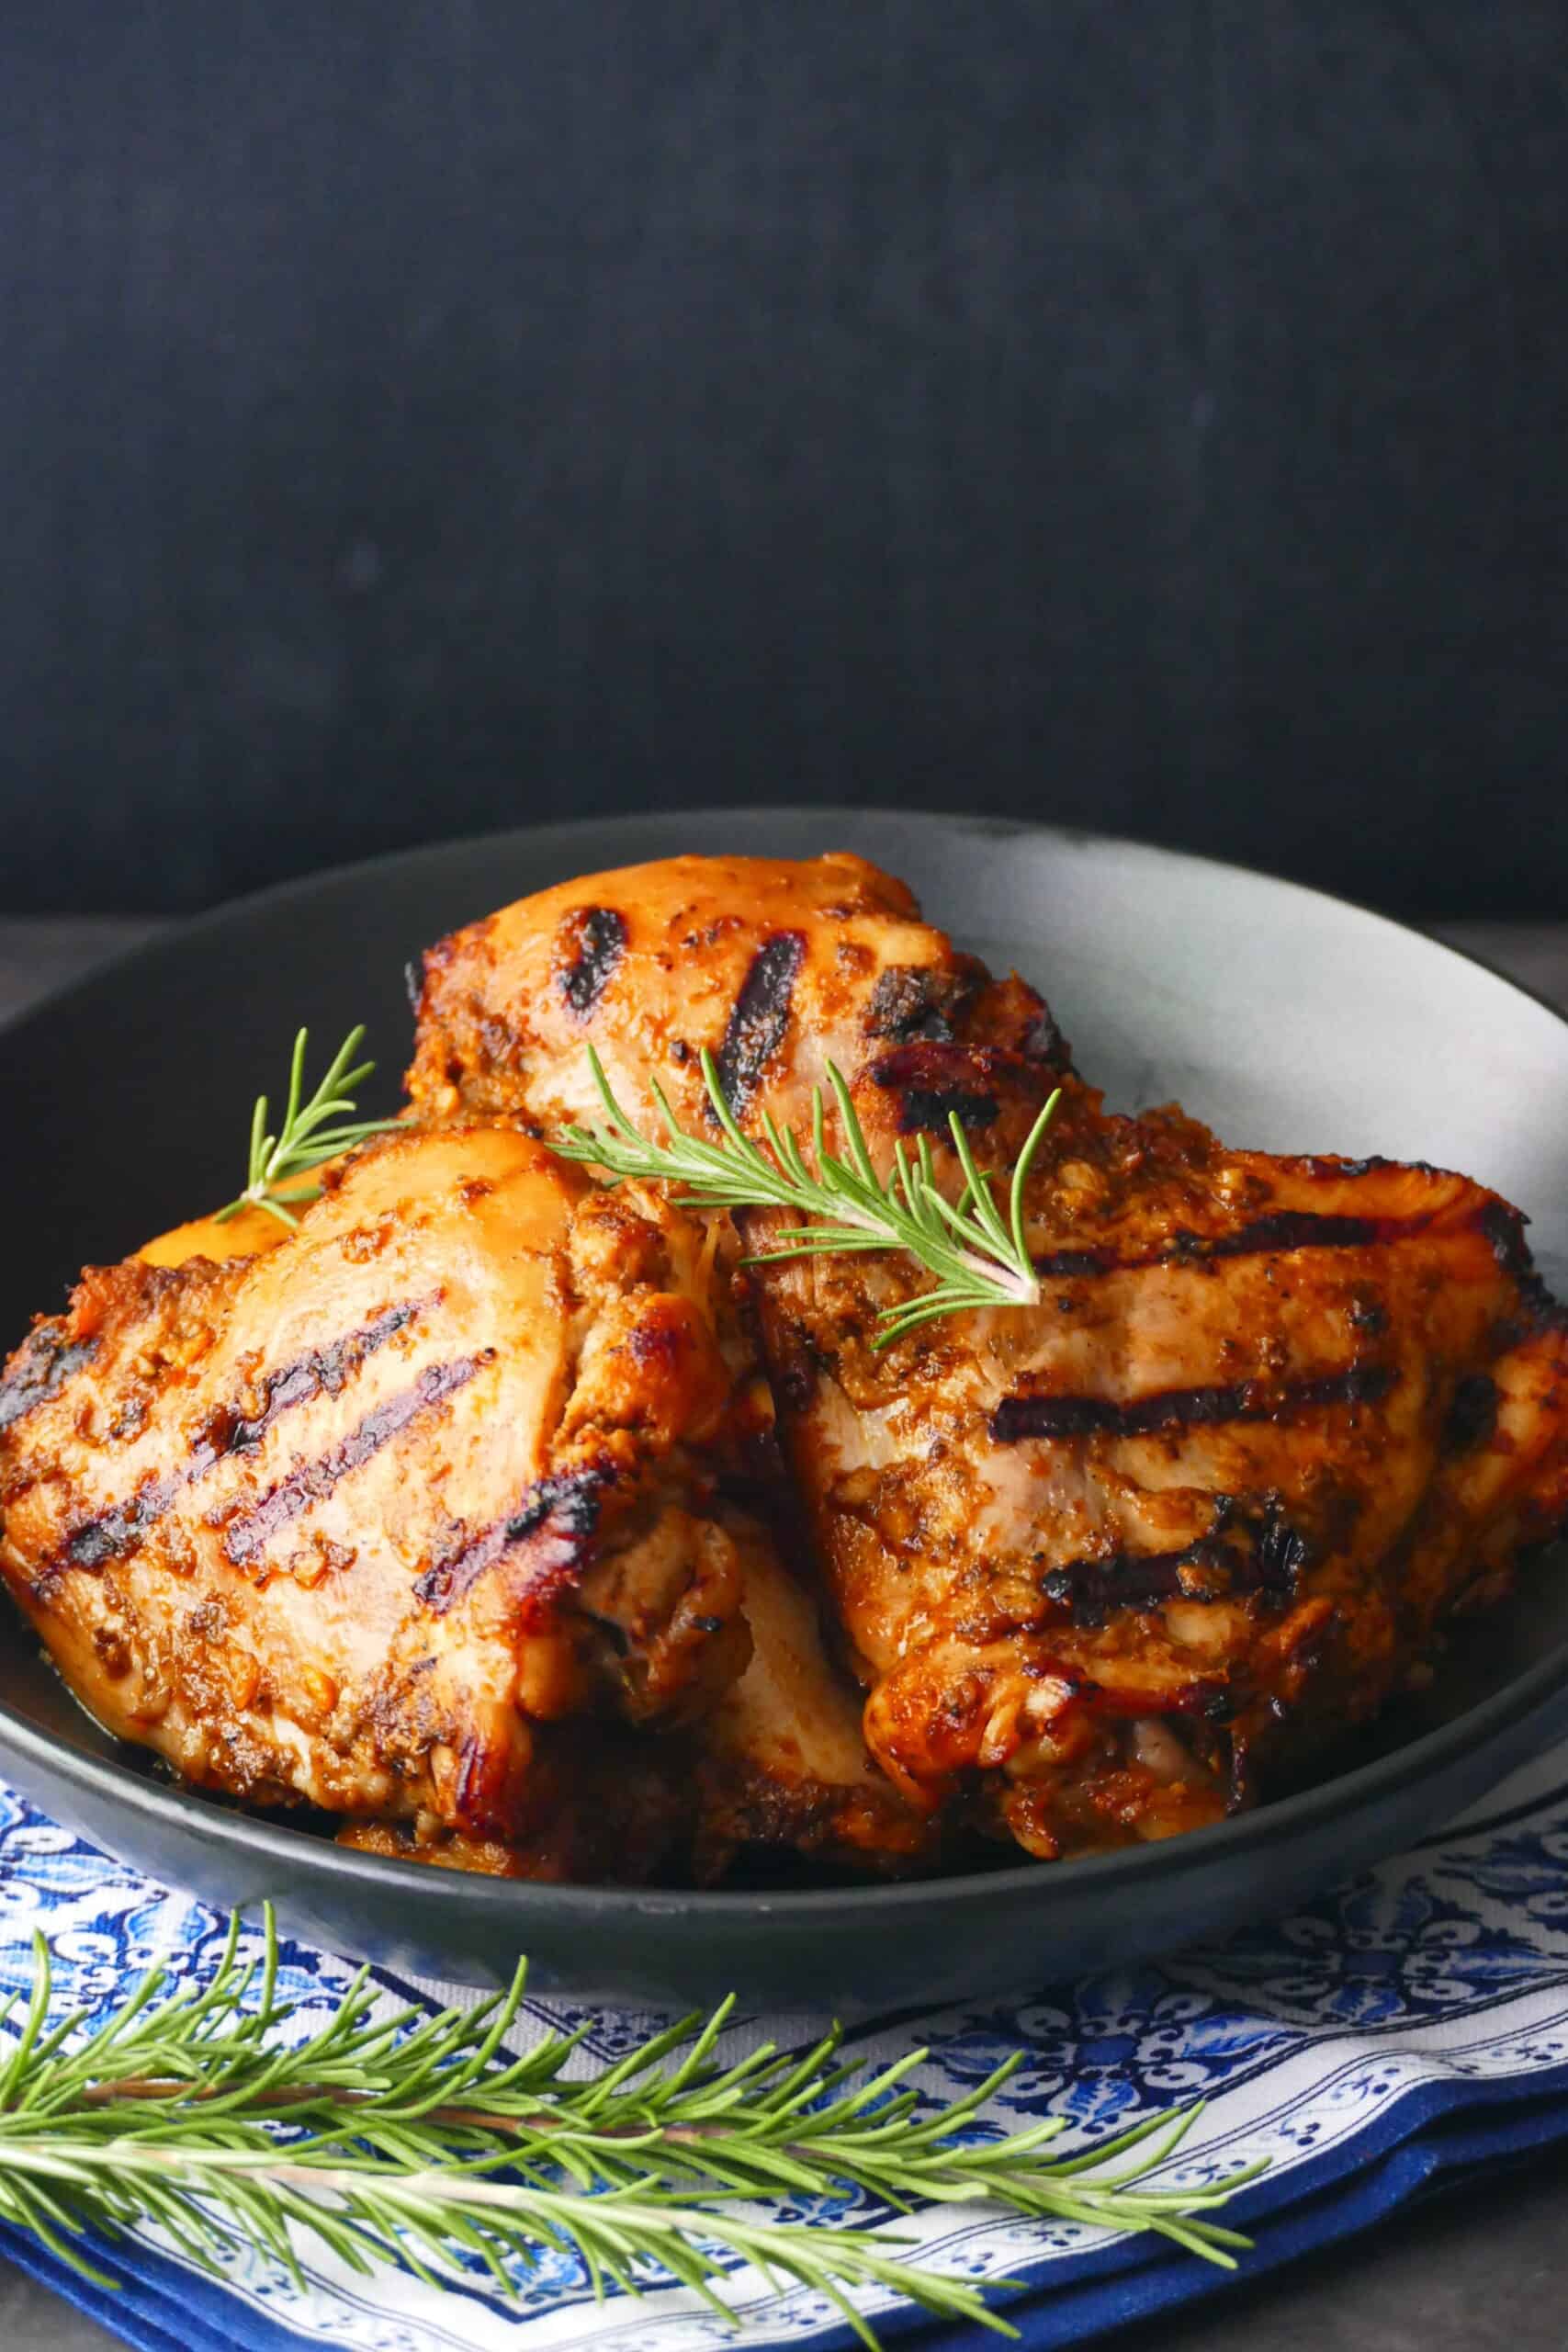
Oat groats are the most common type of groats. They look like kernels of brown rice and have a dense, chewy texture and nutty flavor when cooked.
They take longer to cook than processed oat varieties, which is why cooking them in the Instant Pot is so appealing. It’s also convenient because you can set it and forget it. No stirring required.
Different Types of Oats
All other types of oats come from oat groats. You’re probably familiar with these types of oats:
- Steel-cut oats are groats that have been cut into 2 to 3 pieces with a sharp steel blade.
- Rolled oats are steamed and flattened groats.
- Quick-cooking oats are rolled oats that have been further processed and cut into smaller pieces.
- Instant Oats are the most processed type. They’re pre-cooked, dried, and cut into tiny pieces. They cook in 1-2 minutes with just hot water.
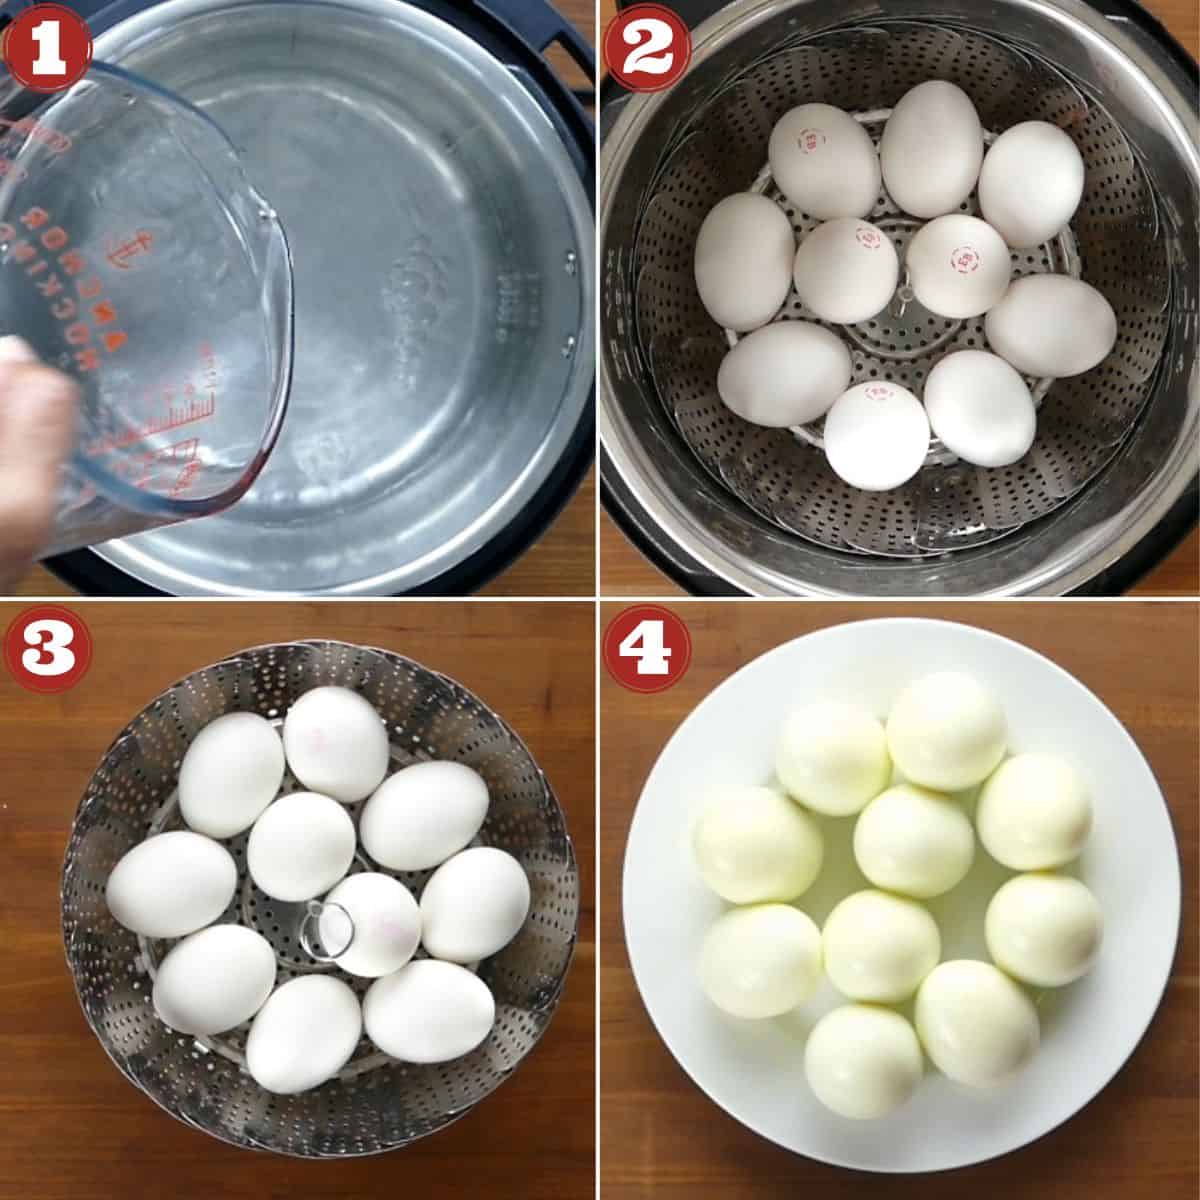
➡ If you haven’t yet, try my Instant Pot 1-minute hard boiled egg recipe!
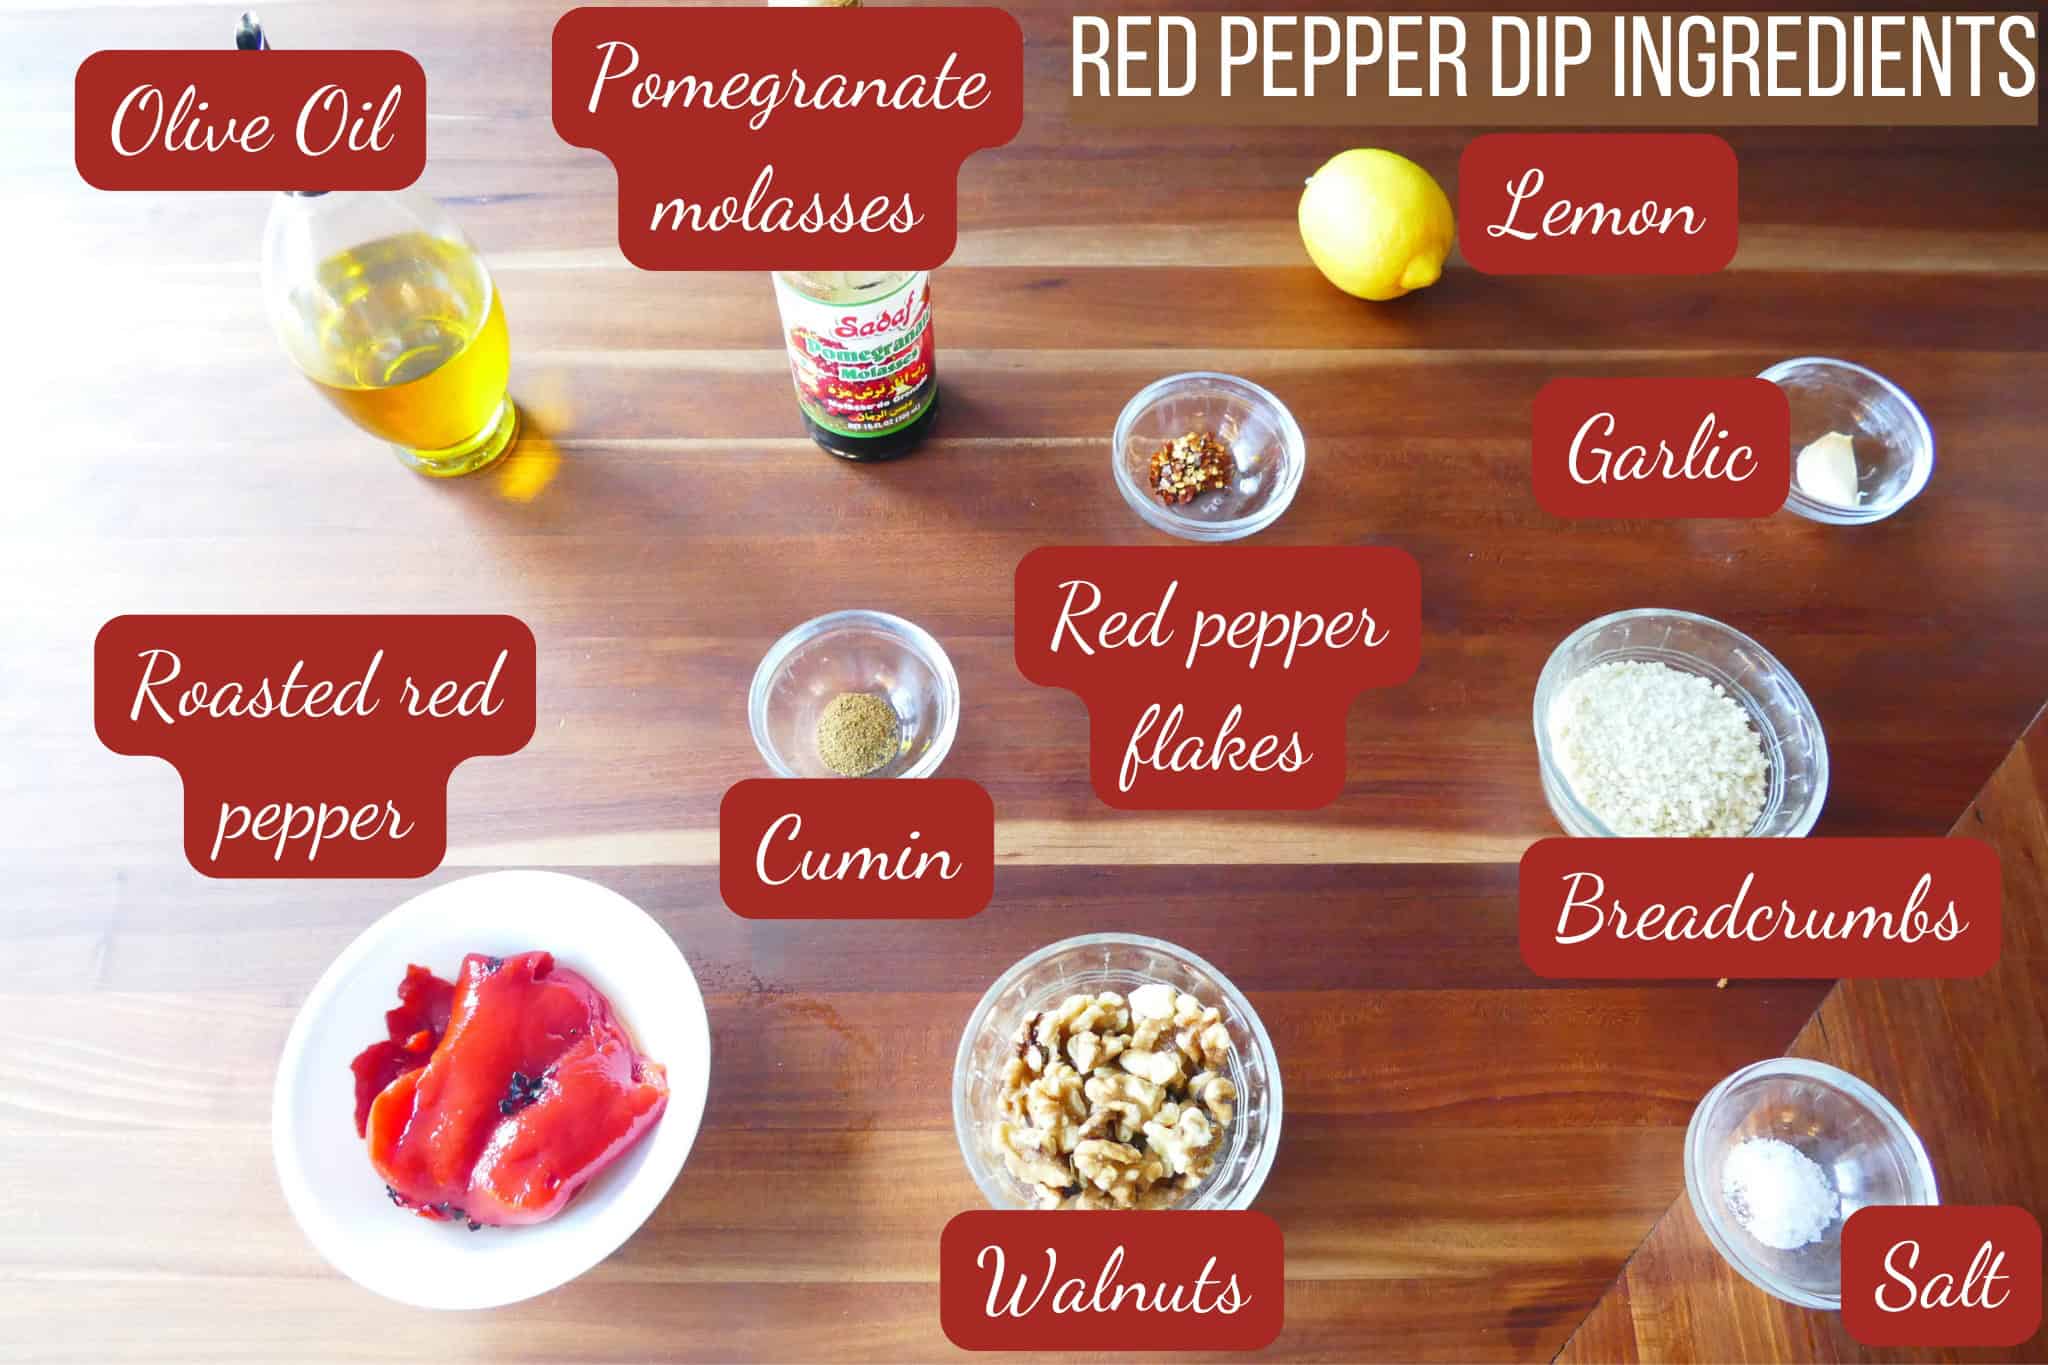
Ingredients and Tips
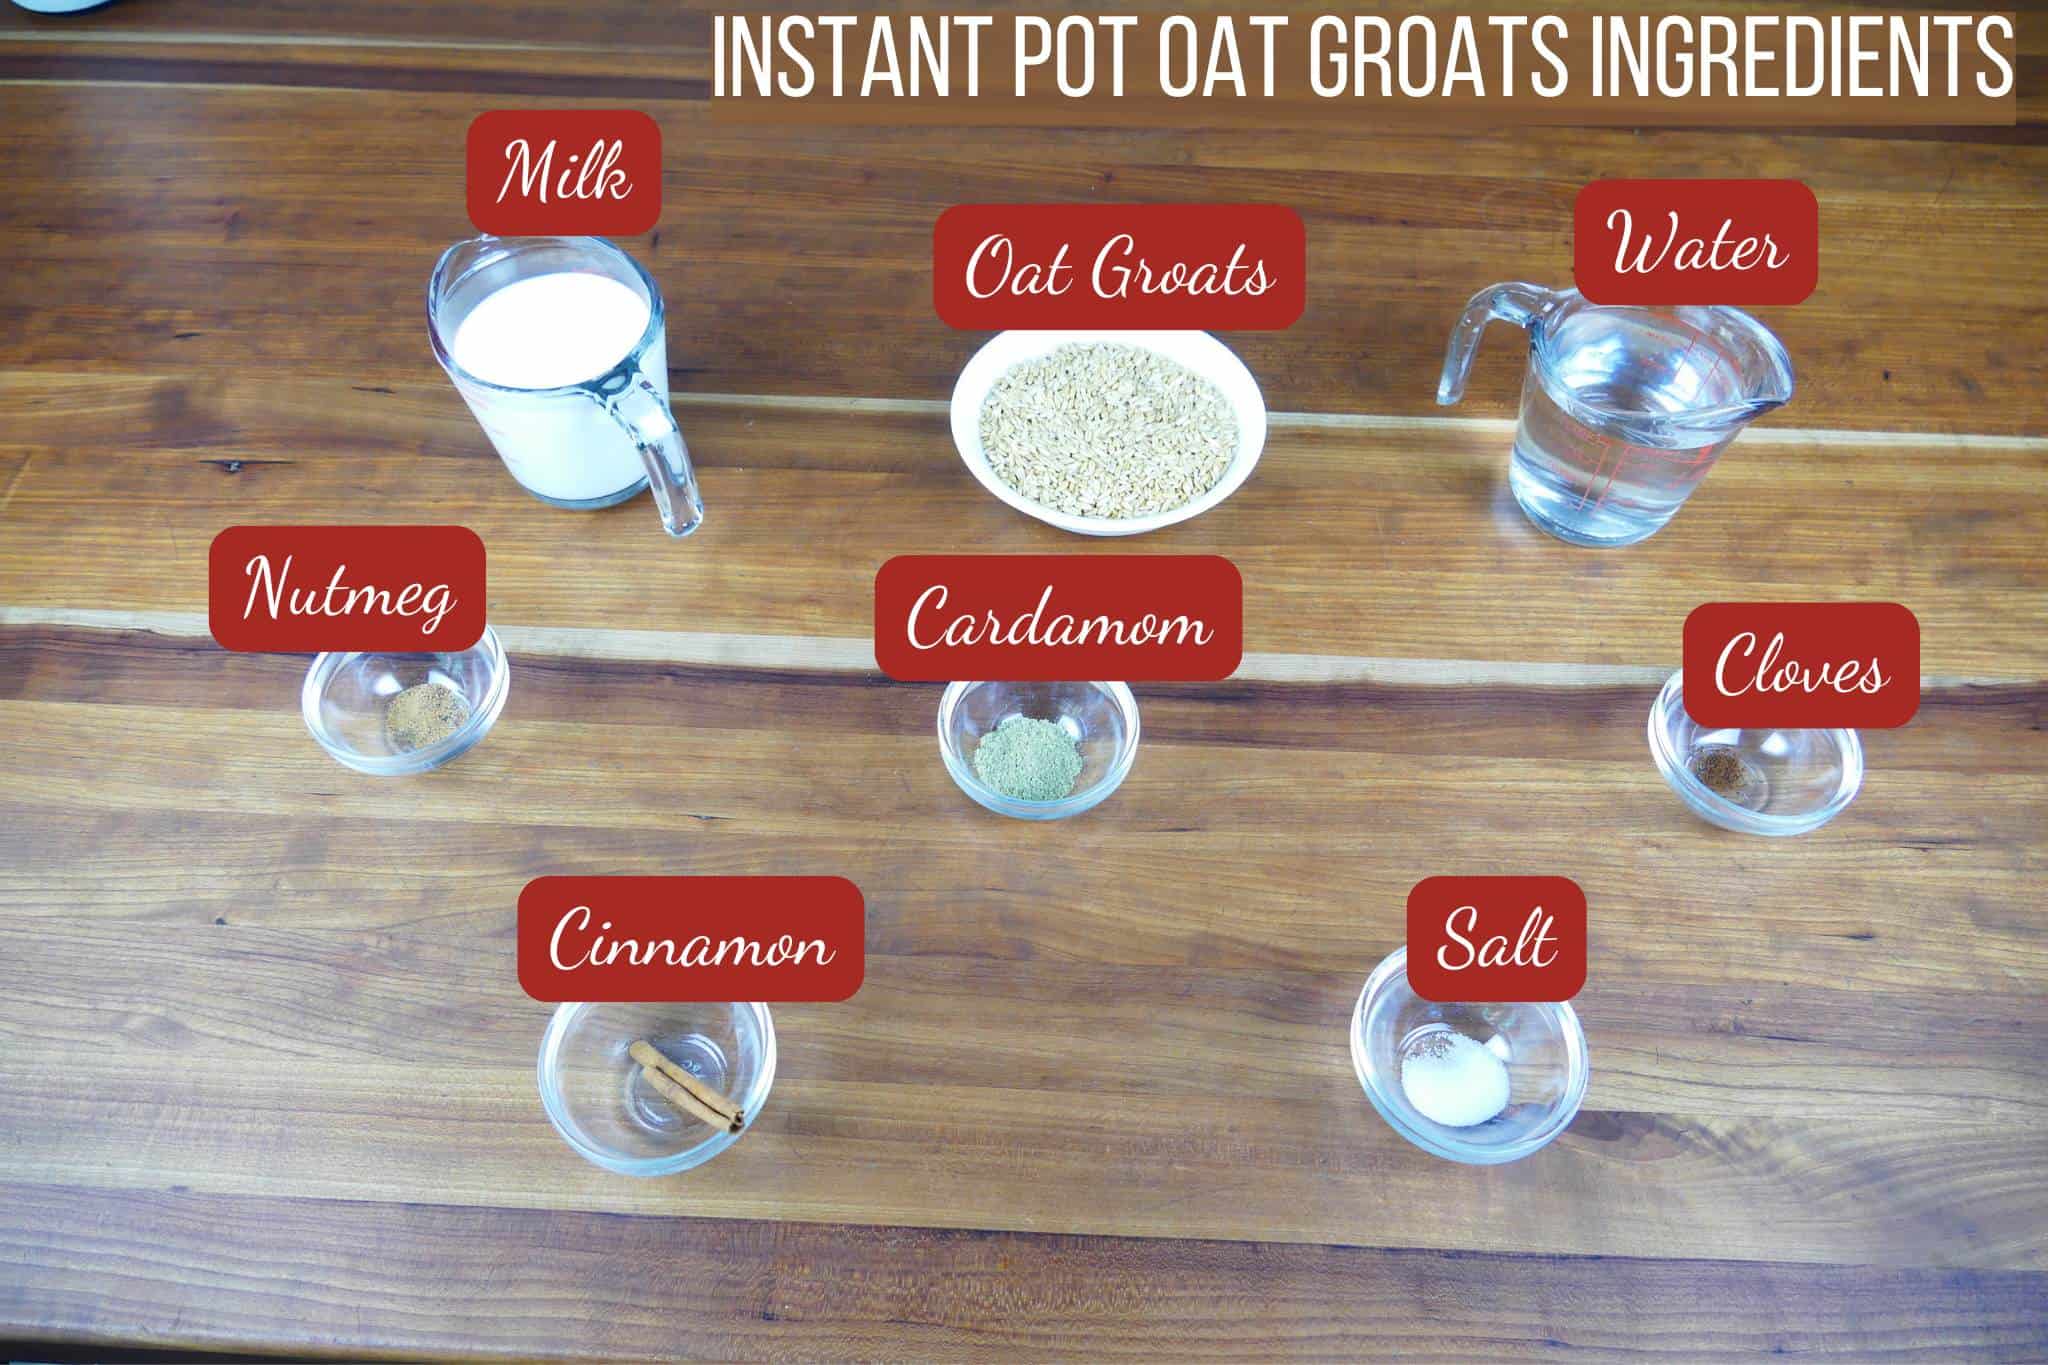
🧂 Ingredients for Oat Groats Instant Pot Recipe
💡 Ingredient and Recipe Tips
🚿 Rinsing: Rinse the groat kernels to remove any impurities or debris. This is especially important if you’re buying a brand that has a lot of chaff or loose husk pieces. For high-quality groats, I skip the rinse.
🚰 Liquid Quantity: The quantity of liquid is personal preference. You can use water, milk, or a combination of the two.
- Separate grains: Ratio of 1:1 ¾. For 1 cup of oat groats, I use 1 ¾ cups of liquid. This is great for grain bowls or as a healthy substitute for rice.
- Thick, creamy oats: Ratio of 1:2 ½. For 1 cup of oat groats, I use 2 ½ cups of liquid.
- Thin, runny oats: Ratio of 1:4. For 1 cup of oat groats, I use 4 to 4 ½ cups of liquid. This is perfect for oats that I’ll be eating the next day, because it thickens up quite a bit.
⏰ Cook Time: 30 to 40 minutes produces my ideal texture. For chewier oats, cook for 20 minutes with a full natural release of pressure.
The longer you pressure cook, the softer the groats become. However, they’ll always have a bit of a chew.
🥡 Storage: This oat groats recipe makes a larger quantity, which you can store in the fridge for up to a week, which saves time on busy mornings.
Reheat each portion with a couple of tablespoons of milk or water if needed, and add some fruit and sweetener to your tastes.
🧈 Saute: For a change, I sometimes saute the oat groats in a tablespoon of butter first, then add the remaining ingredients to pressure cook. This gives the groats a richer flavor.
🧂 Spices: I like to add spices and a pinch of salt to the oat groats before cooking. This is completely optional. Keep in mind that if you add ground cinnamon, it won’t easily dissolve in the liquid and can clump.
🫐 Toppings: The neutral, nutty flavor of oat groats allows you to customize the recipe by topping with:
- toasted nuts: walnuts, pecans, almonds
- fruit: blueberries or chopped apples
- sweetener: maple syrup or brown sugar
- spices: cinnamon, cardamom, nutmeg, cloves, or pumpkin spice
- dried fruit: craisins or raisins
- flavorings: peanut butter, cocoa powder
🛒 Where to Buy: Groats can be purchased online. You can also find them at health food stores or Whole Foods. I get mine on Amazon and prefer the McCabe brand. It’s pretty expensive but a good quality organic brand. I’m trying to find a cheaper option, so hit me up if you have any! I’ve found that cheaper brands often have excessive broken pieces or chaff, which can be really unpleasant!
❓ FAQS
Always use natural pressure release for oat groats to get them evenly cooked. If you’re short on time, let the pressure release naturally for 15 minutes, then manually release any remaining pressure. It takes my Instant Pot about 20 minutes to release pressure completely.
Yes, you can double the recipe, as long as you don’t go above the ½ full mark. This is because foods that expand need to stay at or below that line. Keep the same ratio and cooking time, and do a natural release.
You can substitute dairy milk with oat milk or even coconut milk, which gives a very different flavor.
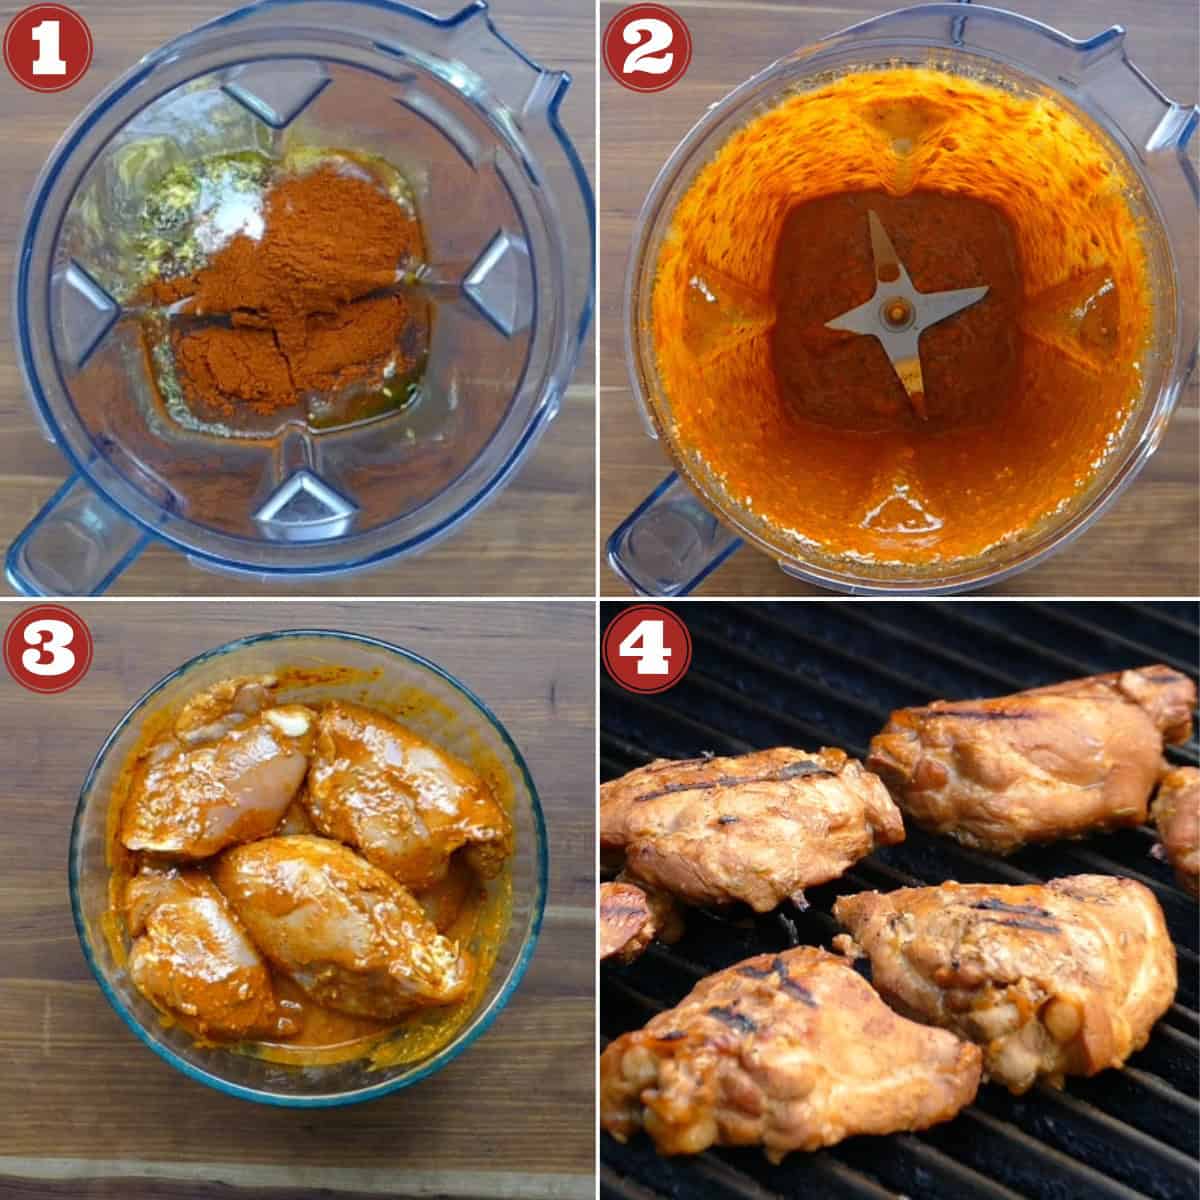
⏲️ How to Make Oat Groats in the Instant Pot
Here are the step-by-step instructions for how to pressure cook oat groats.

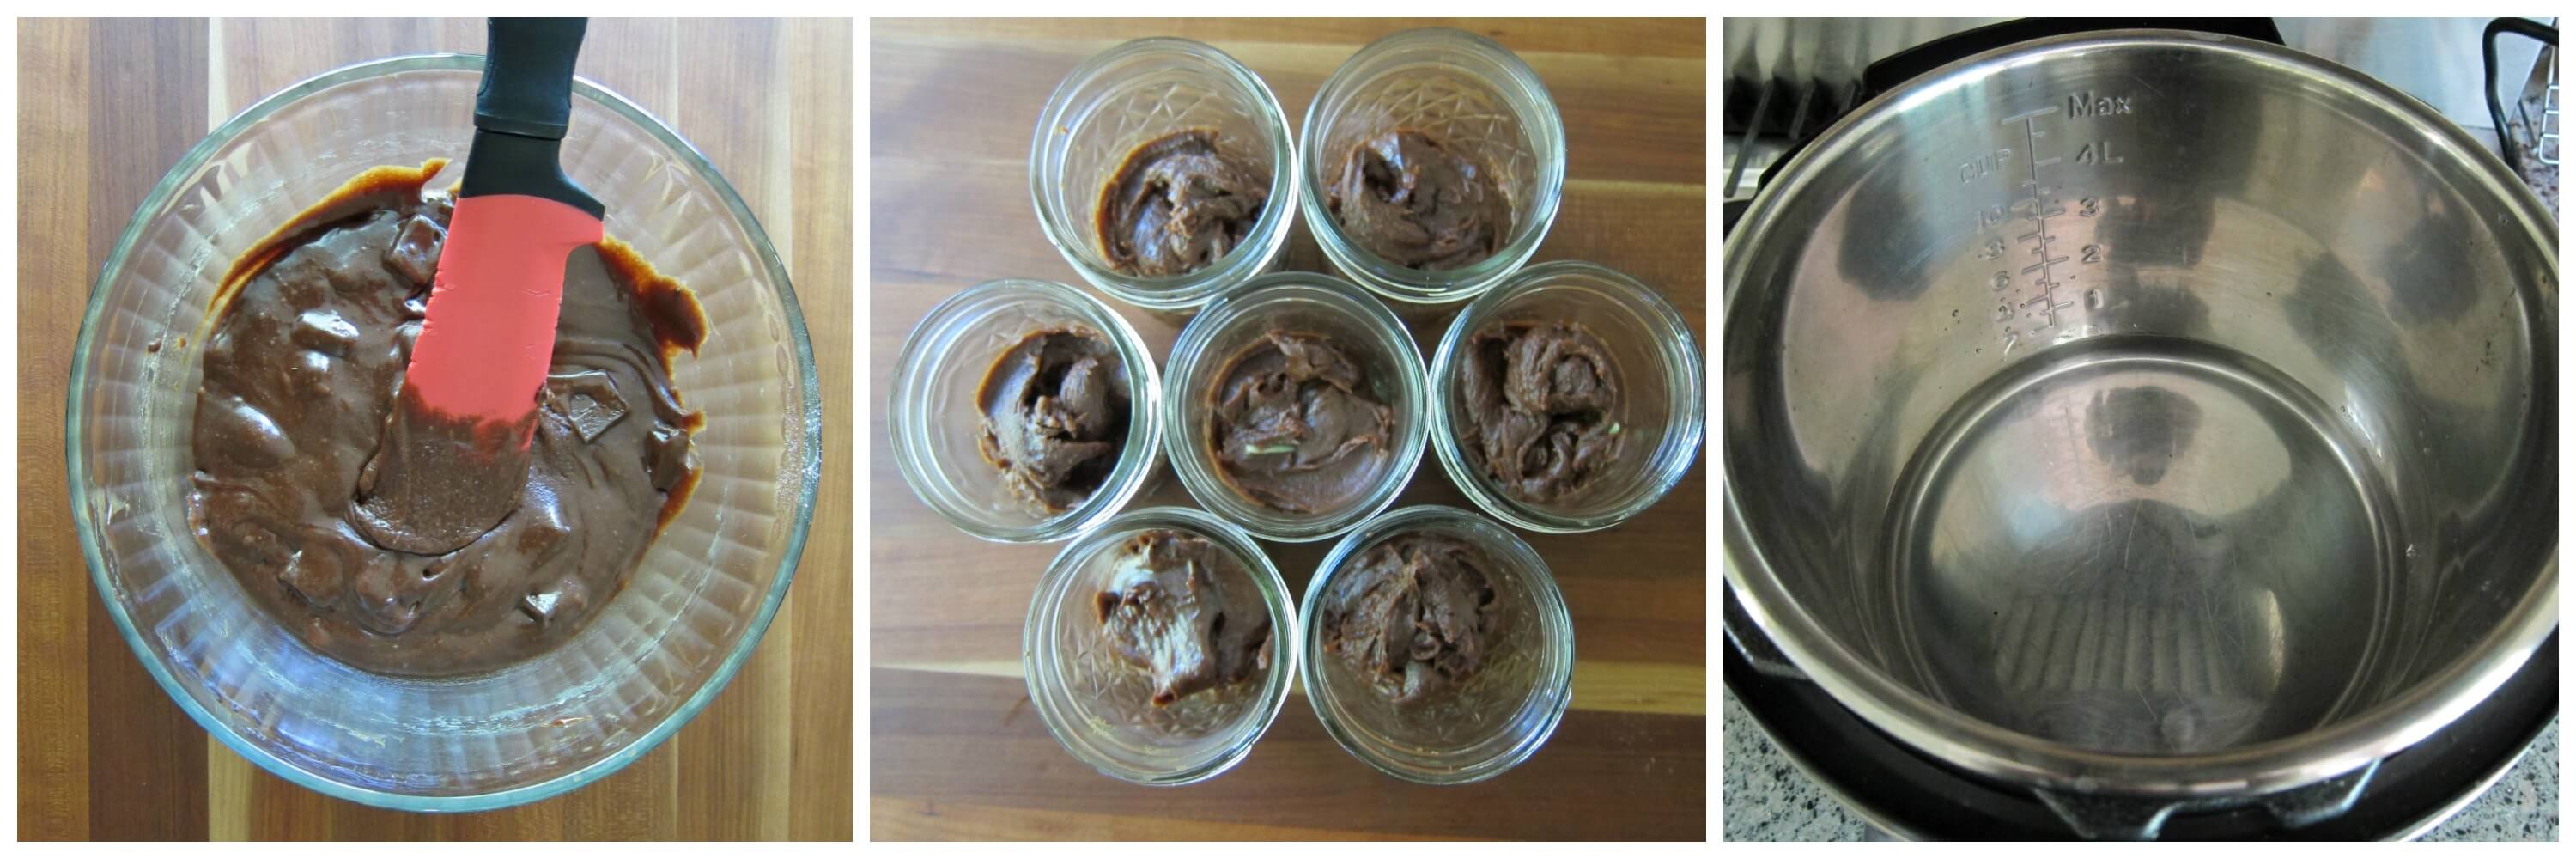
- Add groats to the Instant Pot with all the spices.
- Add water, milk, or any combination of the two.
- Pressure cook for 30 minutes and let the pressure release naturally.
- Open the lid and stir. Serve into individual bowls.
See the recipe card below for detailed instructions.

Oat Groats Instant Pot Recipes
Equipment
Ingredients
- 1 cup oat groats
- 1 cup milk
- 1½ cups water [See Note 1]
Optional Ingredients
- ¼ teaspoon salt or a pinch
- 1 teaspoon cardamom powder or to taste
- 1 cinnamon stick or to taste
- ½ teaspoon nutmeg or to taste
- ⅛ teaspoon ground cloves or to taste
Instructions
- Rinse oat groats. There's no need to soak the groats.
- Combine groats, milk, and water in the Instant Pot. Stir in optional spices (to taste). Stir to combine and close the lid.
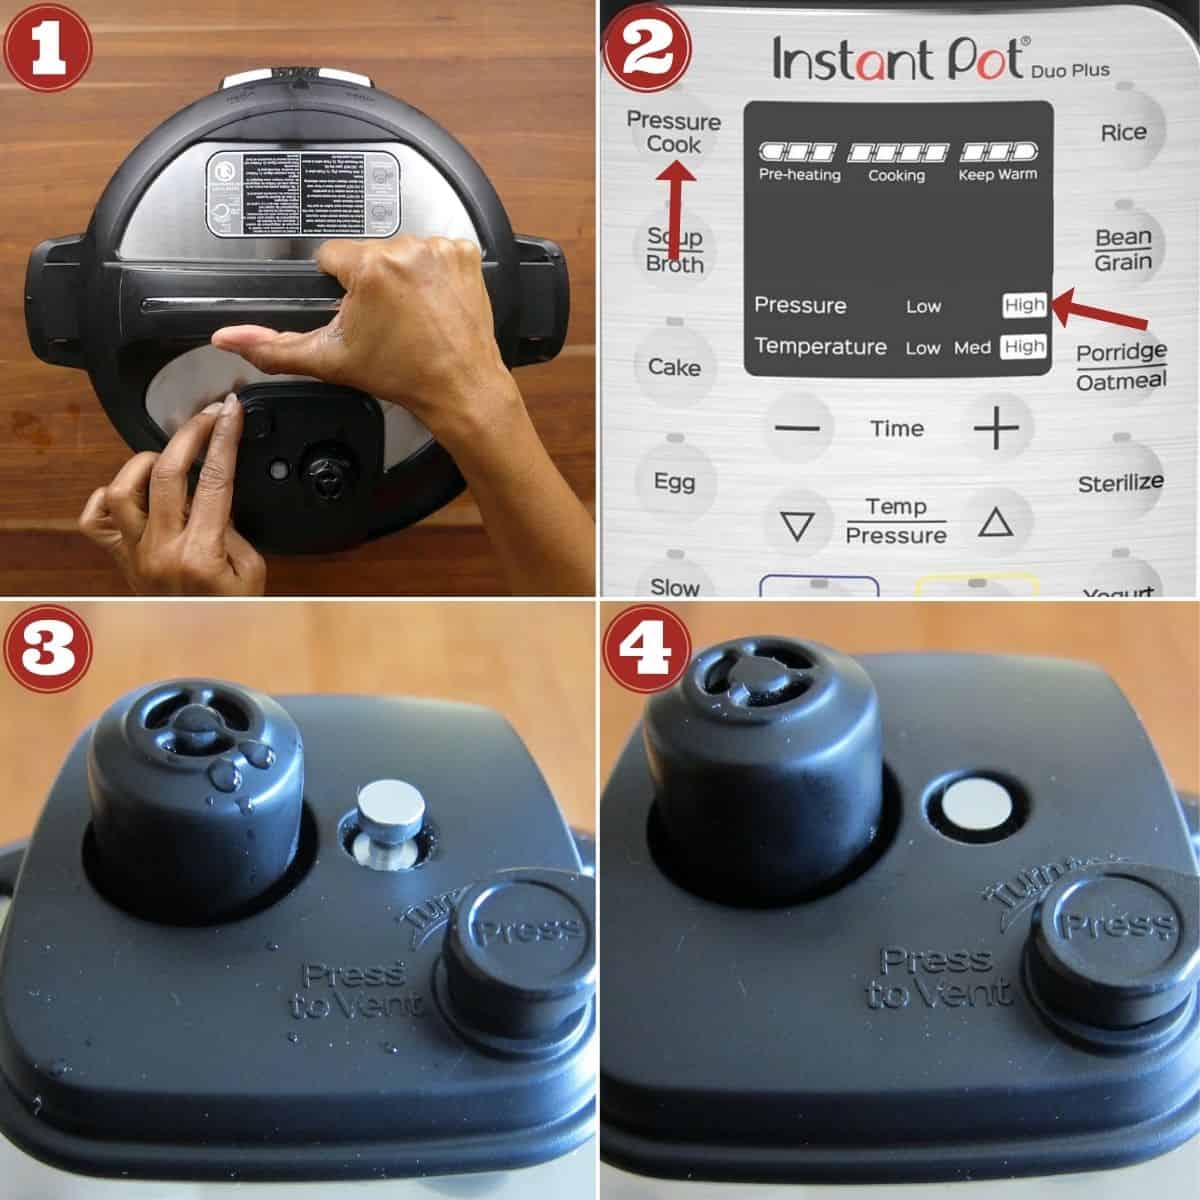
- Pressure cook on High Pressure for 30 minutes. [See Note 2]
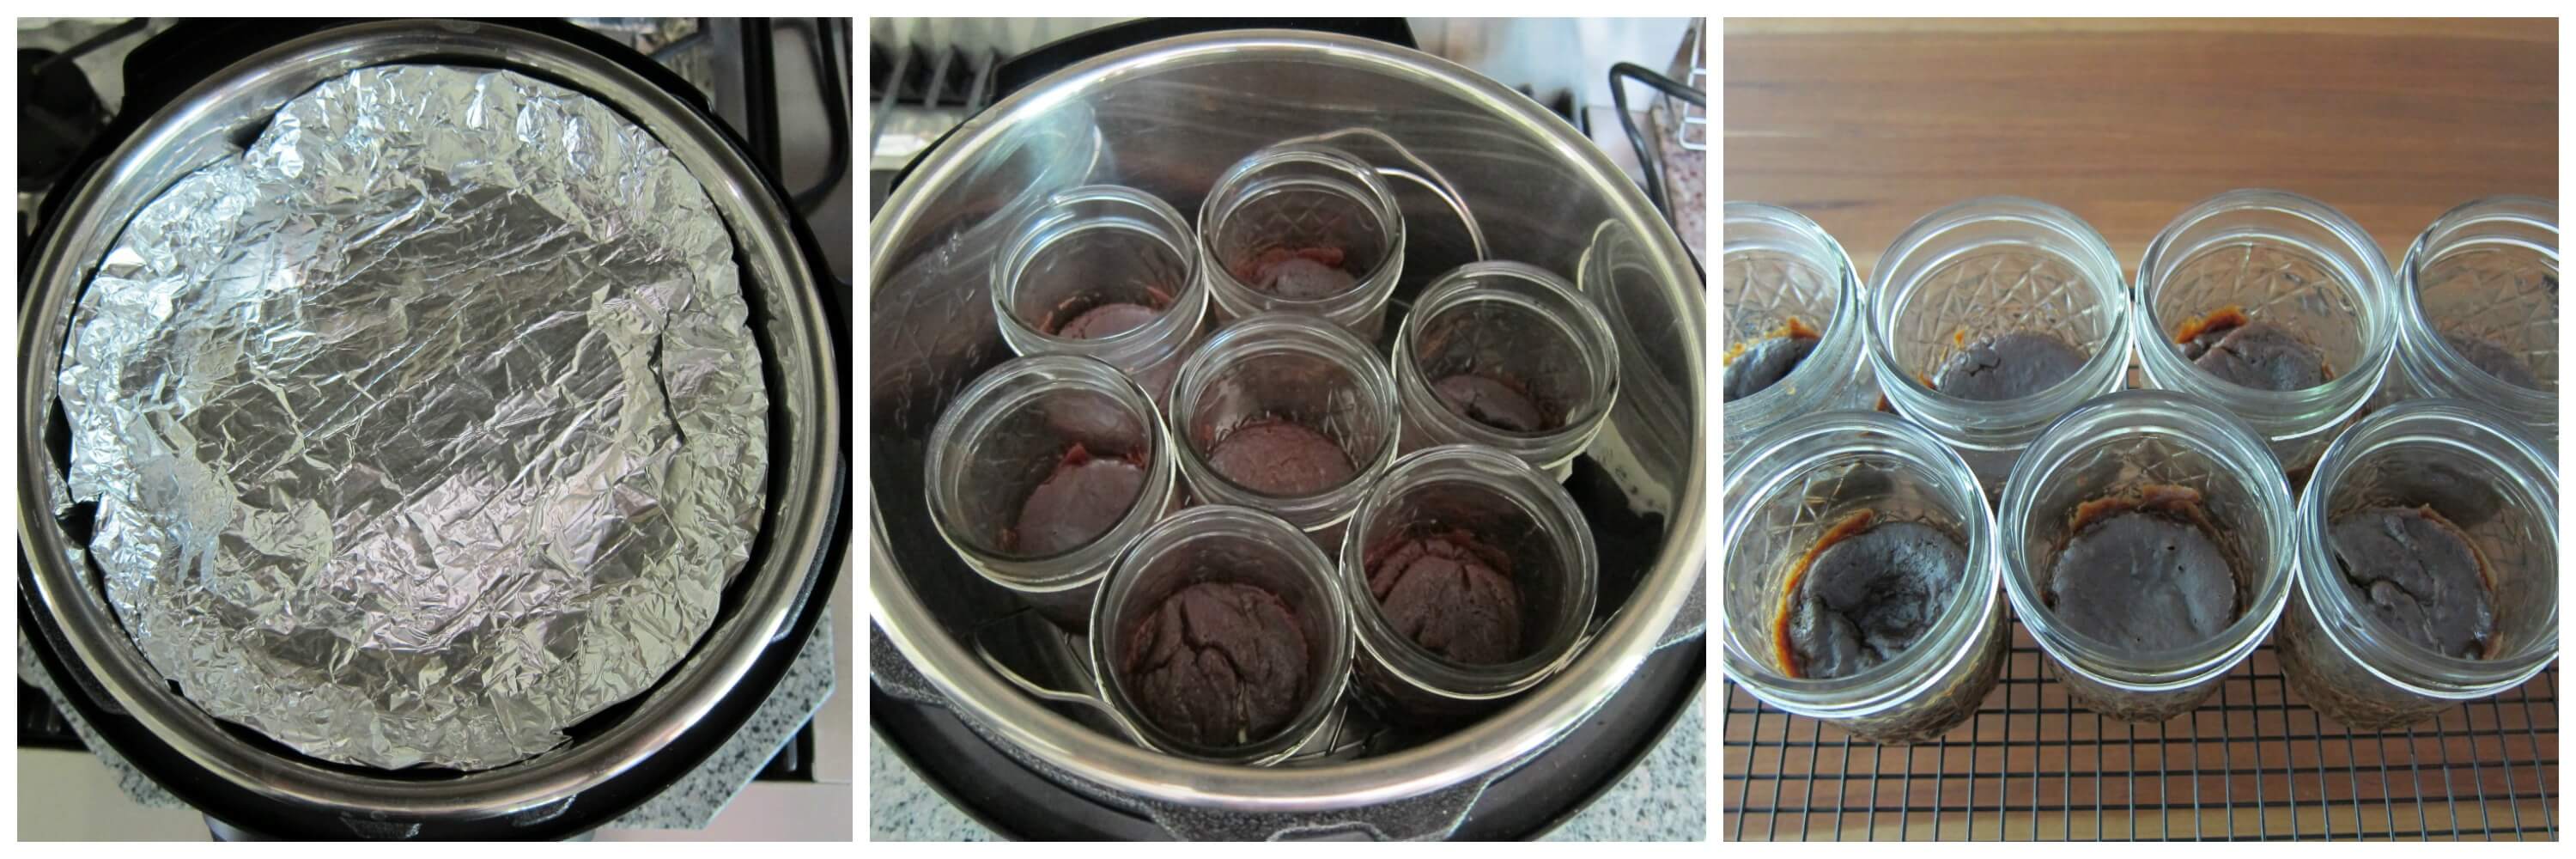
- Once pressure cooking is complete, allow the Instant Pot to do a natural pressure release (NPR) or a 15-minute natural release if you're short on time. Open the lid. [Read More: The Different Pressure Release Methods]
- Open the Instant Pot and stir the oat groats and serve into individual bowls, topping with your choice of toppings.
Video
Notes
- Note 1: Use any combination of milk and water. You can also omit the milk and use water only.
- Note 2: For al dente or chewier groats, decrease the pressure cooking time to 20 minutes. For softer groats, increase pressure cooking time to 40 minutes.
- Note 3: For a drier version to use in grain bowls or as a substitute for rice, use a ratio of 1:1.75 of groats to liquid. Use only water, and omit the milk.
- Note 4: This recipe can be doubled as long as you don’t go past the ½ full mark of your Instant Pot liner (inner pot).
Nutrition
I am not a certified nutritionist. I provide my best estimate of nutritional information merely as a courtesy to my readers. If you depend on nutritional information for dietary or health reasons, I suggest using your favorite online nutrition calculator to confirm the nutritional value of this recipe based on the actual ingredients that you use.
Did you know that the best way to support your favorite bloggers is to comment and rate recipes, and share on social media? If you loved this recipe, please comment and give it a five ⭐ rating in the comment section below. If you’re a pinner, pin this post using the Pin buttons at the top and bottom of this post and in the recipe card above. Thank you for your support!