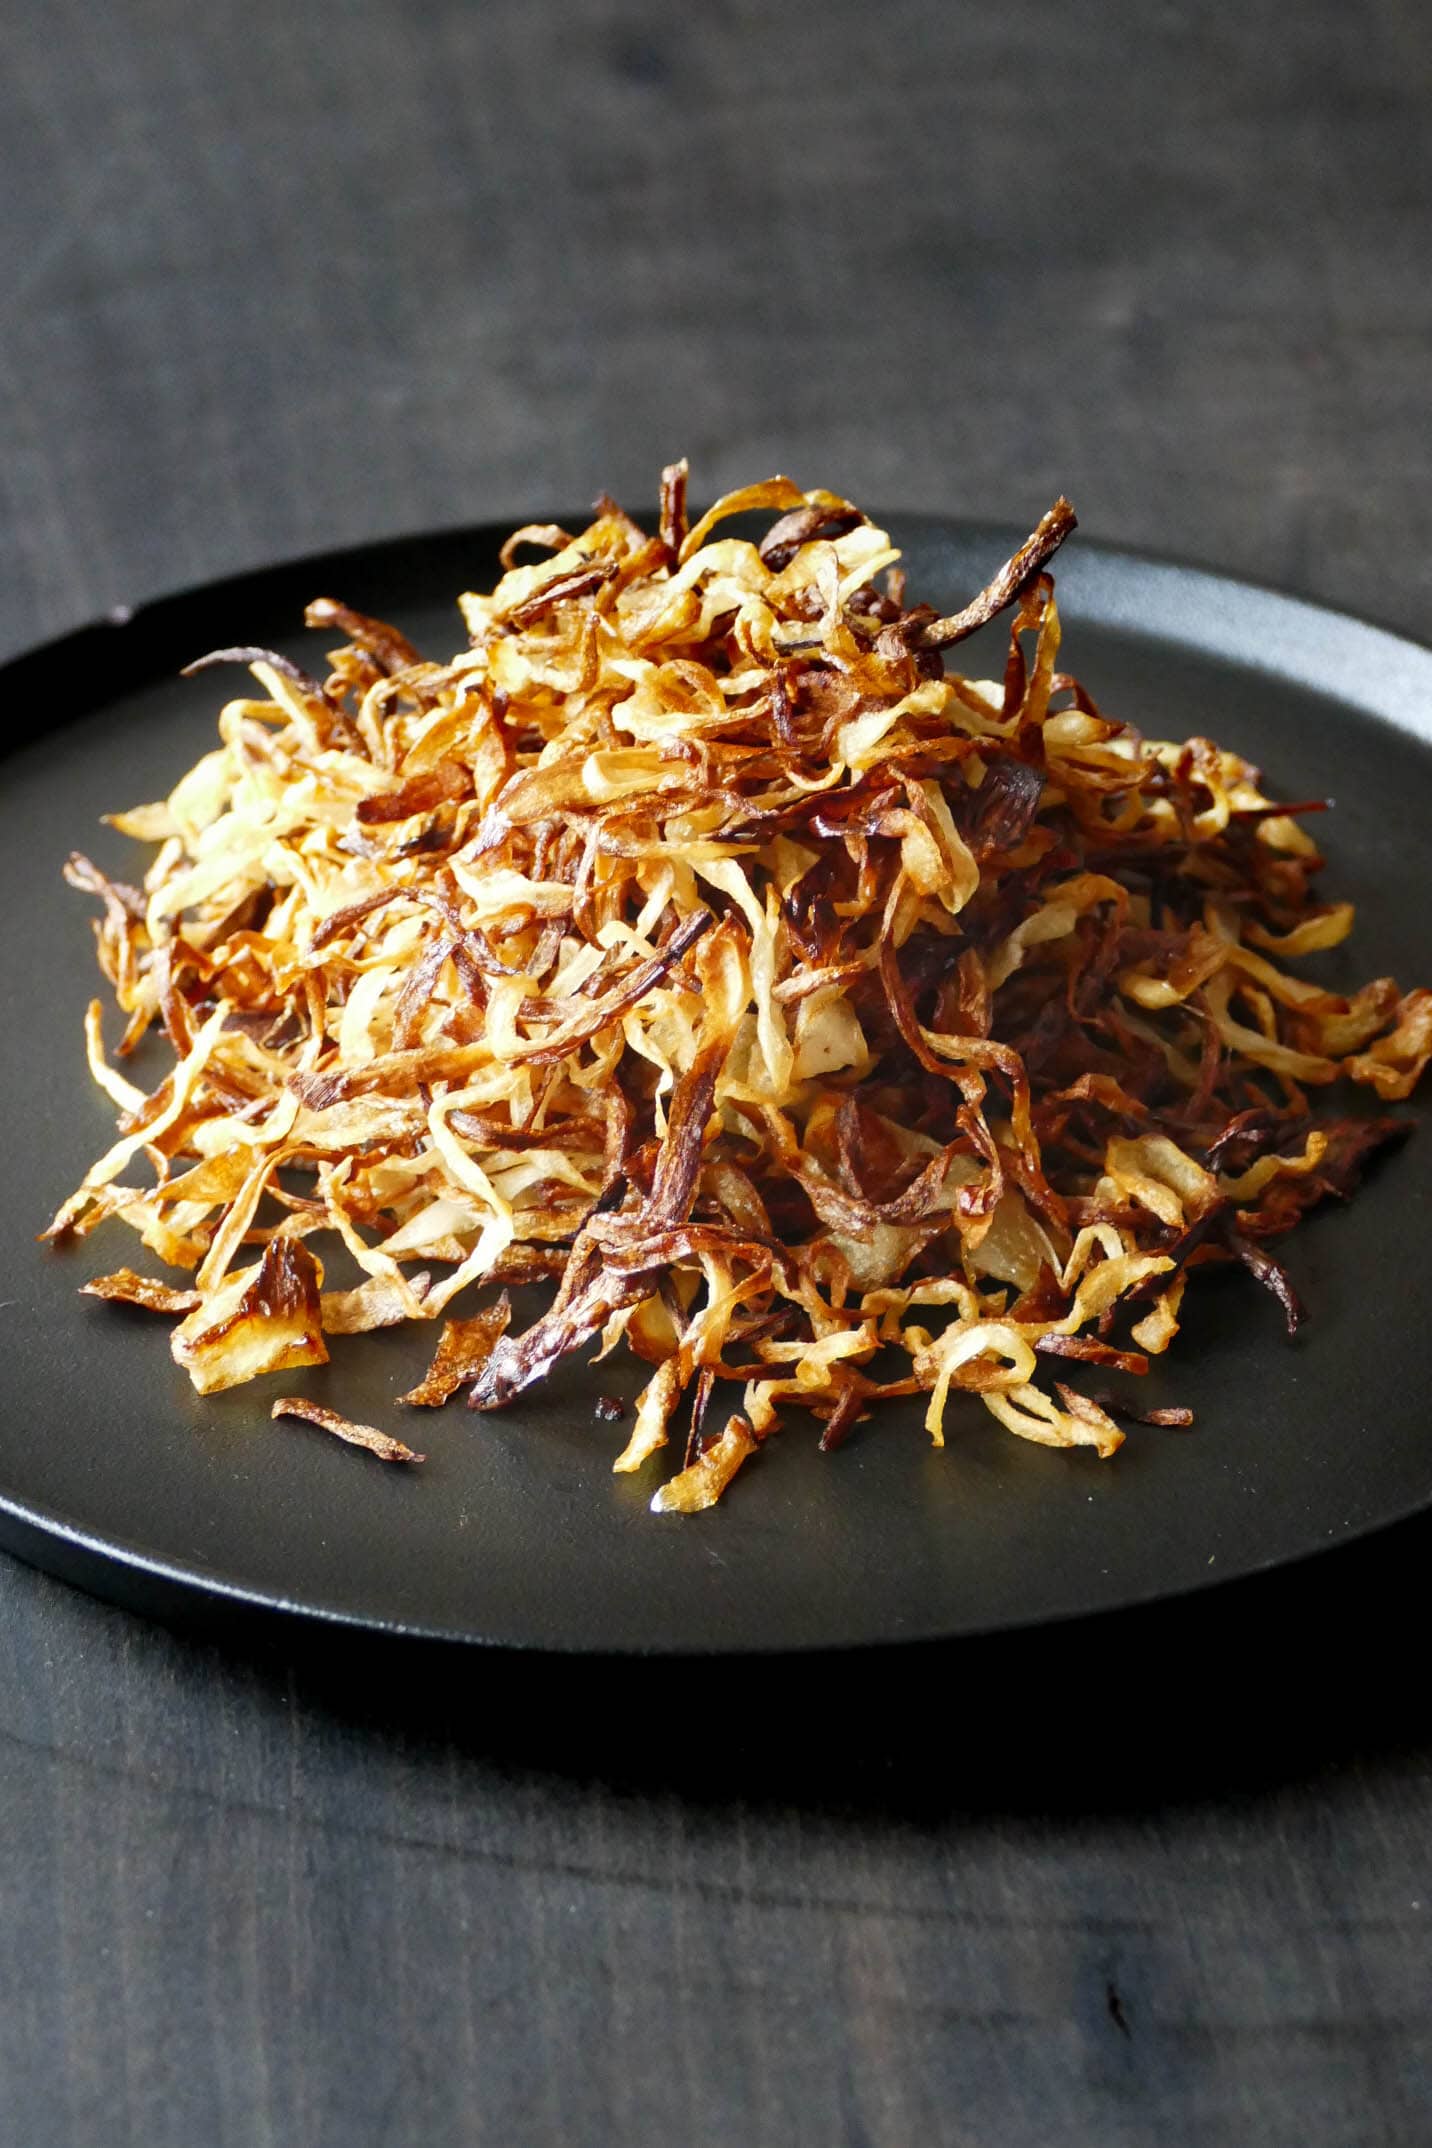
Fried onions are used in many cuisines and are great for meal prep. Use them for biryanis, curries, soups, and more. I’m showing you four different ways to make them, including air fryer onions!
This post contains affiliate links. As an Amazon Associate, I earn from qualifying purchases. Please read the disclosure.
Onions are the one vegetable I go through the most. I use onions in almost everything I cook (other than desserts !)
Fried onion is a versatile ingredient that adds a sweet, caramelized flavor and a crunchy texture to recipes.
For most recipes, onions are fried until golden brown and crispy.
In Indian and South Asian cooking, fried onions are known as birista. They’re used as garnish or topping for many dishes, including biryani, rice, curries, and soups.
You can also use fried onions on Western recipes such as steak, green bean casserole, or pizza!
You can fry onions on the stovetop, in an air fryer, microwave, or oven. I’ll show you all the different ways to fry onions, which you can use in different recipes.
🧂 Ingredients for Crispy Onions
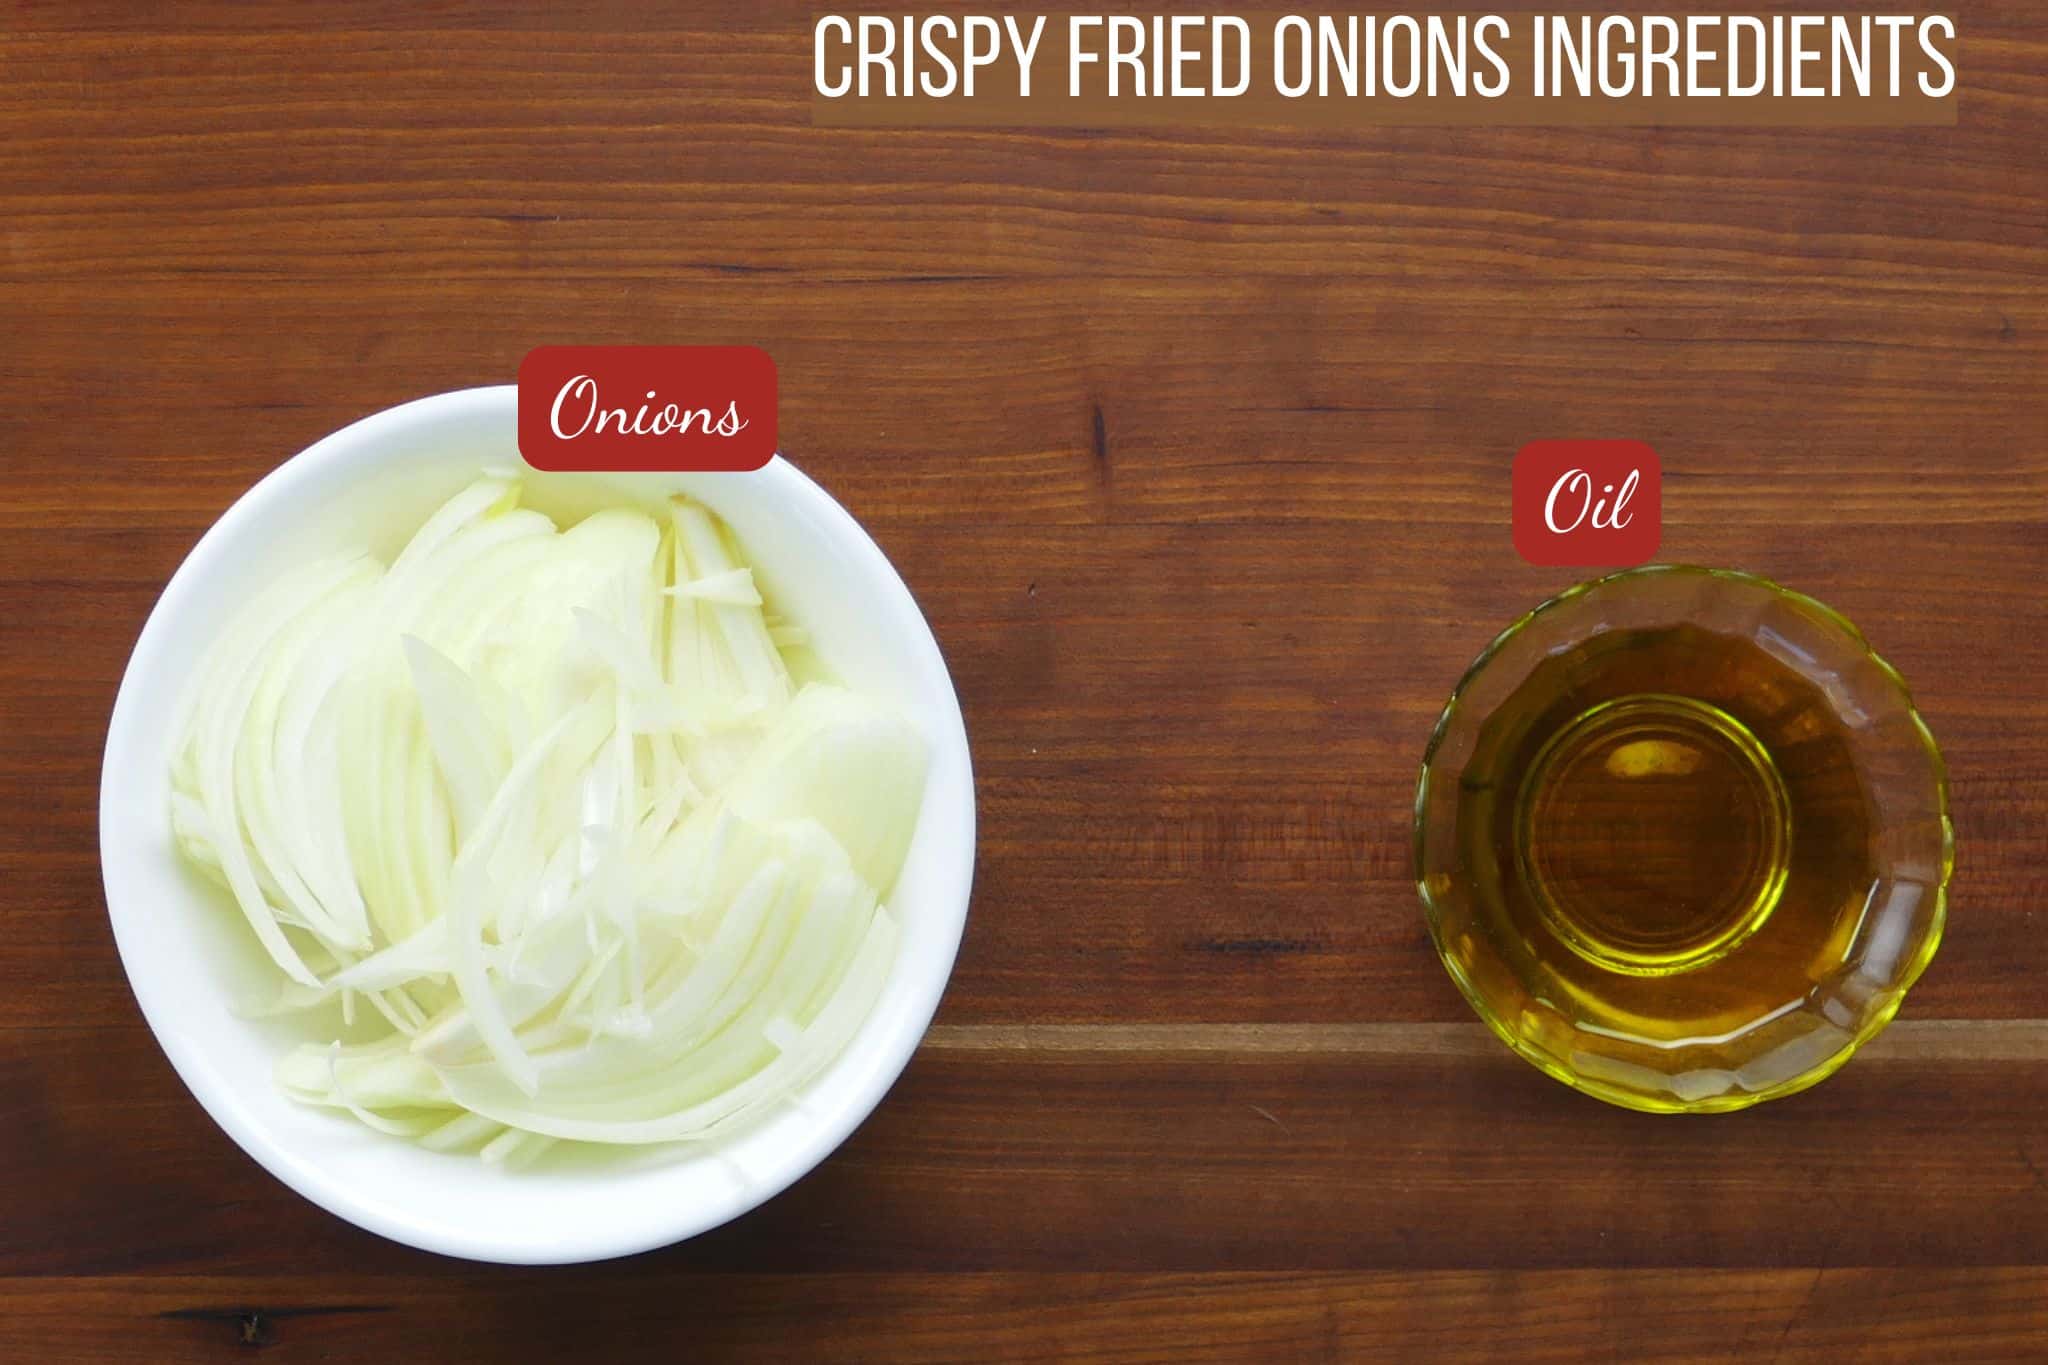
You’ll need onions and oil. Salt and pepper are optional.
💡 Ingredient and Recipe Tips
🧅 Onions: I prefer to use yellow onions because they have a more appealing color when fried. Red onions turn out well, but the color isn’t as good. You can use shallots or sweet onions, too.
🔪 Cutting: It’s important to slice the onions as thinly as possible and separate the pieces. This allows the onions to brown evenly. A mandoline slicer yields even slices. If using a knife (serrated is best), be mindful to cut thin, even slices.
🫙Spices: If desired, add salt and pepper to the onions before air frying.
💨 Drying: Spread the cooked onions on a paper towel-lined baking sheet to remove excess oil and let them crisp up. Cool the onions down completely before transferring them to an airtight container.
🟤 Browning: Don’t overcook the onions. If they become dark brown, they will taste bitter. Keep an eye on the color and remove them when golden brown.
❓ FAQS
2 cups of raw onion (about one large onion) will yield about ½ cup of fried onion.
Once the onions have completely cooled, transfer them to an airtight container and store in the fridge for 4 weeks. Freeze the onions for up to 4 months.
🔪 How to Make Fried Onions
Coat the sliced onions with oil. Add salt and pepper to taste, if desired. I don’t add any seasonings. I use my hands to coat the chicken so all surfaces are covered.
Don’t overcrowd the onions, or they won’t cook evenly. If necessary, cook them in batches.
Then proceed with one of the following methods. Once the onions become light brown, they can burn quickly! Check on them more often at this point.
♨️ Air Fryer
Air frying onions uses less oil than the stovetop, and the onions come out less greasy. This option is great for smaller quantities of onions. It also takes less time than the oven and stovetop methods.
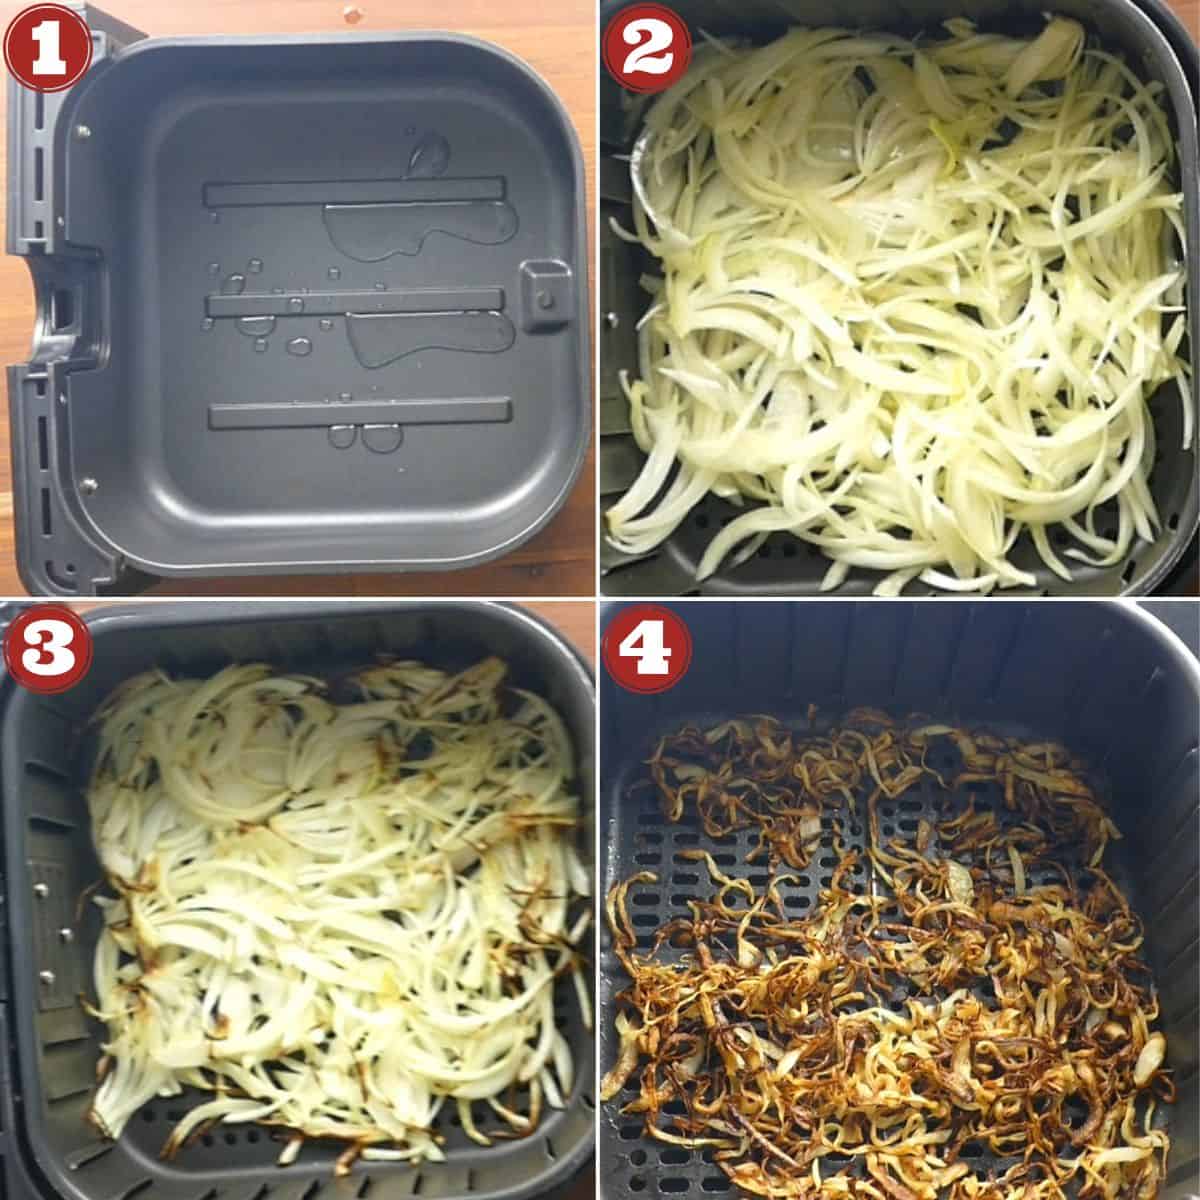
- Preheat the air fryer to 400 degrees Fahrenheit (200 degrees Celsius). Add one tablespoon of water to the bottom of the air fryer basket.
- Add onions to the air fryer basket and spread them out evenly . Air fry the onions for 10 minutes, stirring them up after 5 minutes.
- Lower the temperature to 300 degrees Fahrenheit (150 degrees Celsius) and air fry for another 8 to 10 minutes, stirring them every 2 minutes.
- The onions are done when they’re golden brown. Transfer the onions to a paper towel-lined tray and let them cool completely.
✅ Pros: Fuss-free, uses less oil, quick
⚠️ Cons: Less quantity, can brown unevenly
🔥 Oven
Making onions in the oven uses less oil than on the stovetop, and the onions come out less greasy. This option is great for larger quantities of onions. If necessary, you can bake/fry multiple baking sheets of onions. This method takes the longest amount of time.
- Preheat oven to 325 degrees Fahrenheit (160 degrees Celsius).
- Transfer onions to a large baking sheet and spread them out evenly.
- Roast the onions for 30 minutes, stirring them after 15 minutes. If they’re browning too much, lower the temperature.
- At the 30-minute mark, if the onions are not brown enough, increase the temperature to 375 degrees F (190 degrees C), and bake for another 5 to 15 minutes, stirring every 5 minutes.
- Once the onions are golden brown, take them out and let them rest for 15 minutes.
- Transfer the onions to a paper towel-lined tray and let them cool completely.
✅ Pros: Larger quantity, uses less oil, less mess
⚠️ Cons: Time-consuming
🕑 Microwave
Use the microwave to make smaller quantities of onions. This is the quickest method, and the onions are not greasy. This is my favorite method for quickly making fried onions.
[Note: the time required will depend on the wattage of your oven, so keep an eye on the onions!]
- Place one cup of onions in a microwave-safe dish that’s big enough for the onions to be spread out.
- Microwave on full power for 5 minutes.
- Stir the onions and microwave in 1-minute intervals (stirring as needed) for an additional 3 to 7 minutes. One cup of onions takes me 5 minutes plus 3 minutes.
- Let them cool completely.
✅ Pros: Quick, easy, no mess, crispy, uses less oil
⚠️ Cons: Small quantity, dry
🥘 Stovetop
For the stovetop, you don’t need to coat the onions with oil beforehand. Don’t overheat the oil before adding the onions; the onions will brown too quickly and won’t be evenly cooked.
With this method, the smell of onions can permeate your kitchen, clothes, and skin. And the onions can be greasy. But the flavor of deep-fried onions can’t be beat!
- Heat half a cup of oil in a large skillet over medium-high heat until it is just warm. Don’t overheat!
- Add the onions to the pan.
- Fry the onions until they begin to turn golden, stirring frequently.
- Lower the heat to medium-low and fry them until golden brown, stirring constantly. Make sure they don’t over-brown or they will be bitter. They can go from golden to dark brown very quickly!
- Transfer the onions to a paper towel-lined tray and let them cool completely.
✅ Pros: Best flavor, even browning
⚠️ Cons: Time-consuming, messy, uses more oil
See the recipe card below for detailed instructions.

Fried Onions – 4 Ways!
Ingredients
- 1 tablespoon vegetable oil or ghee (more for stovetop/frying)
- 1 large onion or enough for 2 cups sliced [See Note 1]
- salt to taste (optional)
- pepper to taste (optional)
Instructions
- Use a mandoline or a sharp serrated knife to cut 1 large onion into thin slices. Separate the onion pieces and rub them all over with 1 tablespoon vegetable oil (and salt and pepper, if using).
♨️ Air Fryer
- Preheat air fryer to 400 degrees Fahrenheit (200 degrees Celsius).
- Add 1 tablespoon of water to the bottom of the air fryer basket.
- Add onions to the air fryer basket and spread them out evenly. Don't overcrowd the basket. If needed, work in batches.
- Air fry the onions for 10 minutes, stirring them up after 5 minutes.
- Lower the temperature to 300 degrees F (150 degrees C) and air fry for another 8 to 10 minutes, stirring them every 2 minutes.
- The onions are done when they’re golden brown.
- Transfer the onions to a paper towel-lined tray and let them cool completely.
🔥 Oven
- Preheat oven to 325 degrees Fahrenheit (160 degrees Celsius).
- Transfer onions to a large baking sheet and spread them out evenly.
- Cook the onions for 30 minutes, stirring them after 15 minutes.
- If the onions are not brown enough, increase the temperature to 375 degrees F (190 degrees C), and bake for another 5 to 15 minutes, stirring every 5 minutes.
- Once the onions are golden brown, take them out and let them rest for 15 minutes.
- Transfer the onions to a paper towel-lined tray and let them cool completely.
🕑 Microwave
- Place one cup of onions in a microwave-safe dish that’s big enough for the onions to be spread out.
- Microwave on full power for 5 minutes.
- Stir up the onions and microwave in 2-minute intervals for another 3 to 7 minutes. [See Note 2]
- Transfer the onions to a paper towel-lined tray and let them cool completely.
🥘 Stovetop
- In a frying pan, heat half a cup of oil over medium-high heat until warm but not hot. Don't overheat!
- Add the onions to the frying pan.
- Fry the onions until they start getting a golden color, stirring frequently. This can take up to 20 minutes.
- Lower the heat to medium-low and fry onions until they're golden brown, stirring constantly. Make sure they don't over-brown or they will be bitter. They can go from golden to dark brown very quickly!
- Transfer the onions to a paper towel-lined tray and let them cool completely.
Notes
- Nutritional information is for the air fryer version of the recipe.
- Don’t overcrowd the onions, whichever method you use.
- Allow the onions to cool completely. This keeps them crispy.
Nutrition
Thank you for visiting Paint the Kitchen Red. All photos and content are copyright protected. Please don’t use any content without prior written permission. If you’ve made this recipe and would like to share it with your friends, please link back to this recipe. Thank you!
I am not a certified nutritionist. I provide my best estimate of nutritional information merely as a courtesy to my readers. If you depend on nutritional information for dietary or health reasons, I suggest using your favorite online nutrition calculator to confirm the nutritional value of this recipe based on the actual ingredients that you use.
Did you know that the best way to support your favorite bloggers is to comment and rate recipes, and share on social media? If you loved this recipe, please comment and give it a five ⭐ rating in the comment section below. If you’re a pinner, pin this post using the Pin buttons at the top and bottom of this post and in the recipe card above. Thank you for your support!




Sunil Desilva says
Did the oven version and it turned out as expected. Thanks as always Neena!
Neena Panicker says
Sunil, thank you so much for trying out the fried onions recipe!