Pot in pot Instant Pot cooking method is a pressure cooking technique that allows you to pressure cook cheesecake, lasagna, and other foods that don’t contain liquid. Pot in Pot cooking is useful for making smaller quantities of food. The PIP method also allows you to pressure cook recipes that tend to scorch and to cook multiple dishes at the same time using Instant Pot stackable containers.
This post contains affiliate links. As an Amazon Associate, I earn from qualifying purchases. Please read the disclosure.
Table of Contents
If you’re familiar with the Instant Pot, maybe you’ve heard the term Pot in Pot and wondered what it is. Pot in Pot cooking (also referred to as PIP) is a really useful stovetop pressure cooker technique that can be used with the Instant Pot pressure cooker.
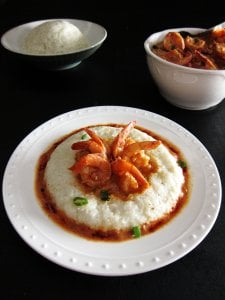
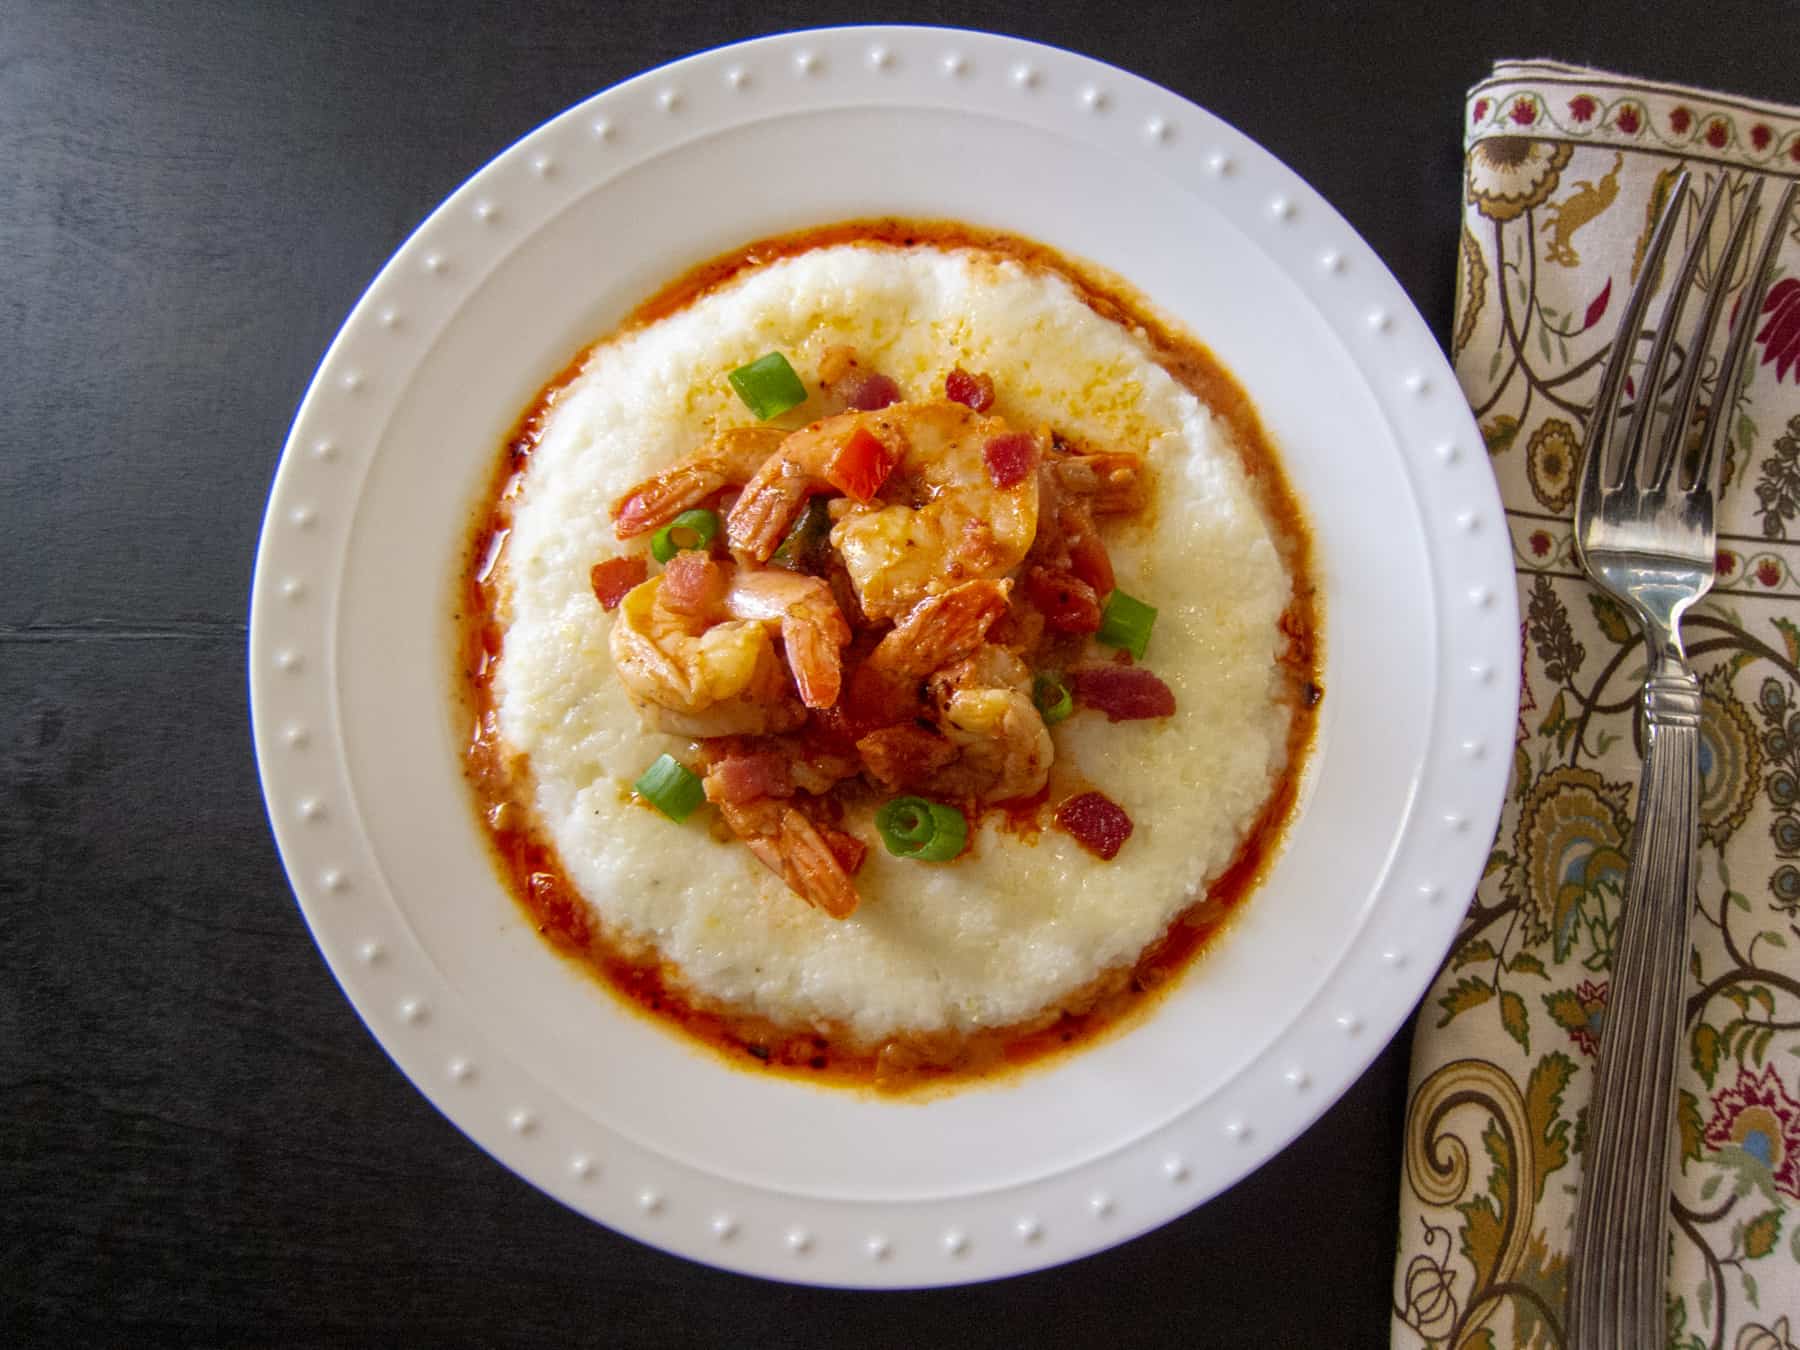
I’ll give you a summary of why you’d want to use this technique and walk you through the steps to combine two recipes that you can cook together. By the way, if you’ve made my Instant Pot Shrimp and Grits recipe, then you’ve already used the Pot in Pot technique!
Get Started with the Instant Pot with these guides:
– Instant Pot Duo Quick Start Guide
– Instant Pot Ultra Quick Start Guide
– Instant Pot Duo Evo Plus Beginners Manual
What is Pot in Pot Pressure Cooking?
The Instant Pot pot in pot method of cooking allows food to cook in a separate smaller pot that’s placed on a steam rack in the Instant Pot. Steam generated from liquid below the steam rack is used to build pressure and cook the food.
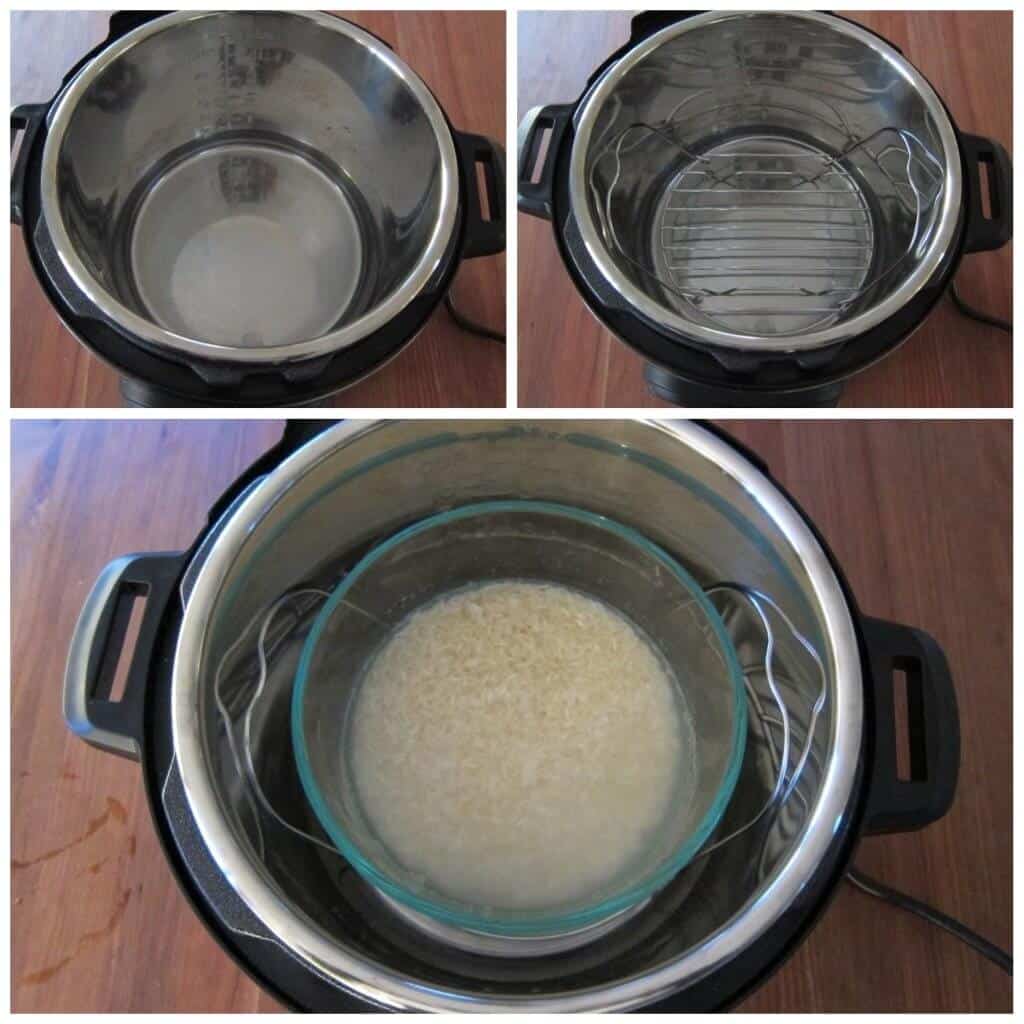
Pot in Pot has many uses and I’ll outline them in the sections below, but in its simplest form, here’s how you can cook something using the Pot in Pot cooking technique. If you’ve ever wondered how to use the Instant Pot steam rack or trivet, this is how:
- Add 1 cup of water to the bottom of the Instant Pot’s inner pot.
- Place a metal trivet or steam rack in the bottom of the pot.
- Put food in an oven-safe container. This container does not require liquid.
- Place the container on the steam rack and close the Instant Pot lid.
- Pressure cook the food and do a Natural Pressure Release (NPR) or Quick Release (QR). (You might need to add some additional time to the regular Instant Pot cooking time)
Note: The quantity of food you can cook in a ‘Pot in Pot’ container will be less than what you can cook directly in the Instant Pot liner (inner pot). You might need to adjust recipe quantities.
[Read all about the Instant Pot trivet types and how to use them.]
What Accessories are Used for Pot in Pot Cooking?
1. Essential Instant Pot Accessories
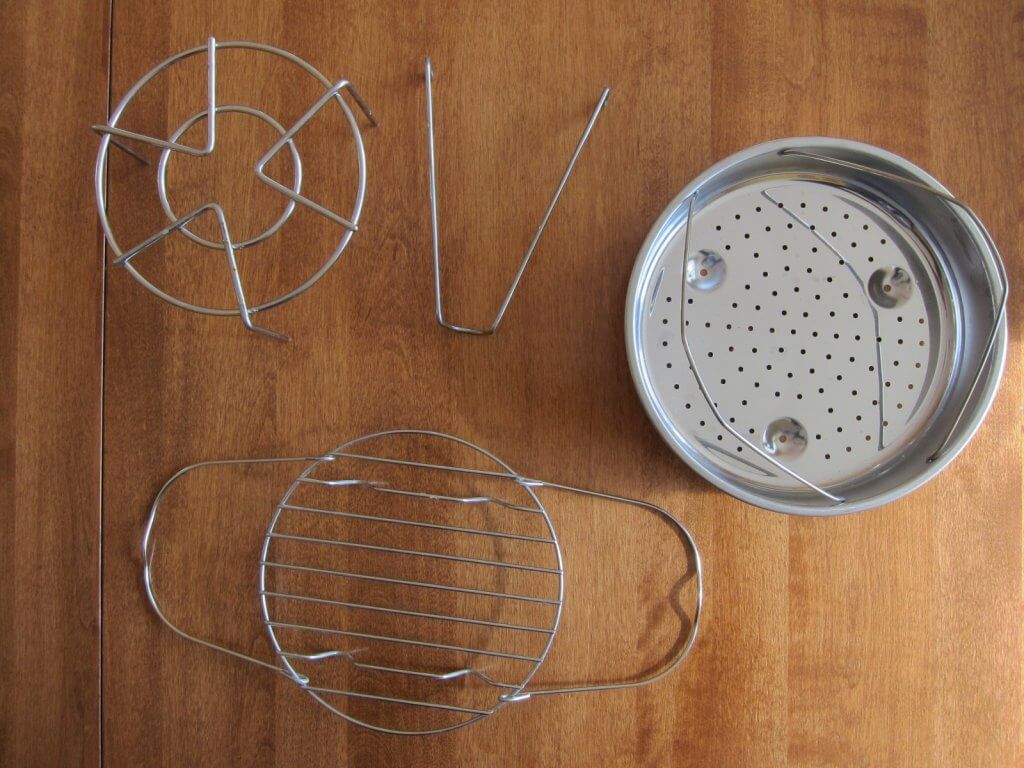
- Raised steam rack that is placed in the Instant Pot inner pot. The Instant Pot is shipped with a steam rack, and that works perfectly well. There are many types of racks – as you can see from my collection! Note: the container being used for PIP cooking must be placed on a rack, and not directly in the inner pot.
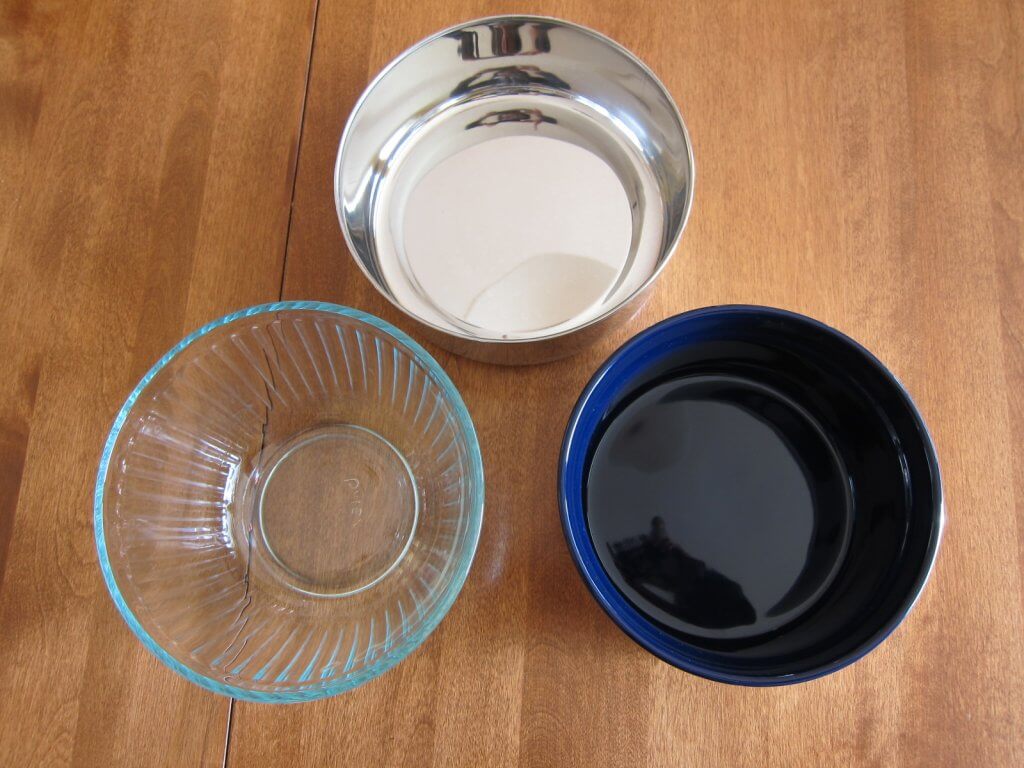
- Oven-safe dish made of stainless steel, oven-safe glass, silicone, or ceramic/porcelain. The container shouldn’t touch the walls of the inner pot and should allow the Instant Pot lid to be closed easily.
- A springform cake pan or push pan works great for pot in pot cooking.
- Pro Tip: the inner pot of the 3 quart Instant Pot fits the 6 quart and 8 quart Instant Pots. It’s a very handy container to have for pot in pot cooking.
Important Note
I have used Pyrex oven-safe glass dishes in my multiple Instant Pots with no problems. However, I suggest you read the manufacturer’s directions for the Instant Pot and the glassware and decide for yourself whether to use a glass dish in the Instant Pot.
2. Optional Instant Pot Accessories
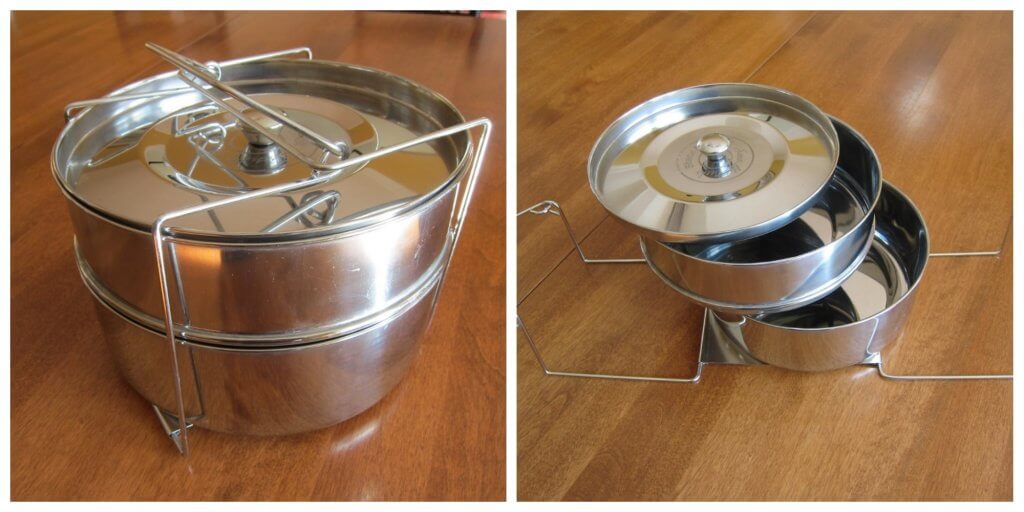
- Multi-tiered stackable containers used to cook different foods in separate containers.
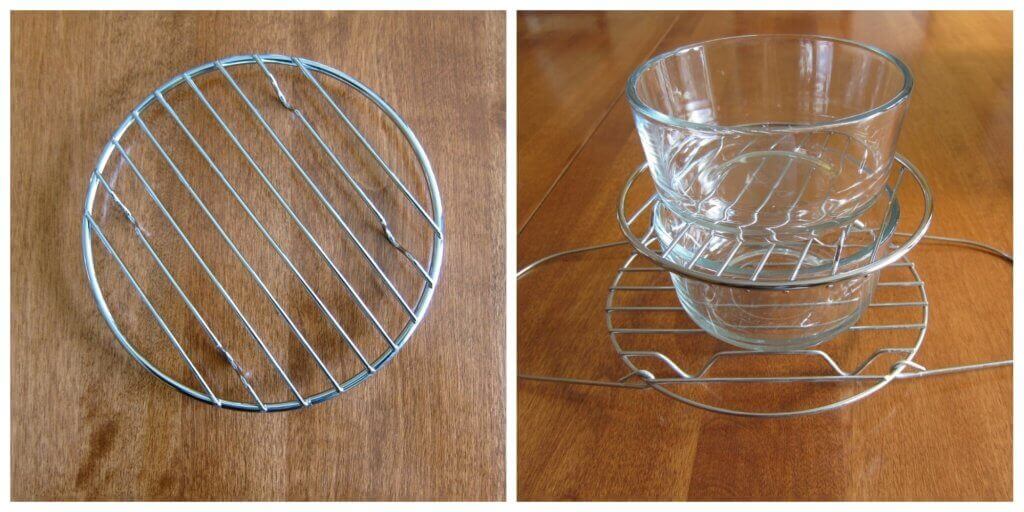
- Flat wire rack so you can have separate layers of food by stacking multiple containers if not using the stackable inserts described in the PIP Accessories section above.
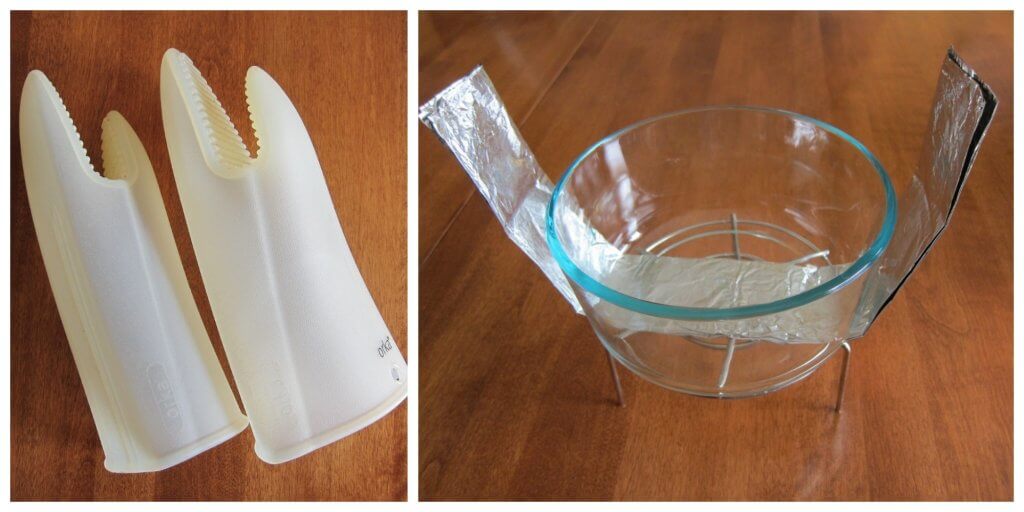
- Silicone gloves to handle the hot dishes
- If you don’t have a steam rack with handles to lift the container out, you can make an aluminum foil sling to remove your container from the Instant Pot. Some models of Instant Pot are shipped with the rack that has handles.
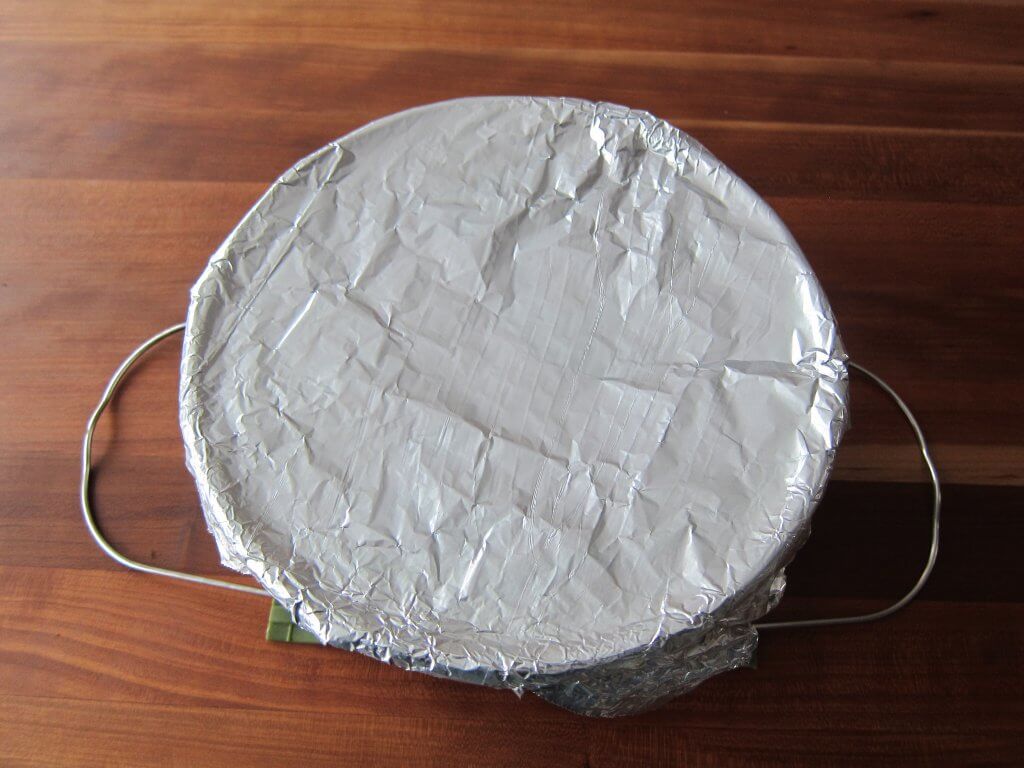
- Aluminum foil to cover the container and prevent condensation from dripping in.
What are the different uses of PIP Cooking?
1. Recipes that don’t require liquid
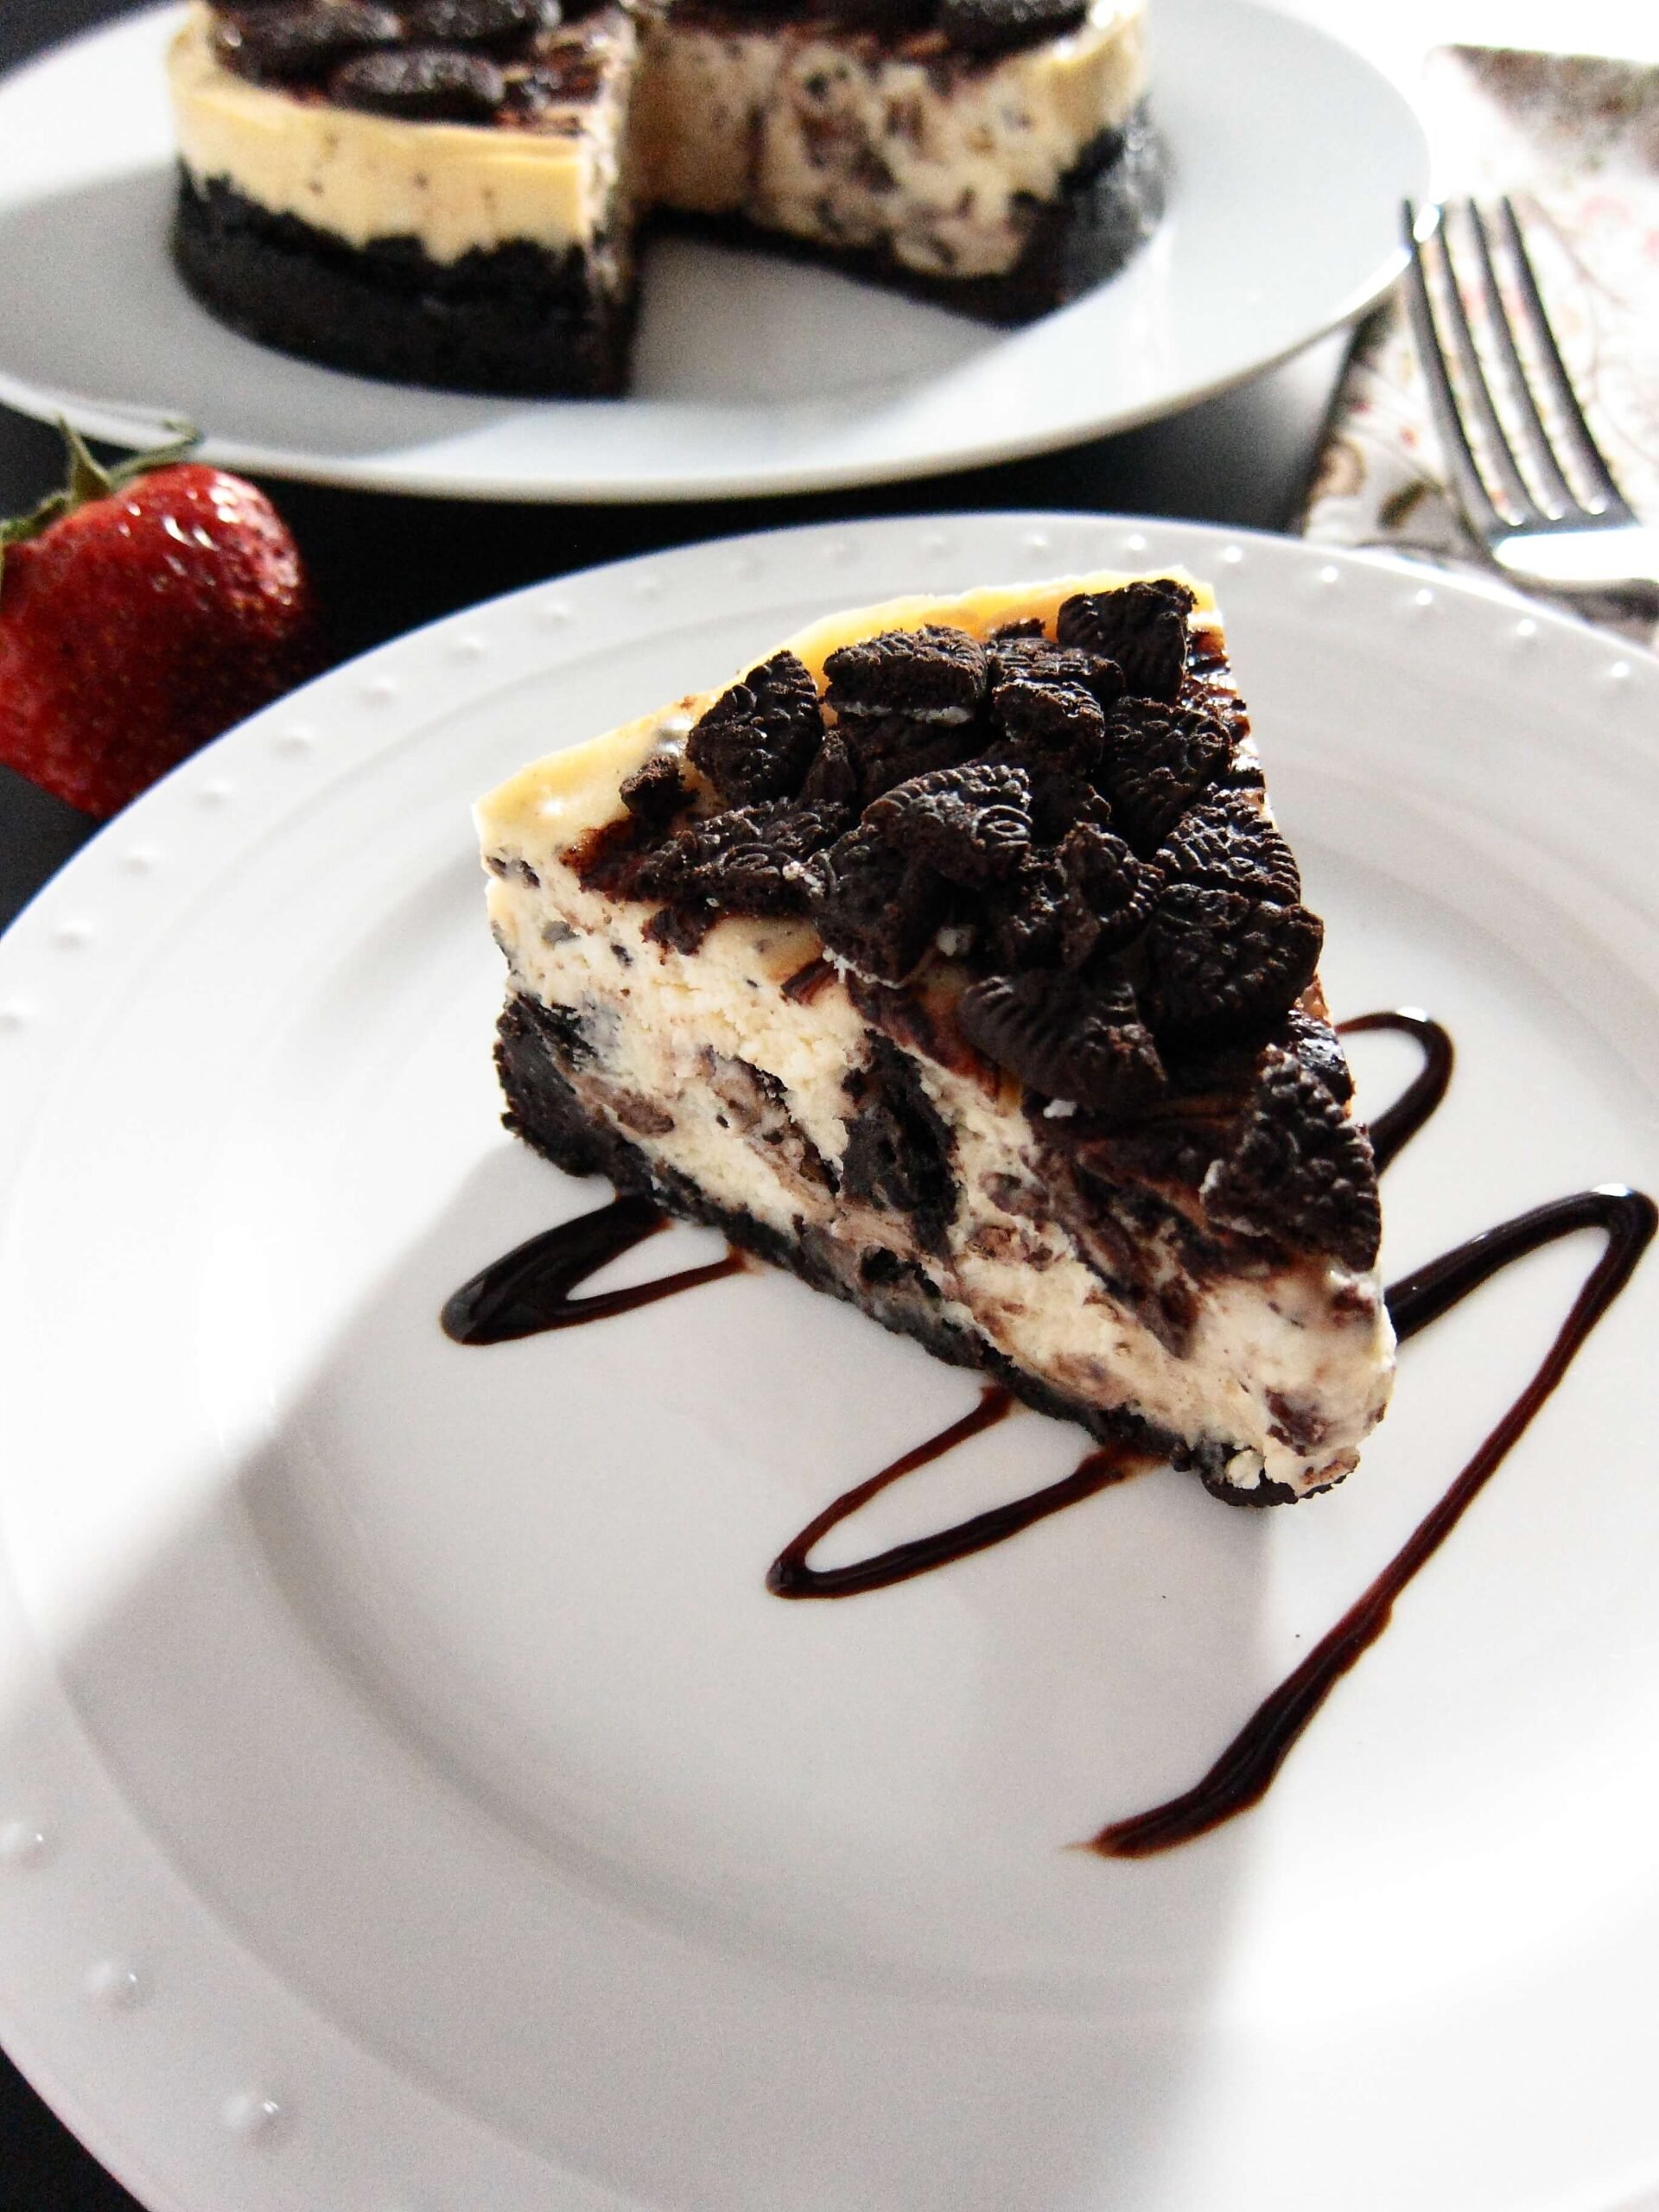
The Instant Pot requires a cup of liquid or more to build pressure. Casseroles and desserts don’t have that minimum quantity of liquid to bring the Instant Pot to pressure. But the Pot in Pot technique is a great choice for these recipes that would normally be baked in the oven.
A springform pan works great for this use. Here are some examples of Pot in Pot recipes from different blogs:
2. Prevent scorching from heavy and dense sauces
I’ve used the Pot in Pot method to salvage a meal when I get the dreaded burn error and food is scorched on the bottom of the Instant Pot. I empty out the contents of the Instant Pot, clean out the inner pot, and use the Pot in Pot technique to finish up the cooking.
If you’re using canned tomato sauces or purchased sauces with ingredients like corn starch or tapioca starch, you can have problems with scorching. And scorching prevents the Instant Pot from reaching pressure. This is when you see the burn notice.
Or you may have a recipe with a thick gravy. Pot in Pot cooking is a great way to cook these types of foods without having to thin the sauce with water or broth.
Another example is oatmeal. Oatmeal cooked directly in the inner pot can be difficult to cook properly and it can also be pretty messy. Pot in Pot works really well for oatmeal.
3. Recipes that require a bain marie
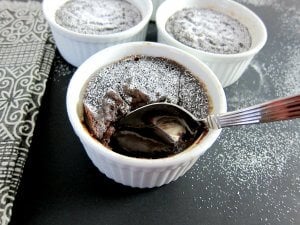
A bain-marie (pronounced ‘bahn ma-ree’) is a water-bath cooking technique used for delicate desserts that are baked in the oven and serves to slow down cooking by using steam to evenly cook the dish. These recipes are perfect for the Instant Pot!
4. Reheat foods without using the microwave or stovetop
Do you heat up leftovers in the microwave? At our house, by the time five people heat up their food, the first person’s food is already cold!
A great solution is to reheat food in the Instant Pot, using the Pot in Pot method. Just store the leftovers in the fridge in oven-safe bowl, and reheat in the Instant Pot using the Pot in Pot technique. Note: Going directly from the freezer to the pressure cooker can cause a glass bowl to crack.
You can stack multiple containers separated by a wire rack, or use the stackable inserts, described in the Pot in Pot Accessories section, that work great in the Instant Pot. Then just use the ‘Steam’ or ‘Pressure Cook’ function for 3 to 5 minutes, depending on the type and density of your food.
5. Steam vegetables, seafood, and other delicate foods
I like to pressure cook delicate vegetables (cauliflower, broccoli, peas, etc) or seafood on low pressure. However, your Instant Pot model may not have the low-pressure option, or you may be using a recipe that calls for high pressure.
Cooking these delicate foods directly in the inner pot, even in a steamer basket, can cause them to overcook.
Cooking them in a separate container using PIP helps to slow down the cooking process. Add a few cups of water to the inner pot and place the food in a container on the rack.
I’ve found that covering the container with a double layer of foil or a lid, also slows down cooking.
6. Quick cleanup, easy storage for smaller quantities of food
I love the fact that the Instant Pot makes cleanup really easy – only one pot to clean!
If you have a smaller quantity of food to cook, you can make cleanup even easier. Use the Pot in Pot method to cook your food, and serve and store it in the same container.
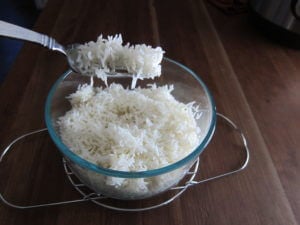
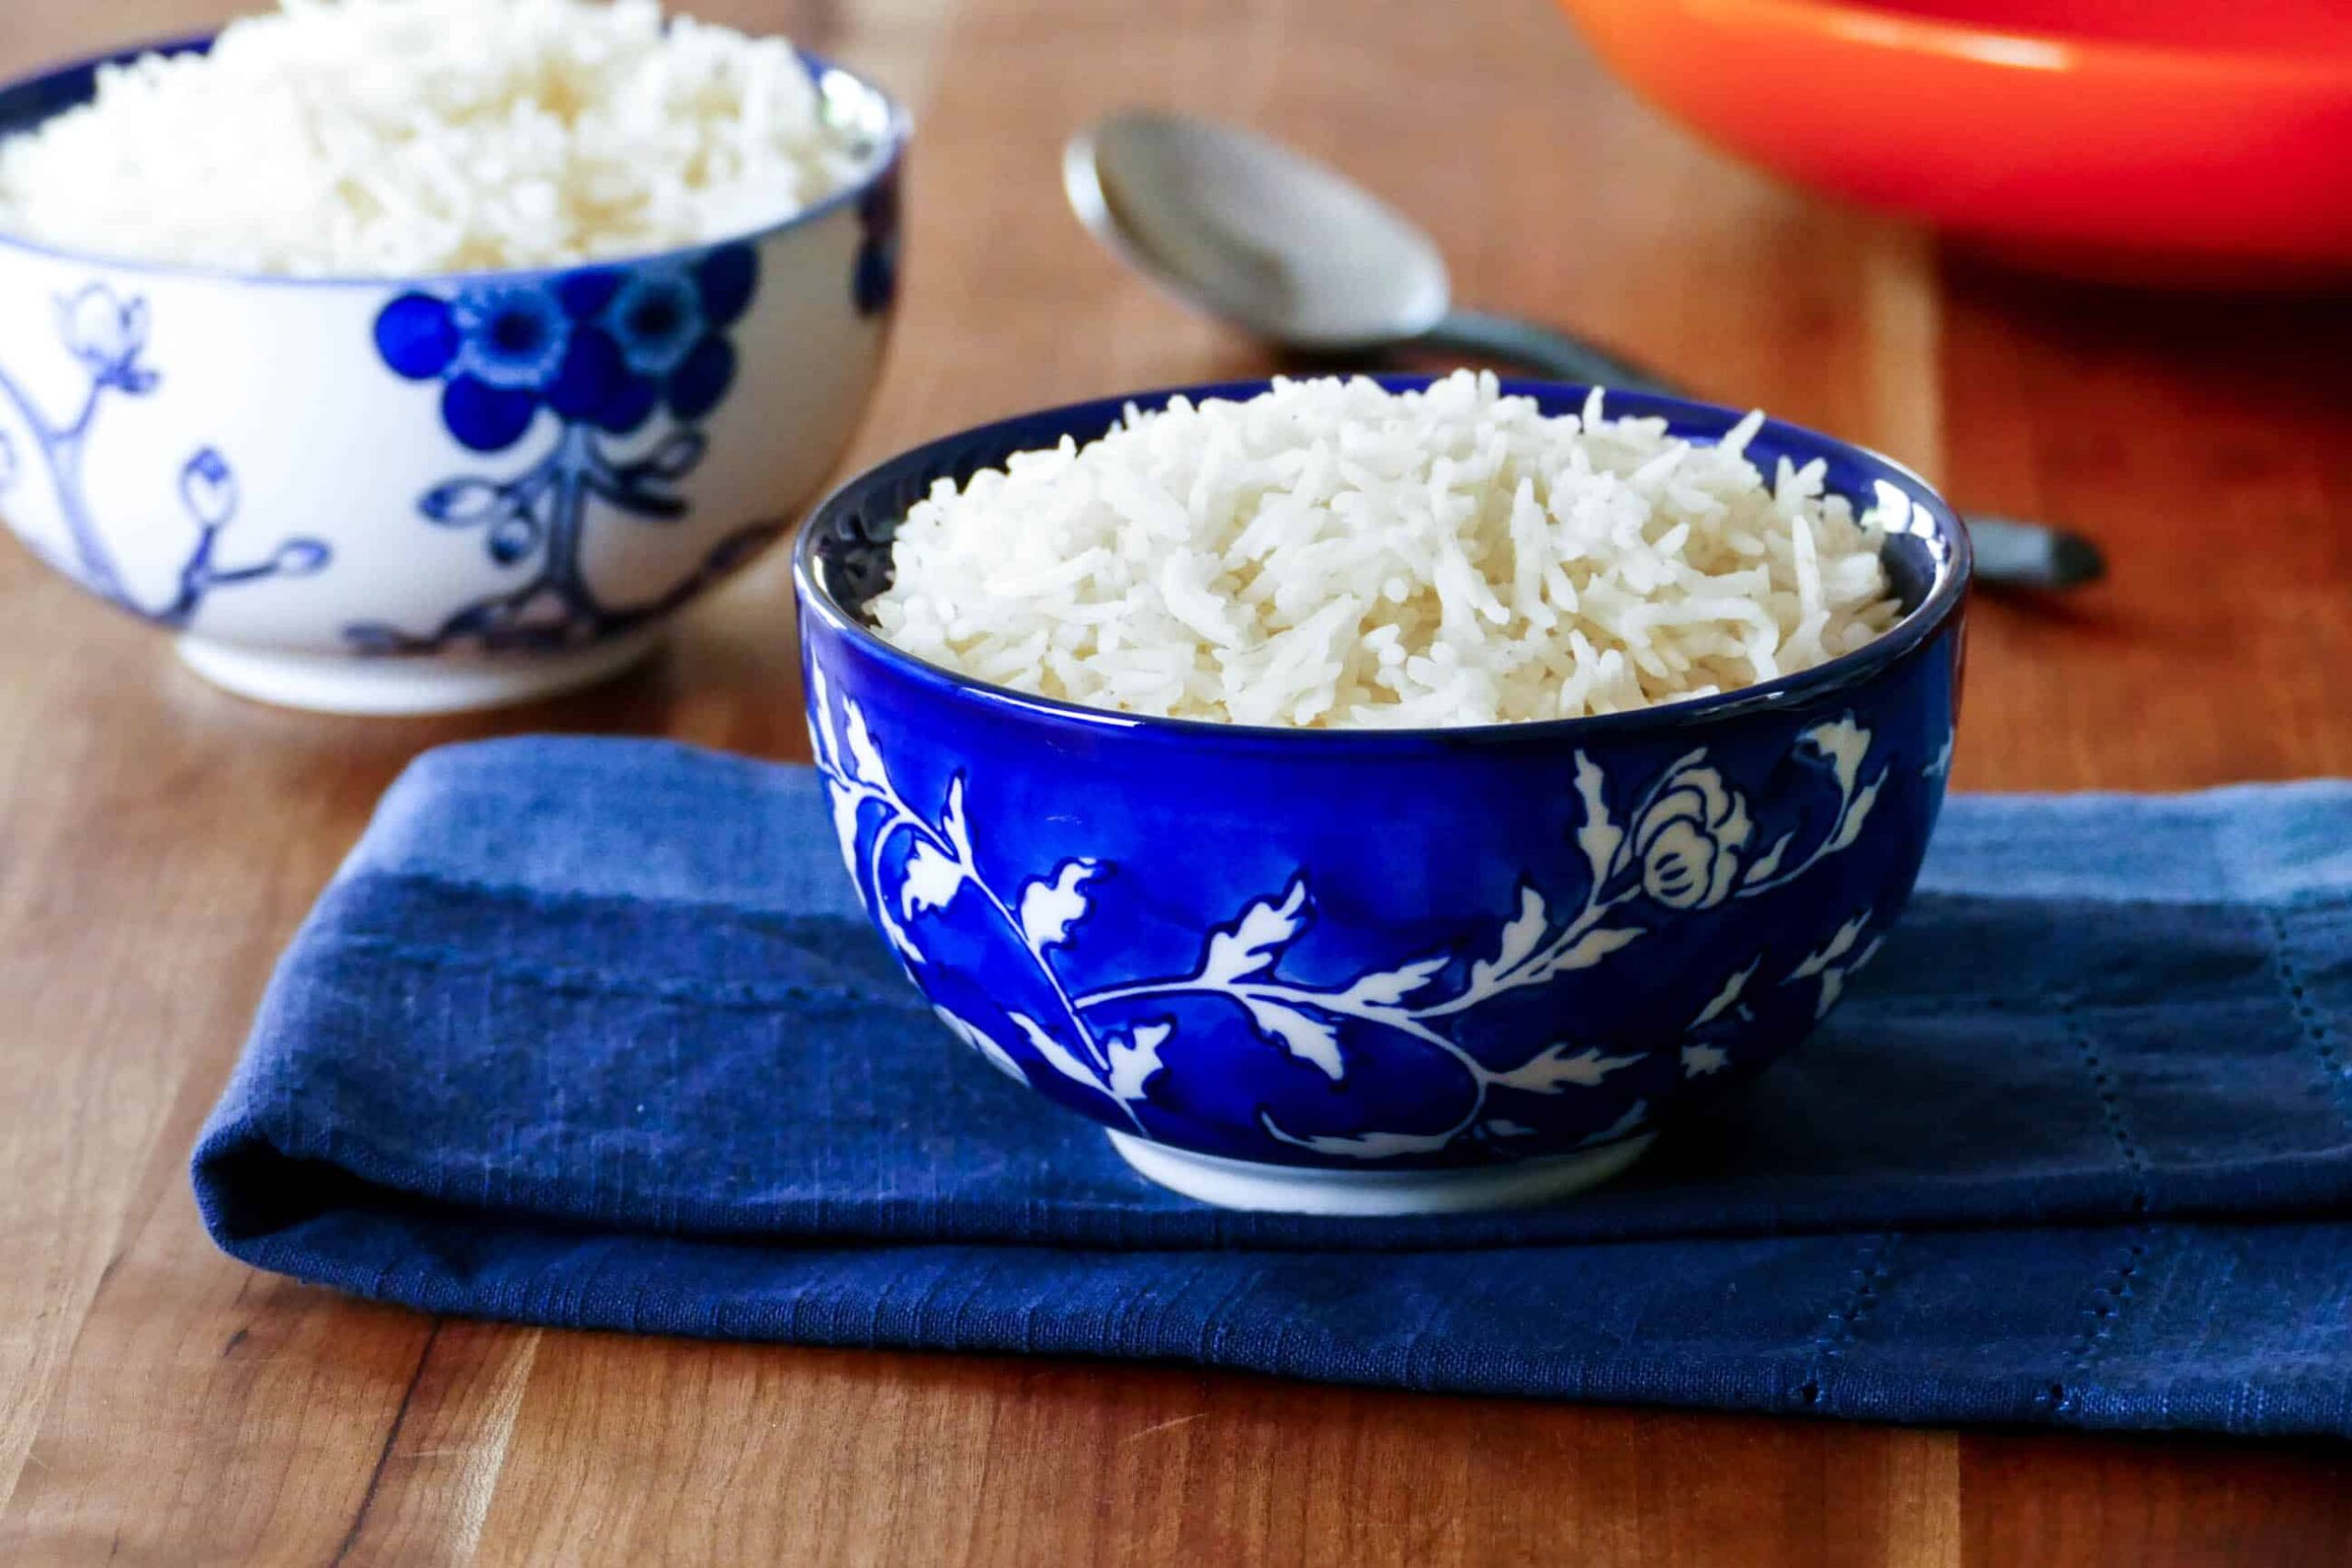
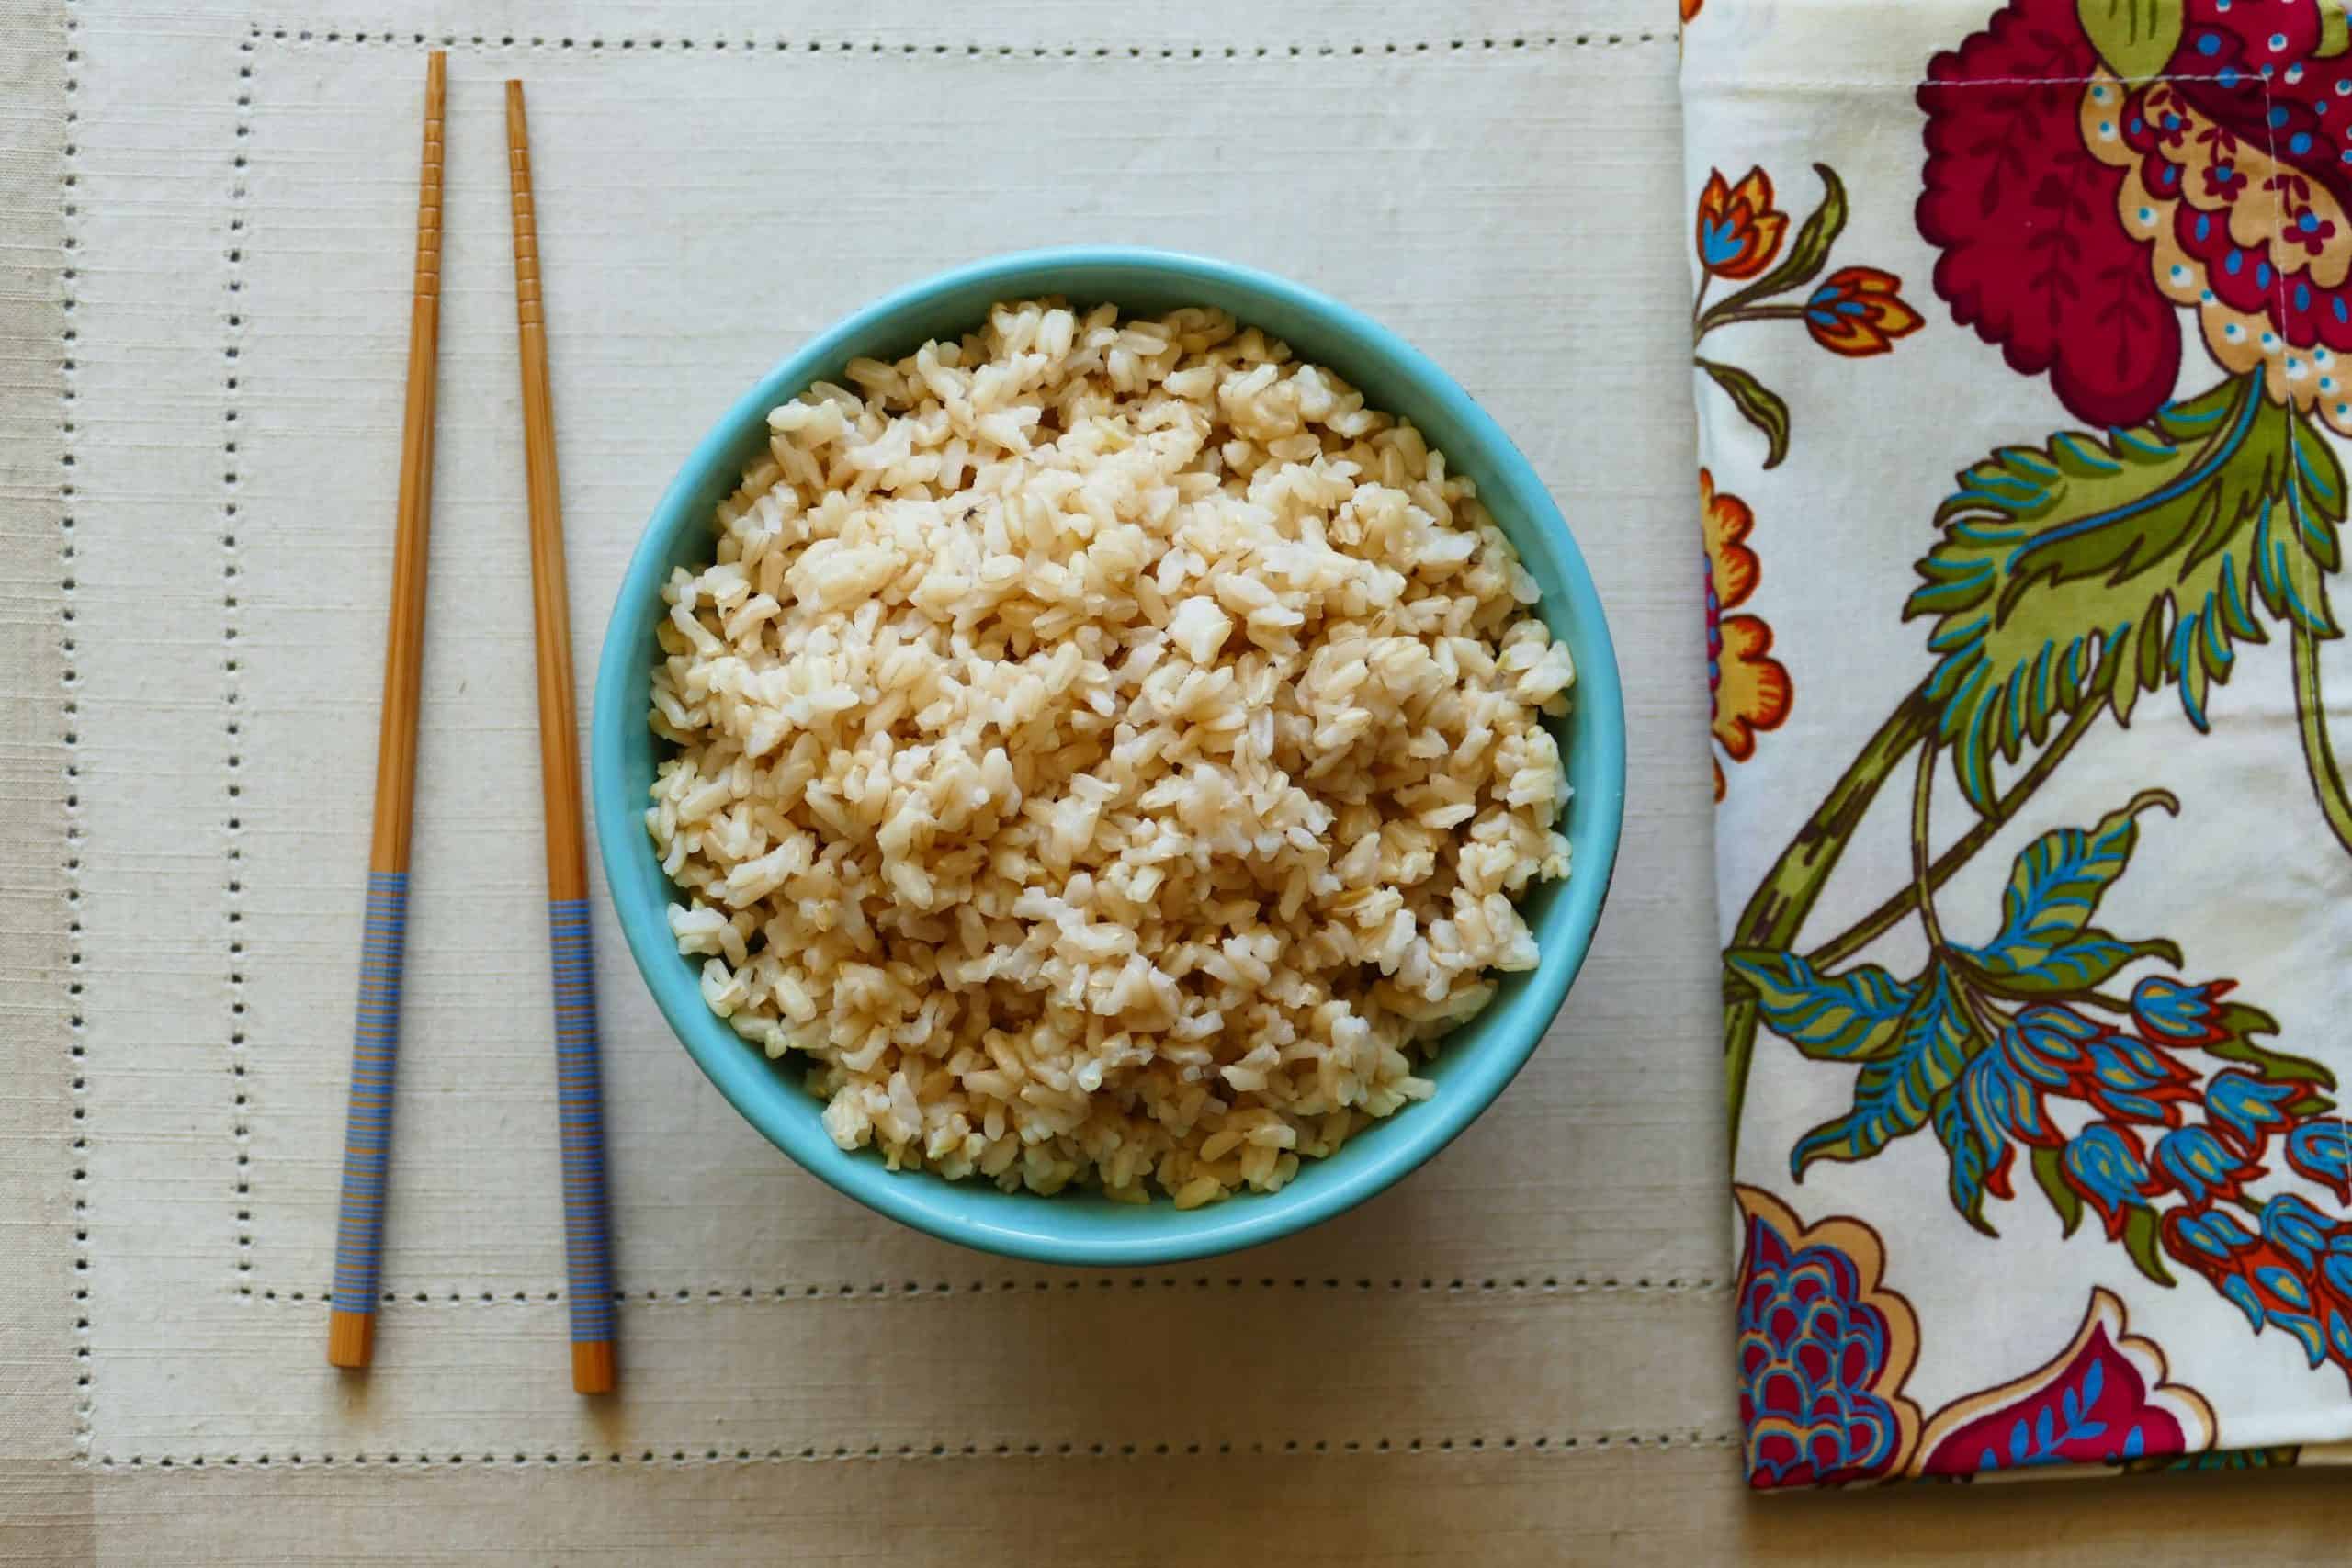
I do this all the time with Instant Pot Rice. I use a Pyrex dish to pressure cook the rice using the PIP method, and I don’t need to clean out the inner pot. Plus I can store leftovers in the same dish – very convenient!
7. Cook multiple dishes together
For me, cooking a complete meal altogether is the most exciting use of Pot in Pot. This method of cooking is very common in Indian kitchens and it’s something I’ve grown up with.
As mentioned in the Instant Pot Accessories section above, you can either use metal stackable containers or put the food in individual bowls separated by flat wire racks.
Another option is to cook the main dish (as long as it has enough liquid to bring the Instant Pot to pressure) directly in the inner pot, and place the second item or side dish such as rice in a separate container on a steam rack.
Here are some important factors when cooking two different recipes together. Both recipes should have the same:
- Approximate cooking time.
- Pressure level (i.e. low or high pressure).
- Pressure release method i.e. quick release (QR) or natural pressure release (NPR).
You can use the Pot in Pot cooking method to combine many different types of recipes. The Instant Pot recipe book that came with your Instant Pot has cooking times for different foods. I use the timings as a general guideline for which foods I can pressure cook together, using Pot in Pot. You might need to add some extra time for some recipes.
Possible combinations for Pot in Pot Cooking
- Quinoa and rice
- Chicken thighs and collard greens
- Chicken breasts and white rice
- Fish fillet and green beans
- Kidney beans (soaked) and brown rice
- Ground beef and basmati rice
- Basmati rice and dal (Indian lentil curry)
- Thai Green Curry and Jasmine Rice
- Chili and Cornbread
What do you do when the pressure cooking times for the two Pot in Pot recipes are different?
As I mentioned above, the recipes you cook together using Pot in Pot should have similar cooking times. So how can you solve the problem of different cooking times?
- Partly cook the longer-cooking item, do a quick release of pressure, add in the second item and continue cooking both items. e.g. if the amount of time to cook item A is 15 minutes and item B has a cook time of 10 minutes, you’ll pressure cook item A for 5 minutes, quick release (QR), open the lid, and add in the container for item B (on a rack or stacked), close the lid and pressure cook both for 10 minutes.
- Tightly cover the container of the faster-cooking item with a double layer of aluminum foil. The foil slows down the cooking of the contents.
- Cut the slower-cooking item (e.g. meat) into smaller pieces so that it takes less time to cook.
- Cook the faster-cooking item in a glass, ceramic or silicone container versus a stainless steel pot because that will slow down the cooking time a little bit.
Example: How to Use Pot in Pot to Cook Two Recipes Together
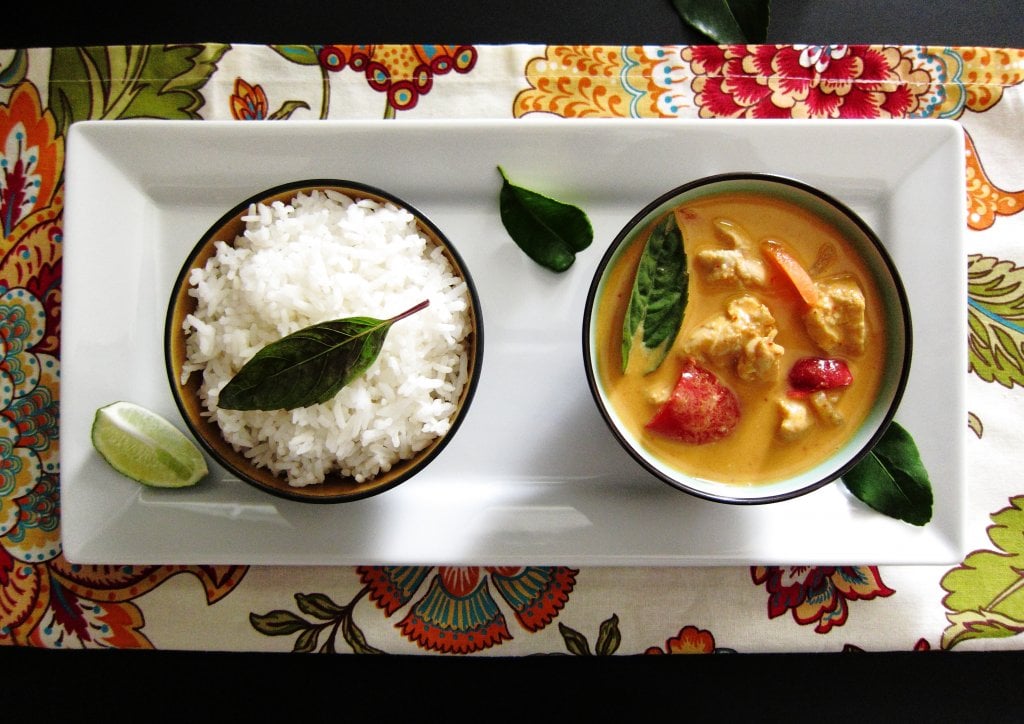
Let’s walk through the process of figuring out how to cook two different recipes at the same time. First, take a look at the two individual recipes I’m going to show you how to combine and cook together:
If you were cooking both dishes separately, you’d cook the Thai red curry, empty out the contents into a serving dish, clean the inner pot, and then cook the rice.
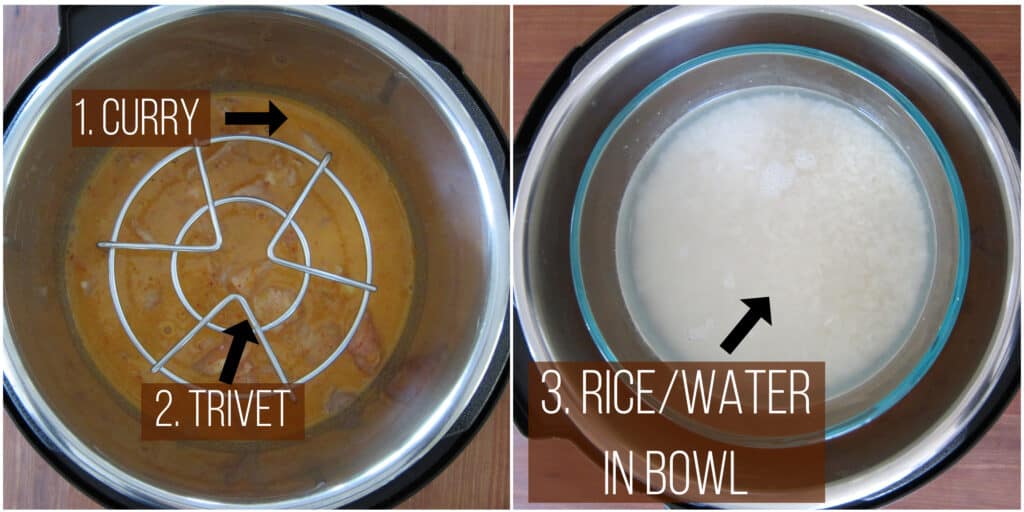
I’m going to show you how you can save time and cleanup by using the Pot in Pot method of cooking multiple items together. The chicken curry cooks in the main pot and the rice cooks in a smaller pot, on a trivet.
The recipe states that you need to cook Jasmine rice for 4 minutes. That’s perfect because that’s how long the chicken in the Thai red curry needs to cook for.
But there’s a problem. Remember how I mentioned that they both need to have the same method of pressure release? You’ll notice is that the Instant Pot Thai chicken curry recipe calls for quick release of pressure (QR), while the rice calls for 10 minute natural pressure release (NPR).
If you cook the two dishes together and do a quick release, the rice won’t be cooked properly. So the only other choice is to do a natural release. Chicken thighs do just fine with natural release, so problem solved!
Pot in Pot Recipes For you to Try!


If you found this article to be helpful, please share it on social media using the social media share buttons at the top and bottom of this post. Thank you so much!



steven douglas says
How does, if at all, covering a pot with P-i-P cooking? I’ve heard different things. I’ve seen Indian food cooked in stainless steel containers stacked 3 high so at least two were covered. I’ve heard since pressure is used, covering doesn’t matter but you’ve posted something that seems contrary. 🙂
Paint the Kitchen Red says
Steven, covering is optional (as long as the container is not sealed shut tight). I cover to prevent condensation from dripping into drier dishes like cheesecake, or to do tiered/stacked pans like Indian rice and dal. If you’ll tell me which section caused your confusion, I can try and change the wording on the article 🙂
veronica crump says
I used 2 stainless steel inserts to cook carrots with sugar and butter. I put 3 cups of water in IP . then placed the two inserts with the carrots inside the IP. Insert were closed. The I pressure cooked for high pressure 10 minutes with quick release . carrots were still raw and butter an sugar slight melted . what happened?
Paint the Kitchen Red says
Hi Veronica – I’m assuming your inserts were on a rack? It sounds like your Instant Pot didn’t even heat up, let alone come to pressure especially since the butter didn’t even melt completely. I would try it again, and this time as a baseline test, don’t cover the insert. Make sure your float valve pops up. Let me know how it goes!
Diana Verhulst says
Isn’t three cups a LOT of water to use to cook carrots? I”m still learning. Thank you.
Paint the Kitchen Red says
Diana – is the recipe for steaming or boiling carrots? If it’s for steaming, you can just put 1 to 1 1/2 cups water (depending on the size of your Instant Pot) and a steamer basket with the carrots. For boiling, I suppose you have to have enough to cover the carrots. Hope that helps.
Diane says
It’s about the physics of heat transfer. The IP gets to ~240 degrees F on high pressure. The steam in the pot is 240. To cook the food that heat must transfer to the walls of the ‘inner’ pot then the air surrounding the carrots, then finally to the carrots (convection). Food in contact with the ‘inner’ pot heats a bit faster (conduction). There’s also a time lag. The air in the IP is at temp before the air in the ‘inner’ pot. Air is an excellent insulator and water is a good conductor. If you were to put carrots and butter in a covered metal pan in a 240 degree oven for 10 minutes you wouldn’t expect them to cook. Same thing. PIP is handy but it adds layers of insulation, which is why it does so well for some things. PIP food in liquid gets heated directly from the walls of the ‘inner’ pot and goes faster because it’s conduction. But it’s always faster without PIP. Either allow more time or cook carrots in water directly in the pot, use saute to evaporate the water and add butter at the end to glaze. They only take a couple of minutes because they’re in contact with 240 degree water and they are heating up along with the water as it comes to pressure.
The bottom layer of PIP cooks faster because it’s closer to the heating element and through conduction of the rack from the hot water under it.
Once you get the basics of heat transfer it’s easy to figure out which method works best for each dish. Hope this helps.
Georgie says
Thank you so much for this abundance of information! So very well written! You are awesome!
Paint the Kitchen Red says
Awww thank you, Georgie! I’m glad you found it useful.
Susan Rosassr says
What about a Turkey Breast on bottom then potatoes is there away to do that
Paint the Kitchen Red says
Hi Susan – the turkey breast cooks for much longer than potatoes do. So I’d either do one after the other or release pressure on the turkey breast part-way through cooking, add the potatoes and complete cooking. I hope that helps!
John says
You also might try cutting up the turkey into but sized pieces and using large, whole potatoes with the skin on. Just be careful and use a thermometer on the turkey to ensure it’s safely cooked.
Paint the Kitchen Red says
Good point, John. Thanks for adding your thoughts.
honda4fun says
I really like the way you explain and show PIP methods, especially stacking the trivets. However, after having questions, researching and contacting companies such as Anchor Hocking, Starfrit and Pyrex, no glass is IP safe. Old PYREX is the safest but anything after 1998 is spelled pyrex (no caps) and made differently. Many people say they use glass and haven’t had a problem, but I’d say a chance of one exploding container is one too many. Glass is use at your own risk and the companies mentioned state they will not be held liable if if injury results.
Paint the Kitchen Red says
Thanks for sharing – it’s always good to be vigilant.
sara says
Hey Kiddo – I am sooooo impressed with your information. I have looked and looked and again looked for easy to understand info on the PIP…..you nailed it in spades. Thanks a bazillion percent!
Paint the Kitchen Red says
Hi Sara -you’re welcome! Good luck trying out PIP.
Louanne says
Thanks, I’ll try it. Great site 🙂
Louanne says
Can you use the pot in pot method for APPLE CRISP?
If so, would the smaller pot (corning ware bowl) need a LID?
There’s 1/2 cup of water in my recipe, but do I still need to put MORE WATER in the BOTTOM of the stainless steel insert pot, below a trivet?
Paint the Kitchen Red says
Hi Louanne – yes, I think you can use the PIP method. You don’t need a lid, but you might want to cover lightly with foil so that condensation doesn’t drip in. Yes, you always need water on the bottom of the inner pot under the trivet. Good luck!
Marcie says
Thank you for this article – very helpful! I pinned it :-).
I just got my stackables and used for the first time last night. I tried cooking a 6 ounce salmon filet on the bottom and broccoli on the top. Regular pressure for 2 minutes, natural release. The broccoli was very al dente (perfect for me – so happy!), but so was the salmon which I prefer rare. So if you don’t mind I have a few questions!
I put 2 cups of water in the IP per the instructions for the recipe that came with the stackable (Ekonova) and cut the cooking time down from their recommended 3 minutes to 2.It took 10 minutes to come up to pressure and and additional 10 minutes to cook (the 2) and then NPR. 1) Do you know about what temperature the bottom and top pots are cooking at? Does the bottom pan cook faster? My stackables came with 2 kinds of covers – one solid and one with holes – I wondered when use of each was indicated? Wasn’t sure if the one with holes would make it cook faster as steam gets in???
Thank you so much!
Paint the Kitchen Red says
Hi Marcie – I don’t think that the top and bottom containers are cooking at a different rate, but I’m not 100% sure of that. I do know however, covering up the container completely slows down the cooking. So your instinct is right on that. I think you’ll just need to experiment and find out what works for your IP. I keep an IP journal where I write down all the timings that work for me. Regarding the water in the bottom, you might want to experiment with less water and see if you pot comes to pressure and maintains pressure – that would save you some time because it would take less time to come to pressure. Thanks for your question.
Wendy says
Oh! An IP journal – I love that. I have found that my IP seems to take longer than most recipes say, and keeping it all together is a great way to try to figure that out!
Paint the Kitchen Red says
I use mine all the time – hope it works for you too! And every time I cook something, I mark the changes!
Diane says
I’ve read the bottom container cooks more, if for no other reason that it’s closer to the heating element and hot water. With metal stackables the metal will conduct heat to the food faster than glass and if the bottom is touching the water it goes even faster. Most stackable recipes say to put the longer-cooking food on the bottom.
Paint the Kitchen Red says
Diane, thanks for your input. I haven’t had the opportunity to notice a difference in the levels. I’ll have to make it a point to check next time.
Sue says
Great information, I was wanting to try PIP and now you have given me all the answers to questions I had.
Thanks so much!!
Paint the Kitchen Red says
Hi Sue – thanks for commenting and you’re so welcome!
Dhanya says
Hi Neena,
I would like to use this PIP method in a Pyrex bowl to cook frozen green peas instead of using the microwave. Here are my questions:
1. Will 1 cup be enough to add into the inner pot?
2. What is the water to peas ratio to add into the Pyrex bowl? Does the bowl need to be covered?
3. Should I use the “Steam” function or Pressure cook and what is a good time for 1 cup of peas?
Thank you very much for your help! 🙂
Dhanya
Paint the Kitchen Red says
Hi Dhanya – 1. yes, 1 cup is fine 2. If you’re steaming frozen peas, you don’t even need any water since you’re doing PIP. 3. Steam is the same as pressure cook but only has high pressure I believe. You probably only need to steam for 1 minute, maybe even 0 minutes. If you find that it’s still overcooked, next time do low pressure. Hope that works for you.
Barbara Schieving says
So much great information!
Paint the Kitchen Red says
Thanks Barbara!
Connie says
Thanks for the information can I use the one pot crockpot the same
Paint the Kitchen Red says
Hi Connie – I am not sure of this but I think that anything that can be cooked in the crockpot probably can be cooked with a container within the crockpot (??) So rice wouldn’t work since you can’t slow cook rice (as far as I know!). Good luck!
Lauranne says
This is very well written. Even though i have been using my IP for a year now, and have used the pip method quite a lot, i had problems with the pip method for some of the recipes I had made. After reading this, I realized why some of the pip recipes were not cooked fully. I was usings methods that slowed down the cooking without knowing i was! Thank you for sharing all this wonderful information.
Paint the Kitchen Red says
Hi Lauranne – thank you for the kind words, and I’m glad that I could help an experienced IP user 🙂
Maureen says
I have just purchased a 3 quart Instant Pot and used for first time yesterday. I did a roast that unfortunately did not have much fat on it but other wise it turned out okay. Is there a recipe book (with good instructions) for use with the 3 quart pot.
Paint the Kitchen Red says
Hi Maureen, most likely your dish was affected by the cut of meat than any other reason. To adapt recipes for the 3 quart, you should just need to reduce the quantities in equal proportion e.g. halve all ingredients. (The exception is the liquid – you need the minimum amount required to reach pressure. How much depends on what you’re cooking – e.g. if you’re cooking something that’ll release liquid as it cooks (e.g. vegetables), you can get away with less liquid. I’ve used as little as 1/4 to 1/2 cup. The official word is 1 1/2 to 2 cups.) You also would generally cook for the same amount of time as the recipe states. http://www.simplyhappyfoodie.com has some recipes specifically measured for the 3 quart mini. Search for “mini” in her search bar. I don’t know of any recipe books though. If you want to make any of my recipes, I’d be happy to answer any questions you have regarding reducing the recipe!
Maureen says
thank you very much, I am looking forward to using it more. I appreciate your assistance and offer.
Dorothy Fletcher says
How can I cook a small sirloin tip roast 1 1/2 pounds. How long,
Paint the Kitchen Red says
Dorothy, thanks for your question. Sirloin may be too lean for the pressure cooker, and you might end up overcooking it. I’d hate for you to waste your meat. The pressure cooker is best suited for tougher cuts of meat with more marbling, like a crock pot is. That being said, is it pork? You could try to follow this recipe from Pressure Cooking Today, but since your meat is smaller in size, reduce cooking time by 5 minutes. Make sure you do a full Natural Pressure Release (NPR). Good luck.
Ann says
I had several successes doing a double batch of PIP rice in a Fat Daddio pan and then my daughter mentioned that she did hers in Pyrex bowls, which I picked up on Black Friday. Both times I have attempted PIP rice in Pyrex, it has failed. It had unabsorbed liquid in the rice and the rice was crunchy. The recipes were the same as I had done before and the amount of rice was the same. Any idea why the Pyrex method isn’t working for me? I’d prefer the Pyrex method so i can throw it in the dishwasher! Thanks for any insight you can provide!
Paint the Kitchen Red says
The cooking time for rice can vary based on brand. If you have a time that works directly in the inner pot, you probably want to increase cooking time by a minute. Note that pot in pot can require more cooking time. I use my Pyrex a lot for rice and I cook for 6 minutes for Basmati and 4 minutes for Jasmine in the Pyrex. What times are you using?
Ann says
I have successfully used 6 mins and 7 mins for long grain white rice using PIP. Not a huge fan of the texture (or price!) of Basmati and Jasmine. Maybe I’ll just have to get myself the 3 qt Mini for rice! ?
Sandy says
This is an excellent article! I’ll be sharing it!
Paint the Kitchen Red says
Thank you Sandy! I appreciate that!
Monica says
So happy for this post. I just did not get what people were talking about this pot in pot Instapot cooking! And now I don’t feel so silly for not knowing! I really appreciate the step by step detail.
Thank you!
Paint the Kitchen Red says
Thank you Monica, glad to help! Curry and rice is a great way to try it out.
Marilyn says
How long do you cook anAnge Food cake in a 3 qt IP? Thanks. MH
Paint the Kitchen Red says
Marilyn, I’ve not made Angel Food cake in the IP. But here’s a recipe from The Typical Mom Looks like she bakes it for 27 minutes. However since your pot in pot pan will be much smaller, you’ll need to decrease the cooking time. Sorry, but I’m really not sure how long you’d cook it for.